
Resin 101: DIY Scarab Beetle Brooches: How to Pour and Paint Resin
New to using resin? Here's what you need to know about pouring and painting resin.

Hey, crafty friend! I know that many of you haven't used resin before and it seems like a scary thing to do. But it's actually really quite simple, and with the right tools, very safe!

So today, let's talk about pouring and painting resin by using these DIY scarab beetle brooches as the tutorial!
What Resin Should I Buy?
Let's start with which resin you should use for your craft/mixed media projects. There are a lot of different resins out there but generally, you want to go with a quick cure resin, like Alumilite's Amazing Resin. This resin comes in both clear and white. Unless I want clear to cast, say a lightbulb, I generally go with their white resin. (You can shop all of the supplies used in this tutorial at the bottom of this post!)

This particular resin sets up in 10 minutes and fully cures in another 15 minutes to an hour. (Epoxy resins take much longer to cure and are better for larger projects.) The variance in cure time has to do with how warm your climate is. The warmer your environment, the faster the cure time. Humidity can also play a factor, but temperature even more so.

What Other Supplies Do I Need?
Now let's talk about what else you need to have on hand when pouring resin. If you get the Alumilite Amazing Resin, it will come with 2 popsicle sticks and 3 measuring cups. If you get a different brand and your kit doesn't come with these items, you'll want to pick up some wooden stir sticks or popsicle sticks plus some plastic measuring cups. There are even some measuring cups made of silicone that you can reuse (these ones you can pour both parts A and B solution into and mix right in these cups, then remove the excess hardened resin later).
If you don't get the silicone measuring cups, be sure to pick up some paper cups to pour your A and B solutions into for mixing. You can throw these cups out, and the paper makes it easy to bend the top of the cup to create a spout for easier pouring.

For protective supplies, you'll want to wear a face mask, some disposable gloves and have a non-stick craft mat to protect your work surface. Once you've mixed both of the solutions together, your resin will begin to heat up. This is an exothermic chemical reaction and it puts off both heat and chemicals. Wearing a mask will help protect your lungs and the gloves will help protect your skin from the harsh chemicals and from direct burns. The non-stick craft mat will ensure that any spills can be easily cleaned up and won't damage your table or counter.
And you will of course need a mould! Prima Marketing and Redesign with Prima moulds are made of high quality silicone, which makes for easy de-moulding. You can use other materials in these moulds besides resin, such as air dry or paper clay and modeling material.

Resin Pouring Tips for Great Pours!
So let's talk about mixing and pouring and my tips to ensure you get great pours.
- Work in a well ventilated area by opening a window or turning on an exhaust fan.
- If you have a mould with a lot of small details, preheat your mould in the microwave for 30 seconds--this will help your resin cure better in those little crevices.
- You do not need to apply powder or a mould release spray if you are using resin (I do recommend dusting your mould with corn starch or baby powder first if you are using a modeling material or clay, however.)
- Be sure you mix equal parts of solutions A and B. If you are really off in your measurements, your resin won't cure.
- When you mix your two solutions together, mix well for at least 10 seconds, but don't mix too fast or you will create a lot of air bubbles. Not mixing well enough means that parts of your cast may not cure or will "leak" a sticky goo from the backside.
- If you are using a mix in like mica powder or flakes, be sure to add that in with your solutions to mix it in, and use resin safe products.
- If you do have an air bubble in your resin, don't panic! Don't heat your quick cure resin with a heat tool as this will only make it cure faster, and could release even more dangerous chemicals. Instead, us a pin or needle to bring any large air bubbles to the surface and pop it. If it doesn't pop, don't worry, it's on the backside of your cast and won't be noticeable.
- If you are using clear resin, did you know you can add mini fairy lights to it? Pop a little LED fairy light into the resin before it begins to harden to light up your resin.
- Want to turn your resin casts into a brooch? Check out my tutorial video on the Prima Marketing channel for to see how I add brooch pin backs to resin casts!

De-Moulding Tips
You want to remove your mould casts while they are still a little pliable as this makes them easier to release.
- Use your fingers to pull or roll the mould from the resin cast, releasing the edges of the cast.
- Some smaller more cured casts may pop out easily. However for larger or long and skinny casts, you'll want to flip your mould over on your work surface and roll the mould off of your cast.
- After releasing your casts, you can do one of two things: First is to pop the casts back into the mould to finishing curing and hardening--this is great if you want a cast that is completely flat. Second is to shape your mould to your project while it's still soft--this is great when you are applying moulds around a curved object, such as a bottle. I recommend using some painters tape or low-tack craft tape to hold your resin mould to the project until it's hardened then glue it, or you can go ahead and glue it to your project while it's still soft.

How to Paint Resin
You can paint or color resin with a variety of different mediums, from watercolor to acrylic, or cover it with wax! Because resin is non-porous, you'll first want to prime it with gesso. Gesso has "tooth" which provides a porous surface for other paints and mediums to be applied to. Without gesso, your paint will eventually just peel or flake off.
I like to do a few different techniques for coloring my resin casts. First is a shabby chic look. You can achieve this by applying a watery paint to your primed mould and letting the paint pool in the low points or crevices. Once that first layer is dry, I then dry brush a white gesso or impasto paint over the highlights to draw out the texture with that color contrast.

Second is applying wax to the highlights. I do this over plain primed casts or painted casts. Simply prime and paint your cast with one color of paint, then use a contrasting wax color to highlight the texture.
Third is detailed paint jobs where I use multiple colors of paint to create a realistic and detailed look. This one takes the most time and a little bit of practice--as well as multiple tiny brushes!
The final option using different colors of wax to fully cover a primed cast. Using a stenciling brush will help you get this full coverage.
**You don't want to just pour your paint water directly down your drain or you could ruin or clog your drain over time. Be sure to check out my art medium cleanup tips for proper disposal!**
Want to see all of this in action? Be sure to check out my DIY Scarab Beetle Brooch tutorial video over on the Prima Marketing channel! Thanks for stopping by and until next time, happy crafting!
Adrienne
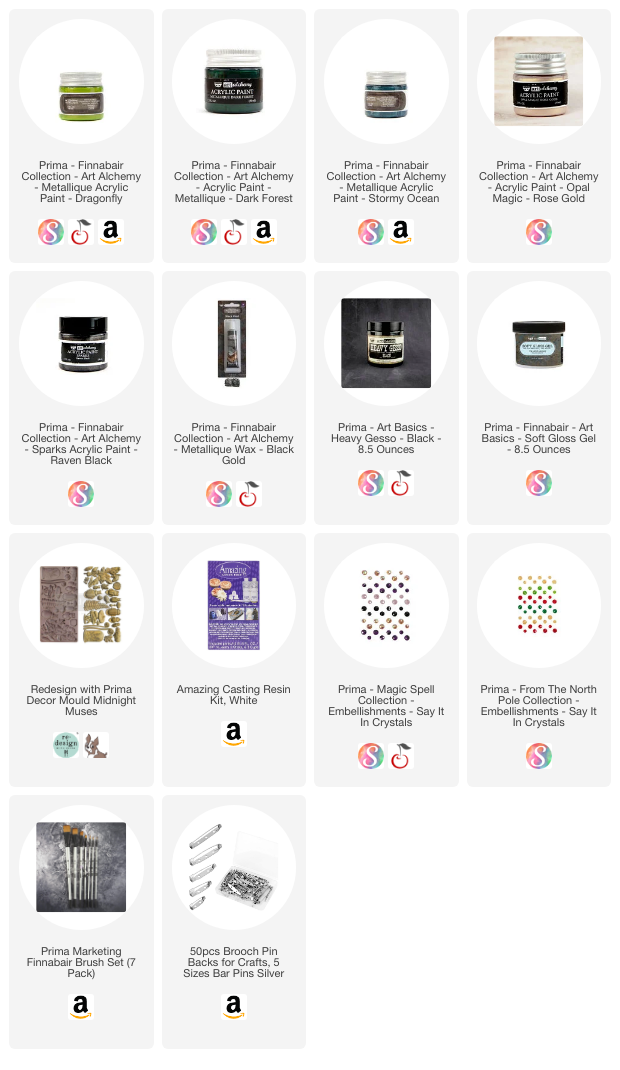
Shop the Supplies:
Scrapbook.com, A Cherry On Top, Spellbinders, Sizzix & Amazon
I am an affiliate with multiple companies. When you shop the links below, I receive a small commission from the affiliate, at no additional cost to you. This helps me balance the costs of the time and love I put into my projects and blog so I can continue to share my ideas with you for FREE. If you shop the links, thank you! I greatly appreciate it.
You can also use the code adrienne15 for 15% off your order on the Prima Marketing Retail site.
Below are products that I used for this project.


0 comments
I'd love to hear your thoughts!