
Mixed Media 101: What Art Mediums Should I Buy or Use for Mixed Media Projects?
I get a lot of questions about what art mediums you should buy when starting out with mixed media. So let's talk about some of my favorite art mediums, what I recommend you should start out with buying, plus how I created this pastel confection!

Hey, crafty friend! Many of you are just dipping your toes into mixed media and want to know what all those art mediums are for and which ones you should buy first. So let's talk about them, plus, which ones I recommend you start with. And I'll also walk you through how to recreate my project.
Jump to a Section

Mediums and Embellishments
You can shop many of the supplies I mention below on the Prima Marketing Retail Site. Use code adrienne15 for 15% off your order!
The Basics
These basic supplies help you create projects from start to finish and serve as primers, texture and adhesives.
- Gesso: This is the most basic of mixed media art supplies and serves as a primer. Gesso has "tooth" in it, allows you to apply other mediums on top of it so they don't peel or flake off. You can use it to prime un-primed canvases and non-porous surfaces such as resin and metal as well as to protect paper from wrinkling and warping. Gesso comes in white, black and clear. Clear is best for applying over paper.
- Soft Gels: Soft refers to the "structure" of the gel. Soft gels don't have as much structure or body, making them perfect for applying things such glitter, glitter glass and art stone, or it can be used as an adhesive to glue paper to other surfaces. These come in matte and gloss. (I mixed glitter into Prima's Soft Gloss Gel to create my own dimensional raindrop medium.)
- Heavy Gels: These gels have a lot more body or structure to them--in other words, when you apply them through a stencil, it holds its shape after you remove the stencil. You can mix paints, sprays or mica into these gels to create your own custom medium or they can be used to adhere heavier or metal objects to your project. These gels are often labeled as 3D Matte/Gloss or Heavy Body Gel.

Texture Pastes
Texture pastes can be added to projects with a palette knife and are often applied through a stencil to create texture. Some pastes have grit/texture while others do not. Grit/texture will dictate what stencil you use. For pastes with more grit/texture, you want a stencil with a lot of open areas so the texture has a chance to really shine. For those with minimal or no texture/grit, delicate and intricate stencils can be used. You can mix in paints, mica powders and other mix-ins to create a custom medium.
- Modeling Paste: This opaque matte paste can have texture or be texture free. Examples include Scrapbook.com's Cloud Whip (with grit) and Prima's Modeling Paste (no grit).
- Paper Paste: This is a slightly pulpy paste is matte and opaque, with a hint of texture.
- Crackle Paste: This paste cracks as it dries. The thicker you apply it, the bigger the cracks.
- Other Pastes with Grit or Glitter: These "effect pastes" can be clear or opaque and often contain gritty material like sand, glitter, mica or iridescent flakes. Some examples are the Prima's Jewel Pastes, Effect Pastes, and Sand Texture.

Acrylics
Acrylics are water-based paints made of acrylic resin particles and pigments. They are fast drying, water-resistant when dry, and can be applied to a variety of surfaces. These can be heavy and creamy like Prima's Impasto, or thin and liquidy, like Prima's Liquid Acrylics. Some also have mica in them, such as Prima's Metallique (fine mica) or Sparks (chunkier mica) Paints, or are color-shifting such as Prima's Opal Magic paints, which display different colors of mica on dark and light backgrounds.
Watercolors
Watercolors are a water-based medium that are a mix of pigments and a binding agent and are known for their translucent nature. These are most often used on watercolor paper, but can be used on mould casts that are made of casting powders or gesso primed resin.

Waxes
Waxes are a highly pigmented wax and can be applied to primed and unprimed surfaces. It is permanent once set. Waxes are often used to highlight texture on moulds or embossed papers. It should be the last thing you apply as no other medium will stick to wax once set. Waxes come in clear (for setting and protecting your work), matte, metallic or opalescent.

Moulding Materials
These materials are placed into silicone moulds to create moulded shapes that can be added to your projects.
- Resin: Resin should always be used with caution. Mixing the 2 parts causes an exothermic reaction (a process that releases heat as a byproduct of a chemical reaction) as well as chemical smells. You should always wear gloves and a mask and work in a well ventilated area. That being said, resin is my favorite moulding material! It provides excellent detail and my favorite sets up in 10 minutes. I release the casts from the mould then set them on a flat surface to fully cure (30 minutes to an hour), or place it back into the mould to finish curing.
- Casting Powders: Casting powders can be things like paster of Paris or resin-like powders. These powders are mixed with water and then can be poured into moulds and set up in 30 minutes to an hour, depending on how humid your climate is. These aren't as toxic as resin, however I still recommend wearing gloves while working with this as those with sensitive skin may find the powders irritating.
- Paper Clay and Air Dry Clay: This type of material dries a little slower but can be easily molded around curved objects. It also provides a slightly "shabby chic" appearance as it will often crack as it dries and shows less detail than resin or powders. Apply cornstarch or other powder to your mould and then press the clay into the mould, scraping off the excess, de-mould your cast and let it dry flat, or glue it to a curved surface with a bit of soft gel.
- Modeling Material: This is like air dry clay but has a very smooth finish and shows less imperfections. It has a little bit of a learning curve and can crack if not applied into the mould as one solid piece, so I recommend this one for a bit more of an experienced hand.

Other Mix-Ins and Embellishments
These mix-ins and embellishments can be added to projects for texture and sparkle! They include things such as:
- Mica powders
- Glitters
- Foil Flakes
- Beads
- Glitter Glass
- Fibers like sisal, trim or lace
- Pearls and gems
- Found objects like twigs, lightbulbs and other "junk"
- Metal embellishments (such as Finnabair Mechanicals)
- Chipboard (I personally love the printed and plain Beautiful Board at Reneabouquets!)
- Stencils
- Paper flowers--no Prima lover can go without these on their projects!

Cleanup Tips
Cleaning up right will help save your pipes! Many of these mediums include acrylics or other plastics, which can stick to and coat your plumbing pipes. Here's a few things I like to have on hand to help me clean up in a way that won't make me call a plumber to snake my drains more often that usual:
- Multiple water cups to wash brushes in.
- A brush rinsing system, such as the Masterson Rinse Well, which gives you clean water to was brushes in, then drains the dirty water into a reservoir below at the touch of a button.
- A stencil bath--this is just a plastic tub (like you would put leftovers in) filled with water and soap. Soak your stencils in there and gently scrub off the medium before rinsing in your sink.
- A nail brush to clean stencils off.
- Paper towels and a water spray bottle to clean my hands, my work surface, brushes and stencils on.
- A mesh strainer to pour off dirty liquids through.
When getting rid of dirty liquids, pour them through a mesh strainer to catch the larger particles. Then wipe your cup or plastic tub out with paper towels to get rid of the sediment and throw those towels in the trash. You can also wait for the water in your cup or tub to evaporate and then peel or wipe the sediment out.

What You Should Buy as a Beginner
I know it's tempting to want to buy it all, but if it's your first time trying mixed media, and you aren't sure if it's for you, I recommend buying a small handful of supplies. I always tell people to buy gesso (white or clear) and either 2 or 3 acrylic paint colors, or 1 to 2 acrylic paints and 1 wax. These are the most beginner-friendly mediums. If you want to try your hand at creating moulds, I recommend the Amazing Resin, which sets in 10 minutes or a paper or air dry clay. If you want to try stenciling texture, I recommend Prima's Modeling Paste as it is texture free and can be used with any stencil.

Tutorial
Now let's get into the tutorial for how to create this shabby chic mixed media project I shared in this blog post!
- Start by creating your mould casts using your preferred moulding material, letting the moulds set completely.
- On a 5x7 inch stretched canvas, apply Prima's Modeling Paste through a stencil and set aside to let it dry.
- Once dry, paint half the canvas with the Wild Iris Impasto and the other half with the Dusty Rose Impasto. Spray with water as you work to help the color move and to mix the two colors in the center to create an ombre effect. You'll notice the paint will mostly pool around the modeling paste texture when you apply water to your paints, creating a sort of resist effect. Set this aside to dry.
- Paint your mould casts with the Opal Magic Acrylic Paint in Violet Gold. You shouldn't need to prime with gesso for this shabby chic look, but you can if you want to.

- Use the Snow White Impasto to dry brush the highlights of your mould casts and the texture on the canvas. Dry brushing means applying paint to your brush, wiping off the majority of the paint so the brush is "nearly dry" then brushing over the surface of your project.
- Glue your elements to your canvas, stacking up your flowers and mould casts. I like to use hot glue for embellishments that are supporting other embellishments and Heavy Body Gel for other embellishments. Tuck in the lace as you go. (If you want to get a long-form tutorial on my floating frame effect, check out this video on my YouTube channel!)
- Using white gesso or the Snow White Impasto Paint, dab or brush the white medium onto the edges of the petals of your paper flowers.
- With a paintbrush, apply Soft Matte Gel to the flowers and sprinkle on glitter or glitter glass. Tap off the excess glitter/glitter glass.
- Add pearls with some liquid glue or Soft Matte Gel then pop on some crystals.

And that's it! I hope that you enjoyed this Mixed Media 101 and that it inspires you to try your hand at a project like this one. Until next time, happy crafting!
Adrienne
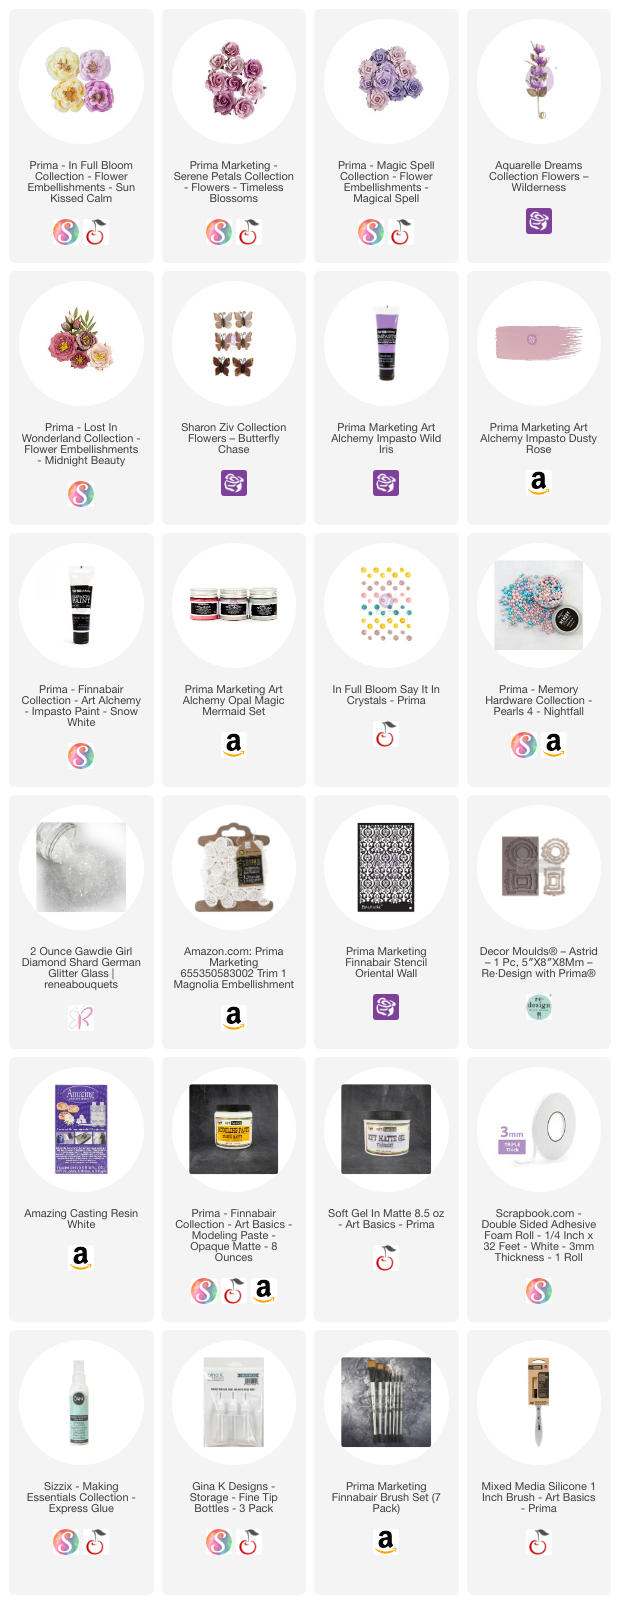
Shop the Supplies:
Scrapbook.com, A Cherry On Top, Spellbinders, Sizzix & Amazon
I am an affiliate with multiple companies. When you shop the links below, I receive a small commission from the affiliate, at no additional cost to you. This helps me balance the costs of the time and love I put into my projects and blog so I can continue to share my ideas with you for FREE. If you shop the links, thank you! I greatly appreciate it.
You can also use the code adrienne15 for 15% off your order on the Prima Marketing Retail site.
Below are products that I used for this project, or similar ones.


0 comments
I'd love to hear your thoughts!