
First Flight Hot Air Balloon Scrapbook Layout with Embroidery
Learn how to turn the Sizzix Catherine Pooler Floating Fancy hot air balloon dies into stitching dies!

Hey, crafty friend! This hot air balloon Thinlit from Sizzix designed by Catherine Pooler is super adorable! It's large enough to fill up an entire card front but I decided to add these to a pretty scrapbook layout. (You can shop all of the supplies for this project below!)

I was feeling inspired to add even more texture to these die cuts by adding my own stitching with DMC embroidery floss. But before I get to that, let's first talk about how I created the background for this layout. I used the In the Clouds layered stencil to make the cloud background.

So I wouldn't just have white on white, I mixed a bit of the Sizzix Expand Paste with some of Catherine Pooler's ink in Tranquil. I sponged some of the ink onto a piece of old plastic packaging and placed a dollop of the paste on it and mixed them together. Then I applied this through the stencil in various places on a pice of 12x12 Mixed Media Cardstock.

The trick to getting that fluffy texture is to let your Expand Paste dry completely. Once dry, you can use your heat gun on it to create that marshmallow texture. You'll see that where it expands, the clouds will turn more white. But in between the crevices, you'll still get a hint of that light blue.

While your paste is drying, die cut your hot air balloons, flowers and leaves from the Floating Fancy Thinlit set. I used the Summer Surfacez cardstock (salmon, coral, peony and nautical blue) as well as patterned paper from the A2 Charming Paper Pad from Scrapbook.com (I chose 3 patterns for the balloons and used the solid green for the leaves). Using mint tape will help you get the perfect amount of pattern for your layer dies.

I also matted my 4x4 photo with a bit of the Charming paper and tore the bottom edge for more texture.
Glue the layers of the basket together with Express Glue. Then glue the strips of patterned paper to the hot air balloon base. You can also glue the layers of the flowers together. Place the baskets, flowers, leaves and decorative layers of the balloons aside in a little tray.

Using an awl and a foam craft mat, pierce your hot air balloons along the edges of each section. You don't want to get too close to the edge, but if you happen to push your awl through and it tears to the edge, just use a bit of washi tape or Spellbinder's craft tape as a bandaid on the back and re-pierce the hole. You don't need to worry about the number of holes or if the sets next and across from each other are even. Just keep the spacing between each hole as even as possible.
Here are the DMC cotton floss thread colors and I used and the cardstock they match with:
- Sizzix Summer Salmon + DMC 3774
- Sizzix Summer Coral + DMC 3824
- Sizzix Summer Peony + DMC 3712
- Sizzix Summer Nautical Blue + DMC DMC 930
I've color matched all of my Sizzix cardstock swatches to DMC floss! Get my FREE updated Sizzix & DMC Floss Color Match Guide here!
Cut about 35 inches of your 6 stranded DMC embroidery floss and separate it into 3 sets of 2 threads. This will keep your embroidery from being too thick for this particular project. (I've used 3 threads and all 6 threads before too.)

I used a running stitch to add embroidery to my pierced holes on the balloons. Start on the back and come up through your first hole with one of your 2 thread floss sections. Then go down through the next hole and come up through the next one. You'll see that this creates a "skipped" stitch, but don't worry!

Once you get all the way around one section of your balloon, you just keep going around again, filling in the skipped stitches. Depending on the number of holes you pierced, you can either keep going in the same direction, or you may have to turn around and go the other direction. Do this for each section on each of your die cut hot air balloons. You can either tie off the ends of your floss on the black, or use a piece of washi tape to hold it to the back. Each balloon should take you all 3 sets of your 2 stranded thread sets.

Once this stitching is complete, glue the basket to the bottom of the balloon by attaching it to the backside with Express Glue. Then glue the two decorative layers on. On the upper decorative layer, pierce a single hole through each round section.

Cut some coordinating embroidery floss (15 to 20 inches is more than enough) but this time, separate it into two sets of 3 threads. Using one set of your 3 thread sections, create a French Knot in each of the holes by coming up through the hole. Then wrap the thread around your needle three times, keep it taught (but not so taught that you can't get the eye of the needle back through it), and push your needle back through that same hole.

French Knots require a bit of practice if you've never done them before, so try it out on some scrap paper first. The only way to take a French Knot out is to cut it out, whereas with the running stitch you can just remove the needle and take your stitches out if you mess up.

Add your flowers and leaves to your balloons with small foam circles and Express Glue. Then die cut a banner from the Vintage Tags and Banners Thinlit set, cutting it from the smooth side so you can easily add your sentiment.

Also die cut out the butterflies from the Floating Fancy Thinlit set from Opulent pearl cardstocks (I used the navy from the Muted Opulent and the light pearl from Rose Gold Opulent) plus the solid notched bunting layer from the Birthday Bunting Thinlits set from the Summer Surfacez. Glue the body of the butterfly to a bunting layer and when dry, add dimension by bending the wings up.

Pierce a hole on each top corner of the bunting and thread some embroidery floss through them with a needle. Then assemble your elements onto your background paper using 1/4 inch wide foam adhesive (I used 1 and 2 mm thick foam). Finally, pop a few jewels on for some sparkle!
I hope that you love this stitching and scrapbook layout idea. Let me know if you love stitching on your die cuts in the comments below, and until next time, happy crafting!
Adrienne
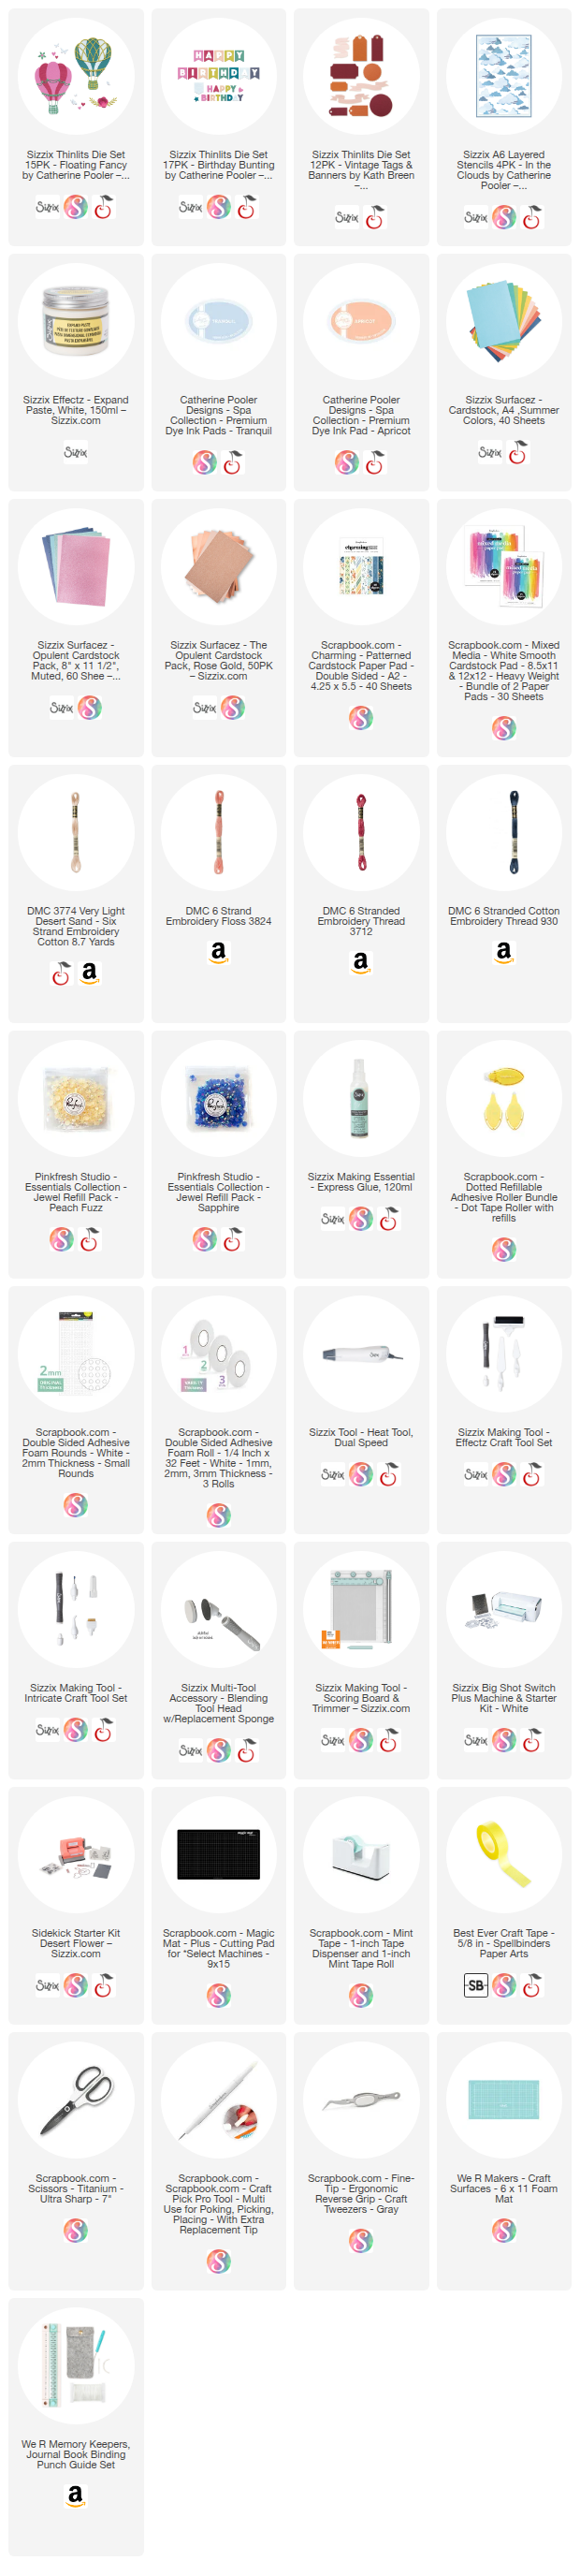
Shop the Supplies:
Scrapbook.com, A Cherry On Top, Spellbinders, Sizzix & Amazon
I am an affiliate with multiple companies. When you shop the links below, I receive a small commission from the affiliate, at no additional cost to you. This helps me balance the costs of the time and love I put into my projects and blog so I can continue to share my ideas with you for FREE. If you shop the links, thank you! I greatly appreciate it.
Below are products that I used for this project.


0 comments
I'd love to hear your thoughts!