
Let's fly high with these fun scalloped kite tags using the latest Sizzix Catherine Pooler collection.

Hey, crafty friend! Today's tutorial is all about how to pair the Sky's the Limit Framelits and the Posh Patterns Textured Impressions 3D Embossing Folder designed by Catherine Pooler for Sizzix.
You can shop all of the supplies used in this project at the bottom of this blog post!

This fun embossing folder features 4 different patterns and you may be wondering, what can I use this for? Well, besides making textures backgrounds for ATCs or mini cards, you can also place the little sections of these kites into the different patterns for a fun textured look. Each piece of the kites in this Framelits set is designed to fit inside each of those 4 pattern sections that are part of the embossing folder!
So now that you better understand this 4 sectioned embossing folder, let's hop right into this easy tutorial! You'll need a bunch of the Sizzix Smooth White Surfacez cardstock--that's the only cardstock I used in this project.

All the colored cardstock is simply created by swiping the Catherine Pooler inks across the white cardstock. So first, take 2 pieces of the white cardstock and swipe the Sparkling Berry ink across one and Slate across the other. Set these aside to dry.
From the same white cardstock, die cut the 2 largest scalloped circles from the Scalloped Circles, Borders and Banners Thinlits set 3 times each. On the 3 largest scalloped circles, swipe the edges with the Tranquil ink.

Pull out your Stencil and Stamp Tool and place the stencil adapter on your hinge base. Attach the first stencil layer of the In the Clouds Stencil set. Place your smaller scalloped circles under the stencil pressing them onto your sticky grid (I could fit 2 at once under the stencil). Using the Tranquil ink, lightly ink the first layer using your Multi-Tool with the Blending Tool Head attached. (You can use the included flat foam circle from Sizzix or the domed foam from Tim Holtz or Scrapbook.com--they all fit!)

For the second stencil layer, ink with the Tranquil ink again, but increase the pressure for a darker hue. For the third layer, use a medium pressure with the Slate Ink and the fourth layer a strong pressure with the same Slate ink.

Holding the 2 scalloped circle layers together, punch a hole through both in the top. Then adhere the two layers together using some 1mm thick foam adhesive.
Now that your inked cardstocks are dry, we can die cut them! Die cut the kite layers from the Sky's the Limit Framelit set. I cut the base kite layer and bows from the Sparkling Berry cardstock and the string and top kite layers from the Slate cardstock.

To make the string and bows more sturdy as they hang off the tag, die cut the strings and bows multiple times from plain white cardstock. I ended up using two layers of white under the top inked layer of cardstock.
Place the top layers of each kite in the embossing folder--I made sure that each of the 3 kites used each of the 4 patterns at least once. Mist the die cut cardstocks and send this embossing folder through your Sizzix die cut machine. After they are embossed, apply a little bit of the Lilac Rainbow Luster Wax with your fingers to the raised areas of the cardstock for a pink shimmer. (This wax works best over dark colors, so if you decide to go with a different color cardstock, make sure it's a deeper hue!)

Use Express glue to adhere the layers of the kites together. Then adhere the kite to the tag base with 2mm thick foam adhesive, adding in a little lace if you like.
Next, stamp out some sentiments using the Happy Everything stamp set and the Hickory Smoke Distress Archival Ink. I used Mint Tape to mask off parts of stamps to create my own custom saying "best friends" then combined "be" with "happy" and "excited" for the other 2 sentiments. I used my trimmer to cut these stamped sentiments down and glued each one to a tag using dotted adhesive.

The finishing touch was popping a few gems on using Express Glue and adding some string to the top of each tag. I hope you enjoyed a closer look at these tags and the quick and easy tutorial! Until next time, happy crafting!
Adrienne
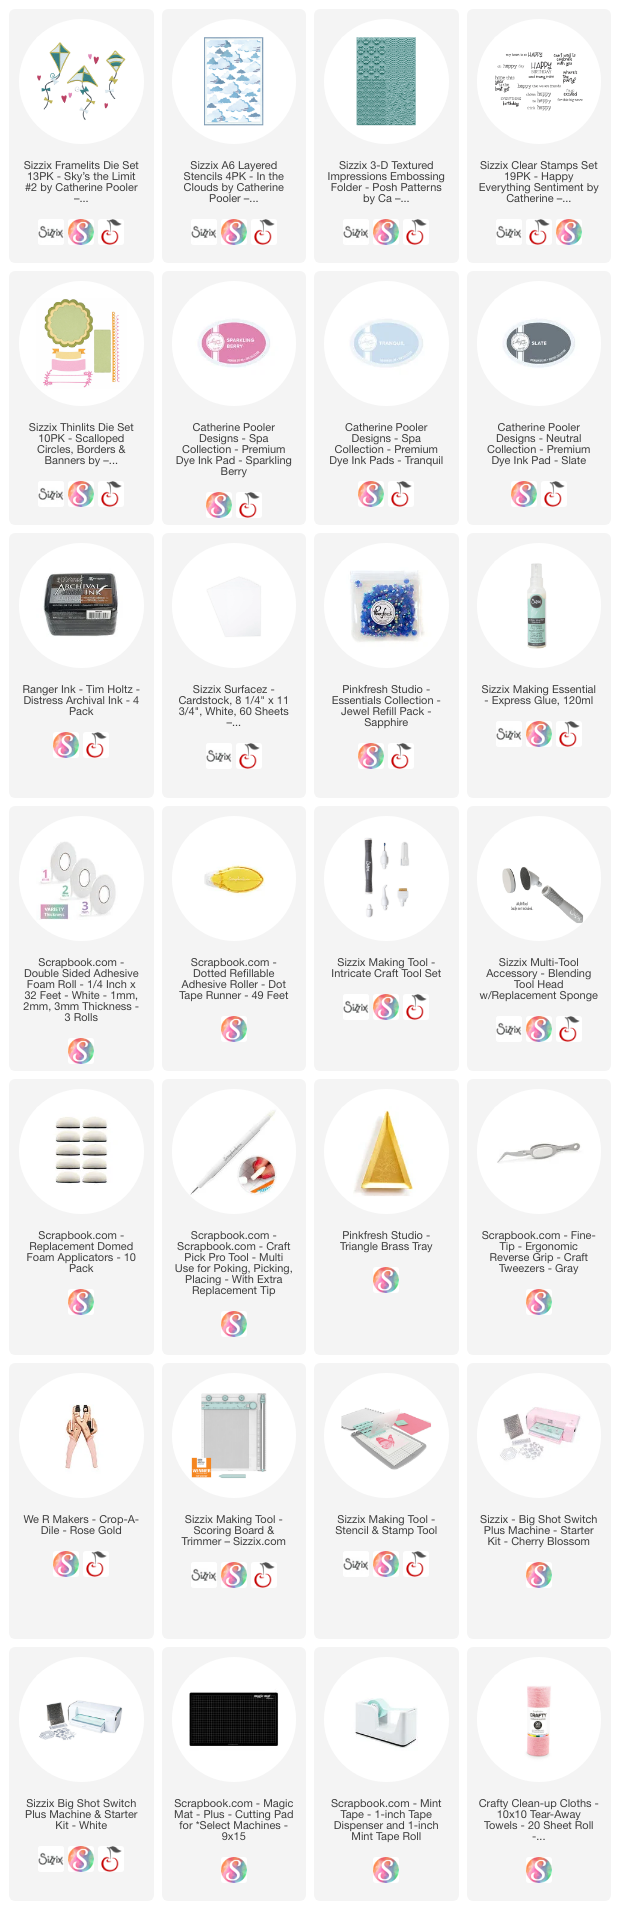
Shop the Supplies:
Scrapbook.com, A Cherry On Top, Spellbinders, Sizzix & Amazon
I am an affiliate with multiple companies. When you shop the links below, I receive a small commission from the affiliate, at no additional cost to you. This helps me balance the costs of the time and love I put into my projects and blog so I can continue to share my ideas with you for FREE. If you shop the links, thank you! I greatly appreciate it.
Below are products that I used for this project.


0 comments
I'd love to hear your thoughts!