
How to Create a Basket of Robin's Eggs for Your Paper Crafting Projects
There is nothing more that says spring to me than robin's eggs. Scrapbook.com's nested eggs die, paired with Tim Holtz Distress products makes for the perfect robin's eggs. Learn how to create this sweet basket of eggs for your own craft projects.

Hey, crafty friend! Scrapbook.com's Nested Egg Die and the basked from the Berry Sweet die are perfect for making a basket of eggs this spring or easter. (You can shop the supplies I used to create this card at the bottom of this blog post!)

But rather than making a set of pastel-hued decorated eggs, I created a set of robin's eggs inspired by nature itself. So let's get right into this tutorial!

Cut a white A2 card card base from some Solar White cardstock. Then cut a patterned paper matte of the pink and white speckled paper from the A2 Bouquet pad, trimming it to 4 x 5.25 inches and adhering it to the white card base with the Dotted Adhesive Roller.

Pull 3 sheets of the A2 White Mixed Media cardstock out. To create the robin's eggs, blend Distress Oxide in Speckled Egg onto a piece of the cardstock. Then mist it with Distress Spritz, letting some bigger drops fall onto it. Dry this with the Ranger Heat Tool. Then die cut 6 eggs, using the 4th smallest Nested Egg die.

For the basket, blend half of one of the pieces of Mixed Media cardstock with Vintage Photo Oxide and the other half with Walnut Stain Oxide. Activate the Oxides by misting and splattering it with water from a spray bottle. Dry with the Ranger Heat Tool. Die cut the 2 basket layers from the Berry Sweet die set once each. Then die cut the top part of the basket's top layer another time.
From the 6x8 Ombre Paper Pad, die cut that top portion of the basket's top layer again, as well as one of the bows from the Bow Topper die.

On the third and final sheet of Mixed Media cardstock, blend half with Bundled Sage Oxide and the other half with Victorian Velvet Oxide. Mist and splatter with water from a spray bottle and dry with the Ranger Heat Tool. Using the smallest leaf die and flower die from the Berry Sweet die set, cut 6 leaves from the green and 10 of the flowers.

Using Artis Glue, adhere 2 of the flowers together to layer them up, creating 5 flowers. Using a pair of small scissors, trim the top part of the basket off of the brown and pink cuts and glue them together, with the pink on top and the brown and a thick reinforcement (we'll be popping this up). Then glue the bottom and top layer of the basket together.
Using 1/4" 1mm thick foam adhesive adhere the pink top of the basket to the brown basket base.

This part is optional, but I wanted to add a bit of "grass" to the basket. You can use crepe paper, but I went with sisal fibers to keep with the natural feel of the project. Place a strip of 1/4" wide foam to the top of the back of the basket--you'll stick your "grass" to this. I wadded up a small amount of sisal and pressed it into the foam adhesive.

Add 3 eggs to the basket, pressing it into the foam (you might need to add a little roller adhesive to the foam and sisal again to make it sticky enough). Then a 2 more behind those first three eggs, using 2mm thick foam. Add more 2mm thick foam to the bottom of the basket and stick the entire basket with eggs to your card base.

Shape the bow with your fingers and pop it onto the basket with a dot of Artis Glue. Then add another egg to the bottom right of your basket with 1mm thick foam.
Shape your flowers and leaves then add them to your card. Pop some of the Ocean Breeze Jewels onto your flower centers and on various spots around your card for a bit more sparkle. And that's it! I hope you enjoyed this fun little nature-inspired spring card and that it inspires you to create some robin's eggs of your own; until next time, happy crafting!
Adrienne
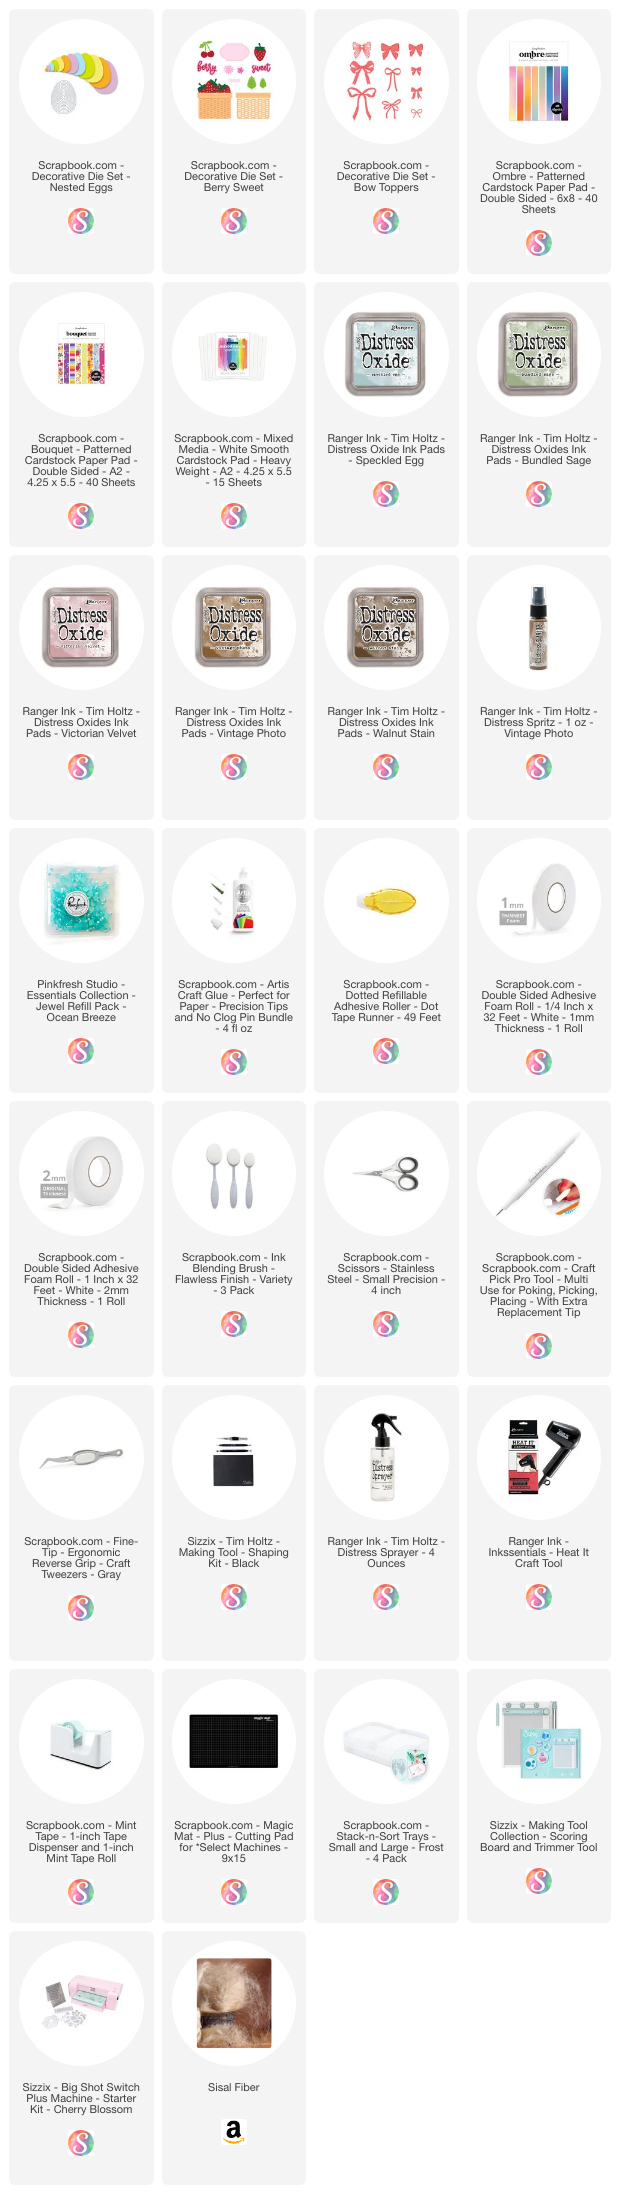
Shop the Supplies:
Scrapbook.com
I am an affiliate with Scrapbook.com When you shop the links below, I receive a small commission from the affiliate, at no additional cost to you. This helps me balance the costs of the time and love I put into my projects and blog so I can continue to share my ideas with you for FREE. If you shop the links, thank you! I greatly appreciate it.
Below are products that I used for this project.


0 comments
I'd love to hear your thoughts!