DIY Frosty Snowflake Christmas Ornaments with Sizzix Effectz Line

by - 2:00:00 PM

With the holidays just around the corner, it’s the perfect time to make some simple DIY ornaments that you can give as a gift, hang on your tree, or decorate presents with! 

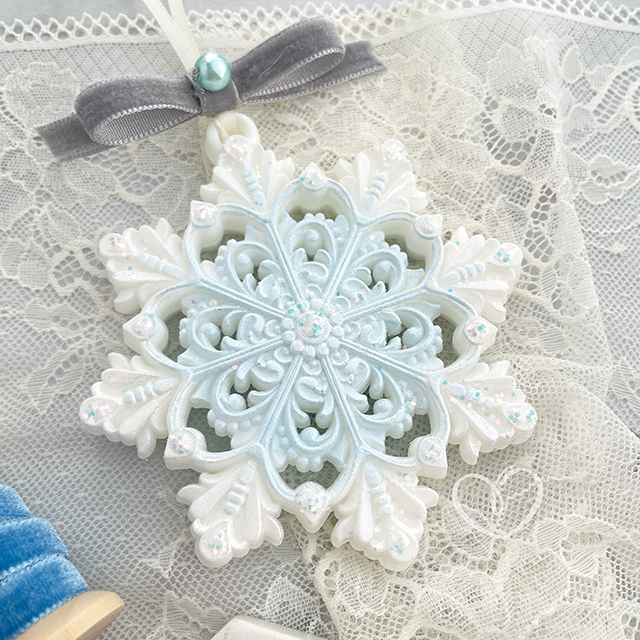
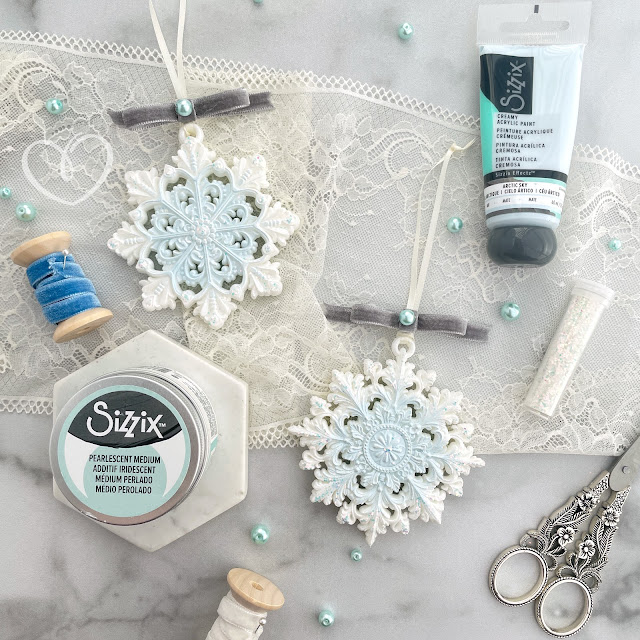
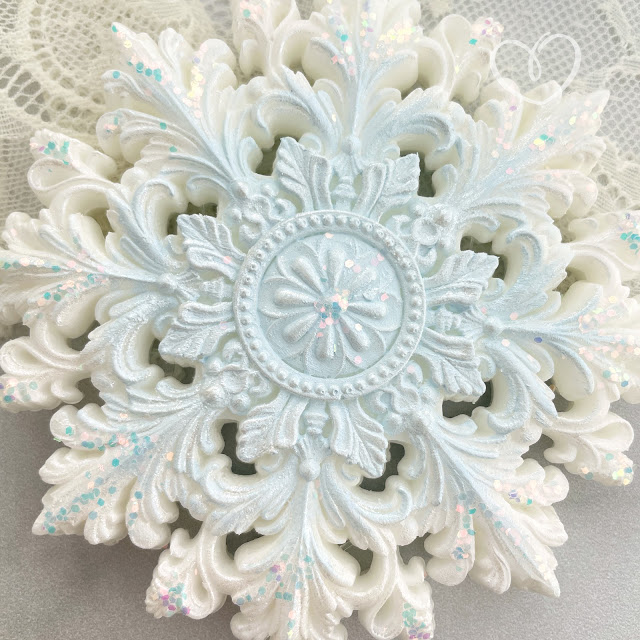
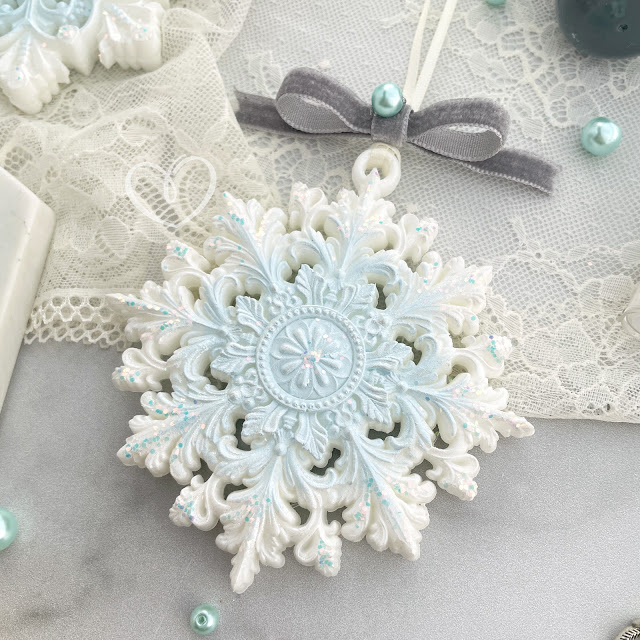
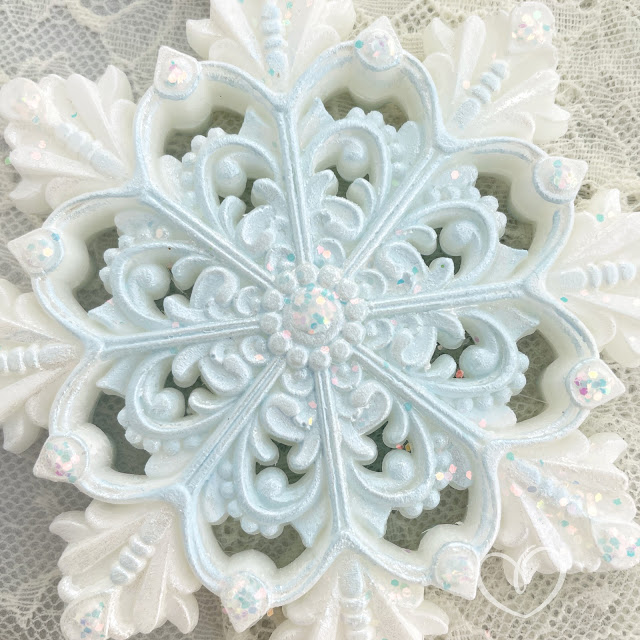
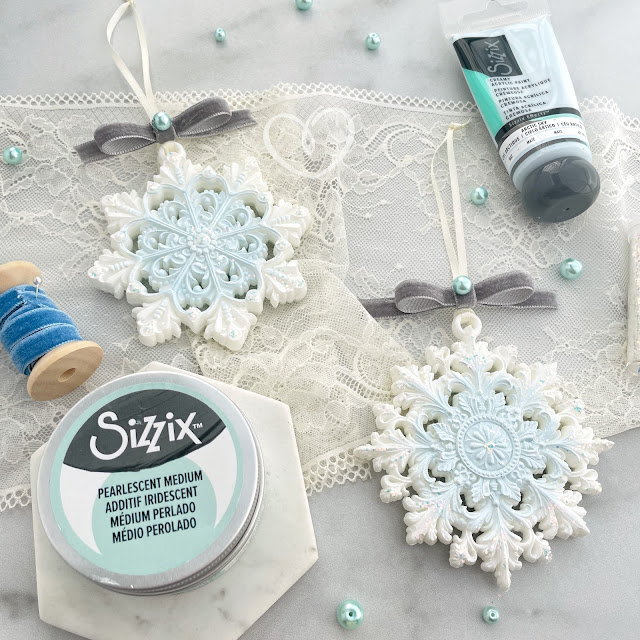
DIY Christmas ornament snowflakes created with the Redesign with Prima Wonder Spark snowflake moulds, Sizzix Creamy Matte Effects Arctic Sky Paint, Pearlescent Paste; and Prima Marketing Finnabair glitter.

The Sizzix Pearlescent Medium is the perfect medium for creating a frosty, pearlized snowflake ornament! In fact, it’s honestly just the perfect medium for any snowy, wintry, Christmas-sey project in general. It’s definitely something I reach for often for a hint of glitz and glam in my mixed media projects. And a little goes a long way so you get real value for the price. 

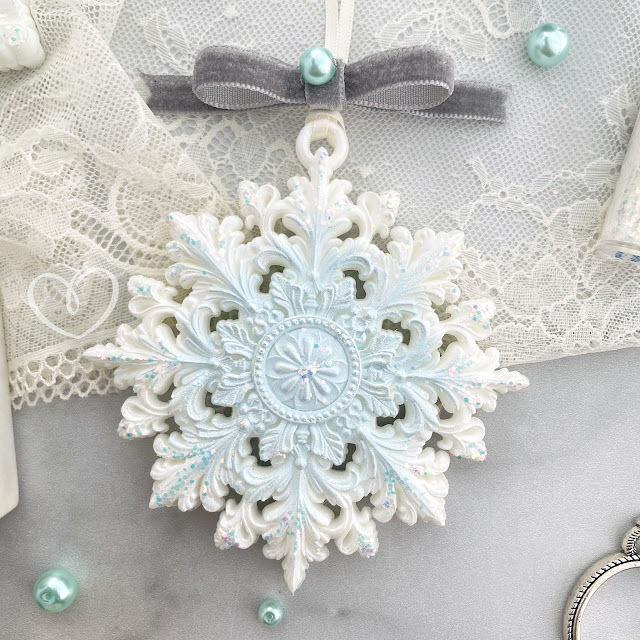
DIY Christmas ornament snowflakes created with the Redesign with Prima Wonder Spark snowflake moulds, Sizzix Creamy Matte Effects Arctic Sky Paint, Pearlescent Paste; and Prima Marketing Finnabair glitter.

Enough of me gushing over the Pearlescent Medium. Let’s get right into this tutorial! The Redesign with Prima Frost Spark moulds are perfect for creating some beautiful snowflake ornaments. I use resin to create my moulds, but you can also use modeling material or paper clay as alternatives. I created two resin casts of each of the largest snowflakes, so I could create a double-sided ornament.

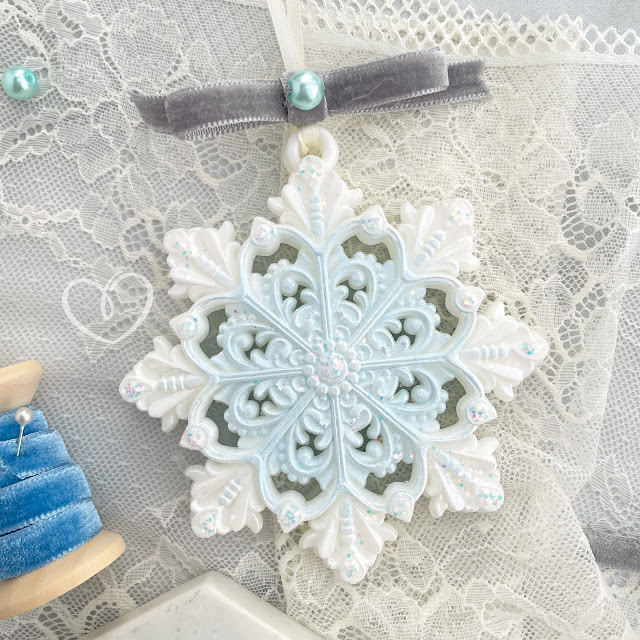
DIY Christmas ornament snowflakes created with the Redesign with Prima Wonder Spark snowflake moulds, Sizzix Creamy Matte Effects Arctic Sky Paint, Pearlescent Paste; and Prima Marketing Finnabair glitter.

Once the snowflakes were fully cured, I painted each cast with White Gesso. Gesso is a primer. In other words, it has “tooth.” Tooth is what creates a grippy, porous surface that accepts other mediums without them flaking or peeling off. But it also makes a nice matte white paint!

DIY Christmas ornament snowflakes created with the Redesign with Prima Wonder Spark snowflake moulds, Sizzix Creamy Matte Effects Arctic Sky Paint, Pearlescent Paste; and Prima Marketing Finnabair glitter.

After the gesso was dry, I squeezed a bit of the Creamy Matte Acrylic Paint in Arctic Sky onto my Multi Media Mat. I then applied the paint starting in the center of each snowflake, then feathering the paint out toward each spoke of the snowflake. 

DIY Christmas ornament snowflakes created with the Redesign with Prima Wonder Spark snowflake moulds, Sizzix Creamy Matte Effects Arctic Sky Paint, Pearlescent Paste; and Prima Marketing Finnabair glitter.

After the first layer of blue paint was dry, I added a second layer of blue paint, again to the center, feathering it into the first layer of blue. This helps darken the center of the snowflake just a touch. It’s subtle, and easier to see in person, but definitely makes a difference!

DIY Christmas ornament snowflakes created with the Redesign with Prima Wonder Spark snowflake moulds, Sizzix Creamy Matte Effects Arctic Sky Paint, Pearlescent Paste; and Prima Marketing Finnabair glitter.

After all of the paint was dry, I then dipped a paintbrush into the Pearlescent Medium, dabbing the excess off on my mat. I then brushed the highlights, or raised areas of each snowflake with the pearly medium. I added additional layers of this medium as needed.

DIY Christmas ornament snowflakes created with the Redesign with Prima Wonder Spark snowflake moulds, Sizzix Creamy Matte Effects Arctic Sky Paint, Pearlescent Paste; and Prima Marketing Finnabair glitter.

Next I used the Sizzix Hot Glue Gun to adhere the matching snowflakes back-to-back. I looped some 1/8 inch white ribbon through the top of each snowflake ornament. Then I created a velvet bow for each ornament from some Tim Holtz velvet trim (I used the gray from the original Christmas set). I sewed a Prima Memory Hardware pearl to the center of each bow, then hot glued the bow onto the white ribbon. 

DIY Christmas ornament snowflakes created with the Redesign with Prima Wonder Spark snowflake moulds, Sizzix Creamy Matte Effects Arctic Sky Paint, Pearlescent Paste; and Prima Marketing Finnabair glitter.

For a last touch of sparkle, I used Scrpabook.com’s Clear Craft Glue and added it in spots on the front of the snowflakes. I then dusted the glue in some Finnabair iridescent glitter from the Winter set. I worked in small sections so the glue wouldn’t dry before getting dusted in glitter. 

Now all that is left is to decide what to do with your new DIY Christmas ornaments! Until next time, happy crafting!
Adrienne

Shop the Supplies:


Sizzix & Scrapbook.com

I am an affiliate with Sizzix and Scrapbook.com. When you shop the links below, I receive a small commission from the affiliate, at no additional cost to you. This helps me balance the costs of the time and love I put into my projects and blog so I can continue to share my ideas with you for FREE. If you shop the links, thank you! I greatly appreciate it.


Below are products that I used for this project or similar ones.


Prima

Enjoy 15% off your order on the Prima Retail site when you use code adrienne15.


Below are products that I used for this project.


Redesign with Prima


Below are products that I used for this project.


Amazon

I am an affiliate with Amazon. When you shop the links below, I receive a small commission from the affiliate, at no additional cost to you. This helps me balance the costs of the time and love I put into my projects and blog so I can continue to share my ideas with you for FREE. If you shop the links, thank you! I greatly appreciate it.


Below are products that I used for this project.


You May Also Like

0 comments

I'd love to hear your thoughts!