
How to Create Your Own Matching Collection Using Distress Inks
All you need are a stencil, stamps, a die, white cardstock and some Distress Oxide Inks to create a colorful Valentine’s Day gift tag.

I often use patterned paper to create a base for my tags and many of my other projects and then match embellishments or buy the matching embellishments, but sometimes it’s nice to create your own patterned paper and die cut embellishments with inks, essentially creating your own custom collection. Which means you only need white cardstock, a stencil and some dies to go with those inks!

And the beauty of these types of tools are that you can use them over and over, or refill them in the case of the inks. Some of these tools, like more intricate dies, can be a little bit of an investment when you buy them, but the use you get out of them in comparison to ephemera packs is huge. Don’t get me wrong, I love ephemera and embellishment packs too because they help make quick work of projects when you are short on time. But if you have the time to make your own stuff, it can be so much fun and really rewarding. Just make sure you have your heat tool ready—I like to give all of my inked elements a shot of hot air to keep anything from smudging.

When I choose a pattern paper for an element, I always consider how much of it will be showing in the final project. Will a lot of be showing? Will a little of it be showing? My rule of thumb is to choose smaller or tighter patterns for things that have less showing in the final project, giving you the ability to actually see what the pattern is, and larger or more open patterns for things where you’ll see a lot more of it in the final project.

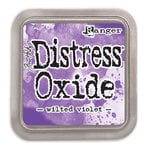
For the base of this tag, I chose the new mini hearts grid stencil from Scrapbook.com because I knew I’d be layering some sentiments and floral die cuts over it. These itty bitty hearts are so cute and you can see multiples of them in even a small section of space between embellishments. I created an ombré of pink to purple using kitsch flamingo and wilted violet Distress Oxides. And I always reach for my 4” mint tape when stenciling to hold the stencil in place while applying ink.

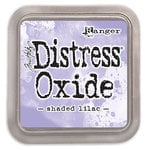
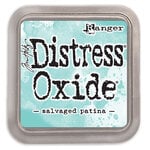
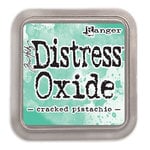
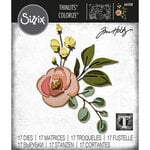
To create the floral embellishments with the bloom colorize die, I inked up some more white cardstock. I did three blends: kitsch flaming and worn lipstick, wilted violet and shaded lilac and salvaged patina and cracked pistachio. For each of the three blends, I inked, spritzed, dried and repeated until I was happy with how it looked. Once all of the dies were cut, I assembled the pieces with a bit of collage medium. For the few base layers that I didn’t add additional layers to, I shaped them with my shaping tools.

I stamped out two sentiments using kitsch flamingo and wilted violet and the xoxo stamp set from Scrapbook.com. I cut each out into a strip and then used my small scissors to turn each into a banner by making a snip up the middle and then cutting a triangle out from the corner to top of the middle snip. I ran the banners between my fingers to curl the ends a little. Then using my Crop-o-dile, I punched holes into the two banners and then attached a pastel pink eyelet, connecting the tag and the two banners.

I then added my floral elements to the bottom of the tag using collage medium and foam adhesive to pop it up a bit and give dimension. I added a couple of gems and sequins with a little glossy accents. And to finish off the tag, I looped a bit of white tulle through the eyelet then tied a pink velvet bow around the tulle. It really turned out so sweet and I had fun using one of my favorite color combos! Until next time, happy crafting!
Adrienne
Shop the Supplies:
Scrapbook.com
I am an affiliate with Scrapbook.com. When you shop the links below, I receive a small commission from the affiliate, at no additional cost to you. This helps me balance the costs of the time and love I put into my projects and blog so I can continue to share my ideas with you for FREE. If you shop the links, thank you! I greatly appreciate it.
Below are some of the products that I used.


0 comments
I'd love to hear your thoughts!