Coral Peony Paper Flower Tag with Spellbinders Die

by - 4:08:00 PM

Peonies are my absolute favorite flower and I look forward to peony season in my garden every year. 

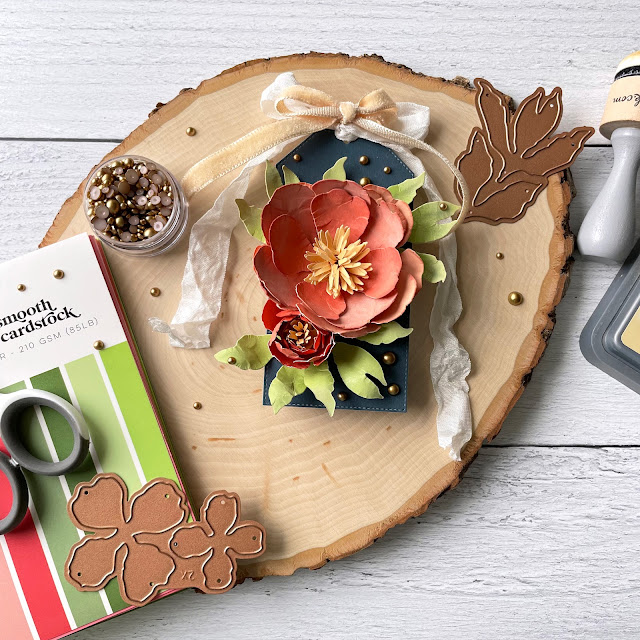
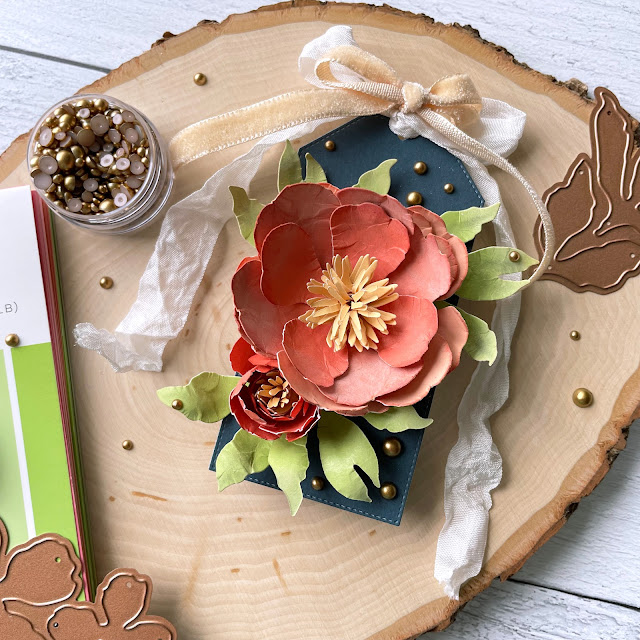
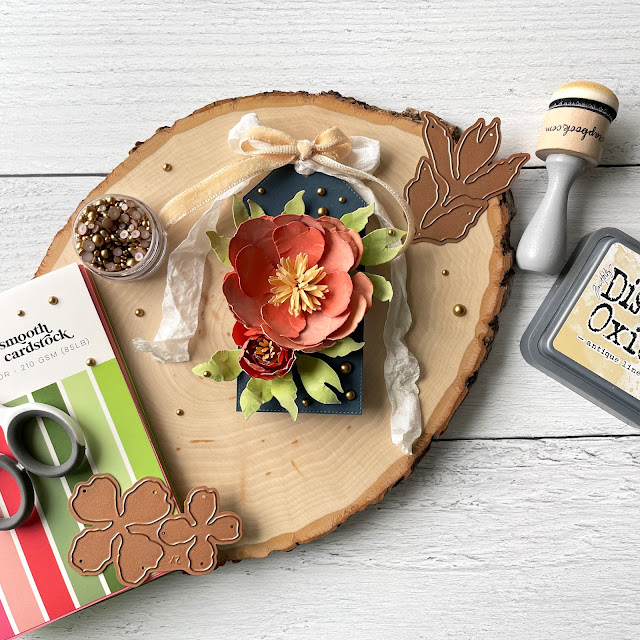
Coral Peony Paper Flower Tag made with: Spellbinders single and double peonies die; Scrapbook.com A2 smooth cardstock floral, domed foam blender, scissors; Tim Holtz distress oxide in antique linen, warm velvet trim, crinkle ribbon; Prinkfresh Studio matte gold pearls; Crate Paper stitched tag die

Those fluffy flower were grown by my dad’s mother, my Oma Lola. She was known for her stunning  spring gardens full of peonies and lilac. She passed away when I was only two months old from ovarian cancer, so growing them makes me feel connected to her. 

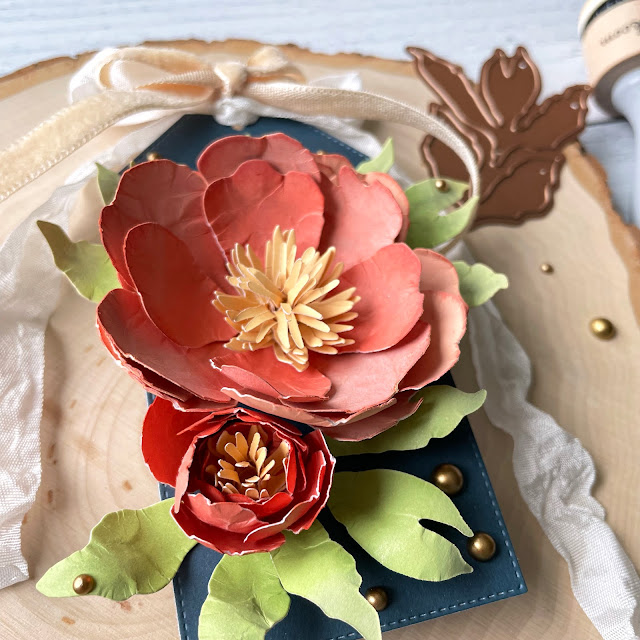
Coral Peony Paper Flower Tag made with: Spellbinders single and double peonies die; Scrapbook.com A2 smooth cardstock floral, domed foam blender, scissors; Tim Holtz distress oxide in antique linen, warm velvet trim, crinkle ribbon; Prinkfresh Studio matte gold pearls; Crate Paper stitched tag die

When I saw the Spellbinder’s double and single peony die last year, I just had to have it. But I just haven’t had time to use it until now. There are literally not enough hours in the day for crafting. Anyway, enough about my issues of there not being 40 hours in a day.

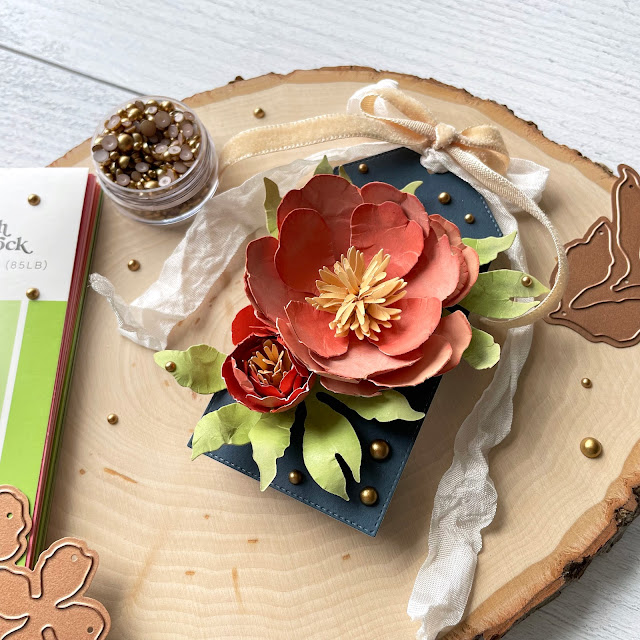
Coral Peony Paper Flower Tag made with: Spellbinders single and double peonies die; Scrapbook.com A2 smooth cardstock floral, domed foam blender, scissors; Tim Holtz distress oxide in antique linen, warm velvet trim, crinkle ribbon; Prinkfresh Studio matte gold pearls; Crate Paper stitched tag die

I decided to model this peony after my Coral Charm peony in my garden. The blooms start out pink and once it’s fully open, it fades to coral and then as the bloom ages further, it fades to peach and then yellow. It’s literally like watching a slow motion sunset in my garden. 

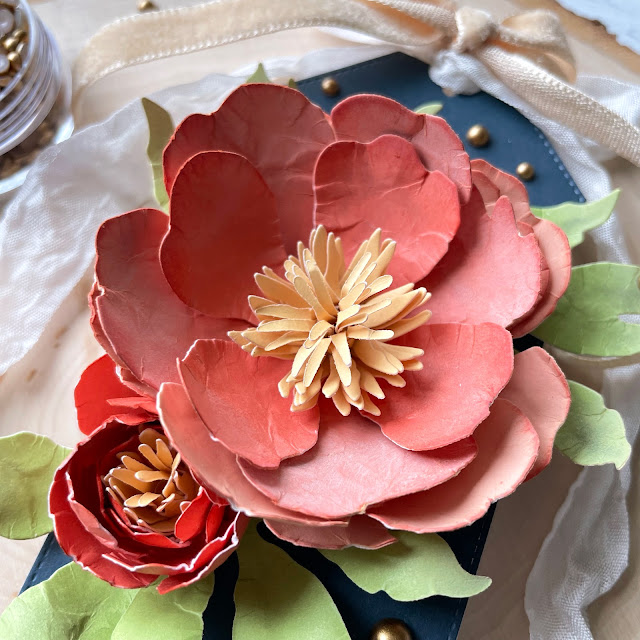
Coral Peony Paper Flower Tag made with: Spellbinders single and double peonies die; Scrapbook.com A2 smooth cardstock floral, domed foam blender, scissors; Tim Holtz distress oxide in antique linen, warm velvet trim, crinkle ribbon; Prinkfresh Studio matte gold pearls; Crate Paper stitched tag die

Creating a blend is so much easier on projects like this when you start with cardstock in some of the hues you are trying to achieve. So I chose a peach and a coral from my floral A2 smooth cardstock pad and cut out several of each size petal, using the darker shade toward the center and the lighter shade for the outer petals. Adding in blending to go between the two shades of orange can then be done with just 1 or 2 shades of ink. I then used some shaping tools to add dimension to the petals. I also cut the flower center out several times from a light yellow from the warms A2 smooth cardstock pad and shaped these as well. 

Coral Peony Paper Flower Tag made with: Spellbinders single and double peonies die; Scrapbook.com A2 smooth cardstock floral, domed foam blender, scissors; Tim Holtz distress oxide in antique linen, warm velvet trim, crinkle ribbon; Prinkfresh Studio matte gold pearls; Crate Paper stitched tag die

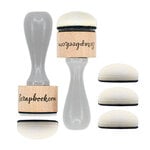
I then added a bit of Distress Ink in crackling campfire to the edges of all the petals and dried the ink with a quick shot of my heat tool. I then layered Distress Oxide in antique linen over the top, pouncing the ink on with my domed foam blender. Don't do the oxide ink too heavy handed or you'll completely cover up all of your crackling campfire ink. I dried this with my heat tool just so the ink wouldn’t smudge. I glued all the flower petals and centers together with collage medium, creating one large bloom and one bud.

Coral Peony Paper Flower Tag made with: Spellbinders single and double peonies die; Scrapbook.com A2 smooth cardstock floral, domed foam blender, scissors; Tim Holtz distress oxide in antique linen, warm velvet trim, crinkle ribbon; Prinkfresh Studio matte gold pearls; Crate Paper stitched tag die

I then cut some leaves out of a lighter green from the florals pad. I pounced the tips of each leaf with Distress Oxide in antique linen and hit it with my heat tool to set. I then used the shaping tools to give the leaves dimension. I glued one leaf to the back of the petals on the larger peony, just to push one set of leaves further out from the base of the flower. 

Coral Peony Paper Flower Tag made with: Spellbinders single and double peonies die; Scrapbook.com A2 smooth cardstock floral, domed foam blender, scissors; Tim Holtz distress oxide in antique linen, warm velvet trim, crinkle ribbon; Prinkfresh Studio matte gold pearls; Crate Paper stitched tag die

I cut out a tag from the navy cardstock from the peppermint A2 pad. I added a small dollop of heavy body gel to the bottom of the peonies and glued them to the tag. Using collage medium, I added additional leaves around the blooms. 

Coral Peony Paper Flower Tag made with: Spellbinders single and double peonies die; Scrapbook.com A2 smooth cardstock floral, domed foam blender, scissors; Tim Holtz distress oxide in antique linen, warm velvet trim, crinkle ribbon; Prinkfresh Studio matte gold pearls; Crate Paper stitched tag die

For finishing touches, I added some matte gold pearls to the tag. I also added a little crinkle ribbon to the top of the tag. I made a bow of some peach colored velvet trim from Tim Holtz and sewed it on to the crinkle ribbon with a few stitches. And that’s it! It looks just like the peonies in my garden and will be perfect to add to an Easter basket of goodies. Until next time, happy crafting!
Adrienne

Shop the Supplies:


ReplicaSurfaces

Love the background I shot my photos on? It's from Replica Surfaces, a company that makes rigid photo-realistic backgrounds. This surface is called Shiplap. You can pick up your own with a 15% discount by shopping this link. When you do, I get a small commission from the sale at no extra cost to you, which helps me continue to provide you amazing tutorials and information, just like this blog post!


Scrapbook.com

I am an affiliate with Scrapbook.com. When you shop the links below, I receive a small commission from the affiliate, at no additional cost to you. This helps me balance the costs of the time and love I put into my projects and blog so I can continue to share my ideas with you for FREE. If you shop the links, thank you! I greatly appreciate it.


Below are most of the products that I used for this project.


You May Also Like

0 comments

I'd love to hear your thoughts!