Easter Banner with Tim Holtz and Scrapbook.com Products
It's time to start prepping and making those Easter projects!
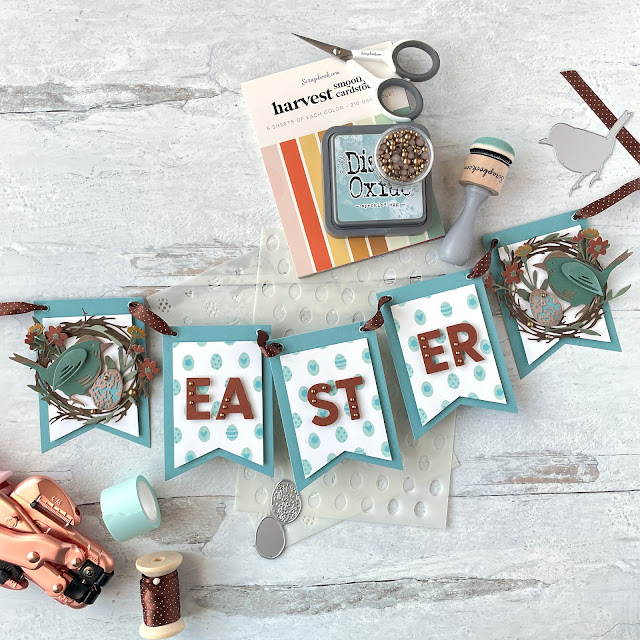
I don’t send many Easter cards, but I do like adding touches of spring around my house for the season. I already have a couple of non-holiday spring banners so I decided to make an Easter banner specifically this time.
Scrapbook.com sent me all of the stencils I’ve been creating with recently and this is the final project I’m creating for them. This particular project uses their new layered Easter Egg stencil So let’s get right into this walkthrough tutorial!
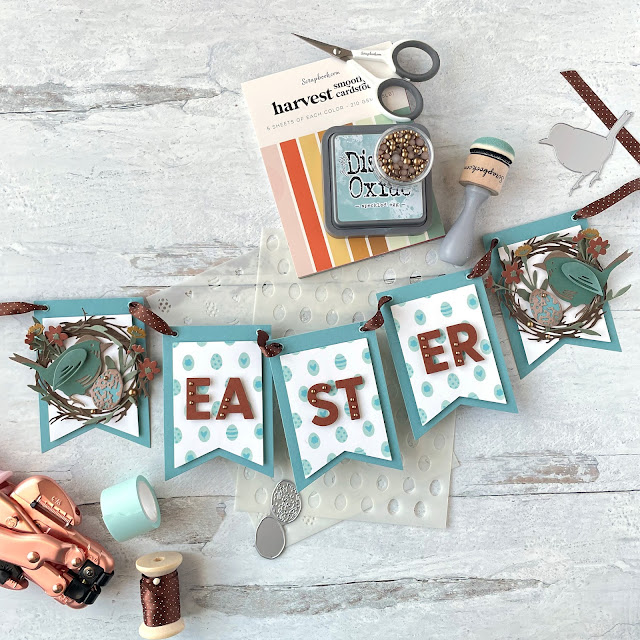
For the banner pieces, I cut some dusty blue cardstock from the A2 harvest smooth cardstock pad using the 5th largest banner from Scrapbook.com’s nested flag banner die set. I then cut solar white cardstock from the 4th largest nested flag banner.
Before going further, I used my Crop-o-dile tool to punch holes in the blue banners and also to set some pastel blue eyelets. Then I set aside the blue die cuts for the time being as well as 2 of the white die cuts.
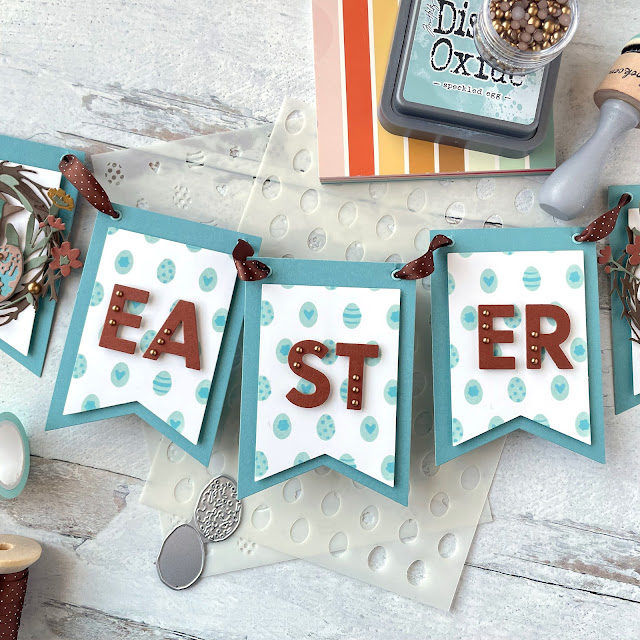
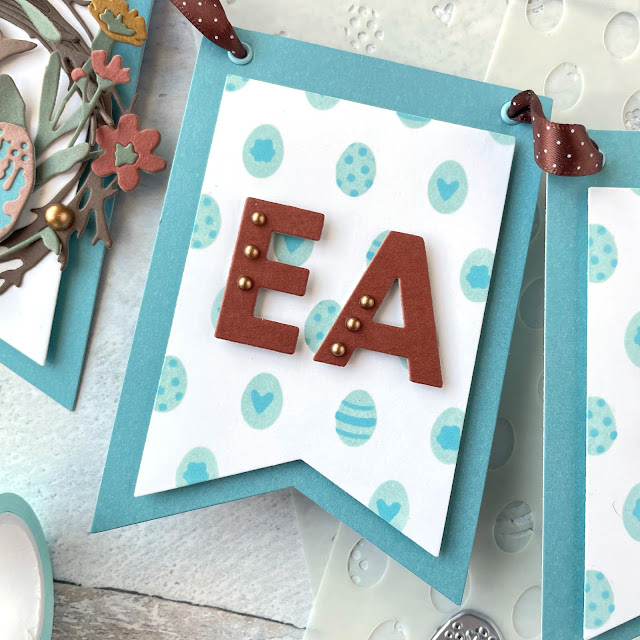
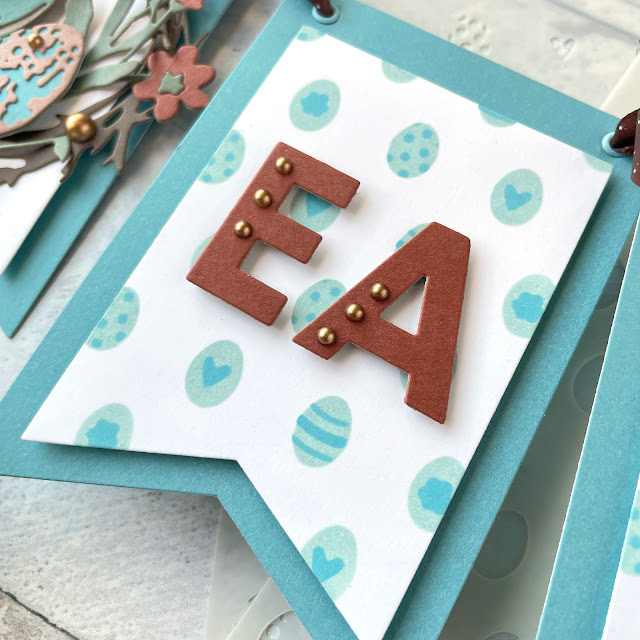
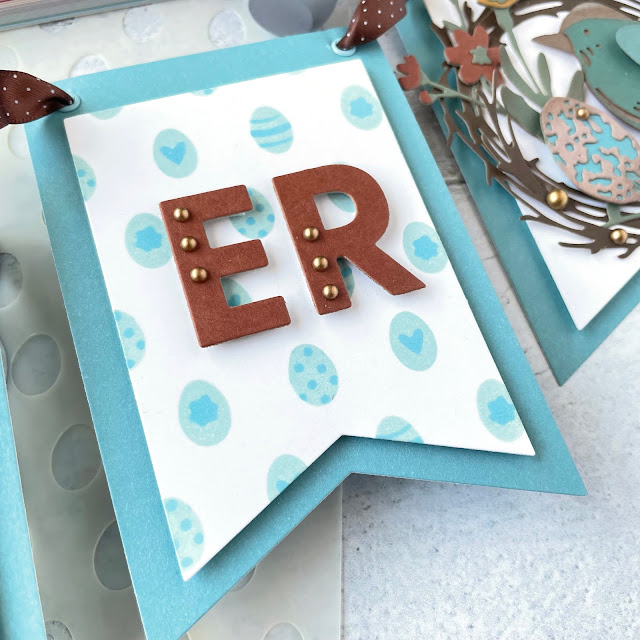
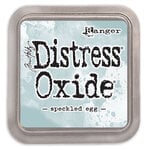
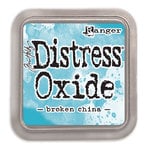
For the other 3 white die cuts, I added the stenciled Easter Eggs. I used Distress Oxides in speckled egg and broken china, using 4” mint tape to hold the stencils in place while inking. I always hit my inked stuff with a quick blast of my heat tool so that I don’t smudge anything. I then used 1” foam adhesive to adhere the white banner elements to the blue banner elements then set these aside while cutting out all the pretty little bits and lettering.
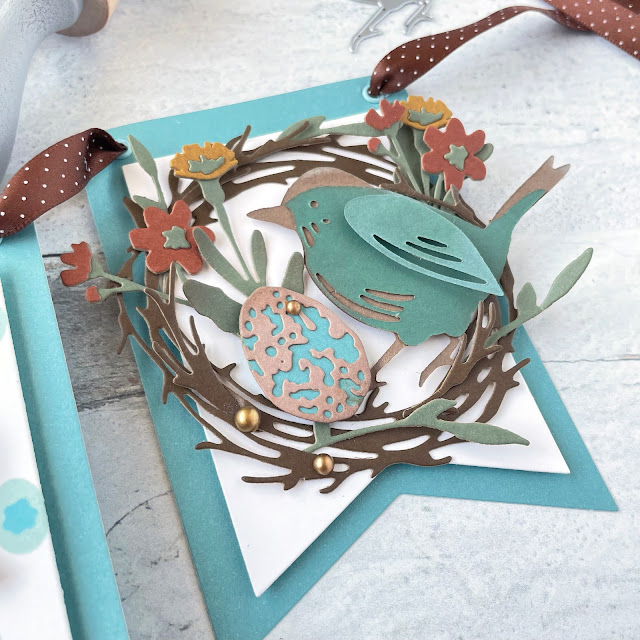
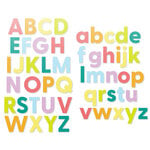
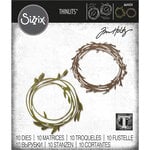
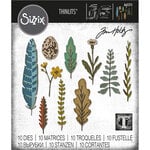
I used Tim Holtz kraftstock in neutrals, warms and cools to cut out elements from the feathered friends, funky nature and funky wreathes dies. Though the base layer of the egg from funky nature uses the same blue from banners. I then used the basic bold alpha dies from Scrapbook.com to cut out the word Easter.
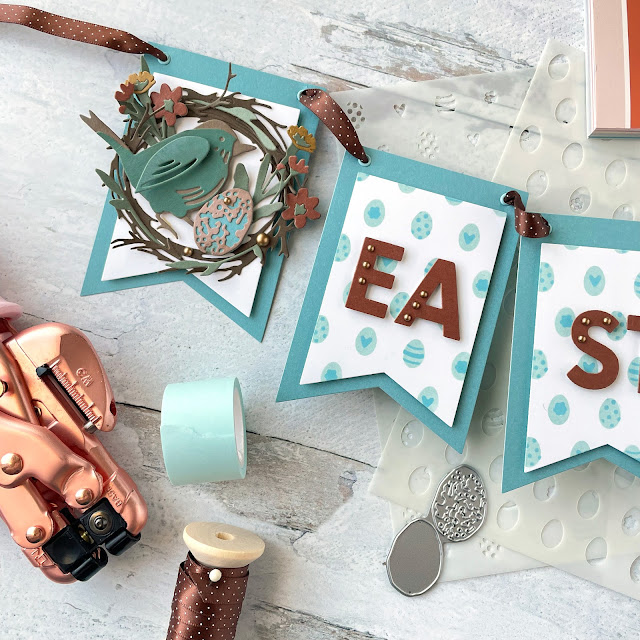
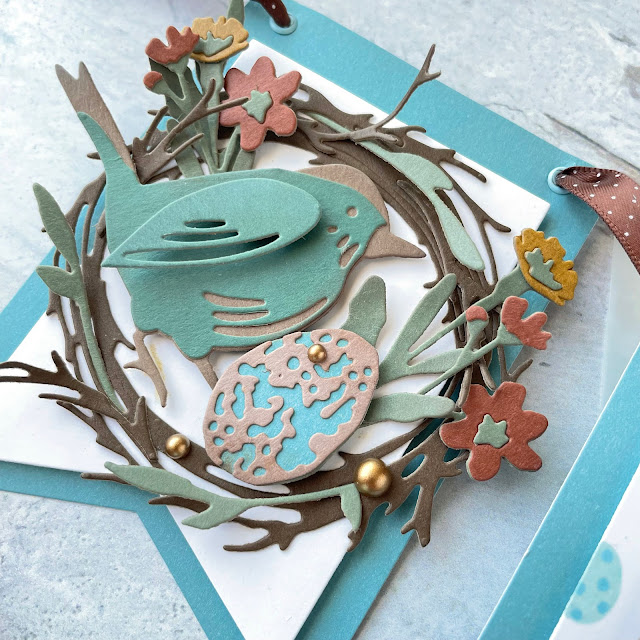
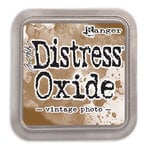
I glued the layers of the wreaths together with collage medium, sticking the layers of leaves and twigs in and around the wreaths to give them dimension. I added a bit of Distress Oxide in speckled egg and vintage photo to parts of the bird and then glued the layers together with collage medium, except for the wing which I curled with a finger on one end and then attached it with a small piece of 1/4” foam on the other side to the base of the bird.
I added a little bit of Distress Oxide in vintage photo to the leaves of some of the flowers then glued the layers together. I glued both the flower and flower centers in yellow and orange down, then layered the flower center in green over the yellow or orange, sort of like a colorize die just to add more dimension. I used a shaping kit to add dimension to the leaves of the yellow flowers.
Next I glued the wreathes down to the plain white banner layers using collage medium. I added the bird, glueing the legs down with collage medium and the body with foam adhesive. I added the egg with foam adhesive as well and then layered in the flowers, snipping off excess stem or leaves and layering the pieces differently to create a different look for certain bunches.
Using 1/4” foam tape, I glued down two letters to each of the stenciled banners, spelling Easter.
For a finishing touch on the banner, I added some matte gold pearls and then cut a black and white polka dot ribbon and strung my banner on.
It turned out so cute I can hardly contain my excitement! Let me know what your favorite spring or Easter project is in the comments below! Until next time, happy crafting!
Adrienne
Shop the Supplies:
Scrapbook.com
I am an affiliate with Scrapbook.com. When you shop the links below, I receive a small commission from the affiliate, at no additional cost to you. This helps me balance the costs of the time and love I put into my projects and blog so I can continue to share my ideas with you for FREE. If you shop the links, thank you! I greatly appreciate it.
Below are products that I used or similar products.











0 comments
I'd love to hear your thoughts!