Wild as the Wind: A Mixed Media Canvas Tutorial
You know when you take such a great photo that you don't have the heart to hide it way in a scrapbook album or display it in some plain, boring frame? That is exactly what happened to me.
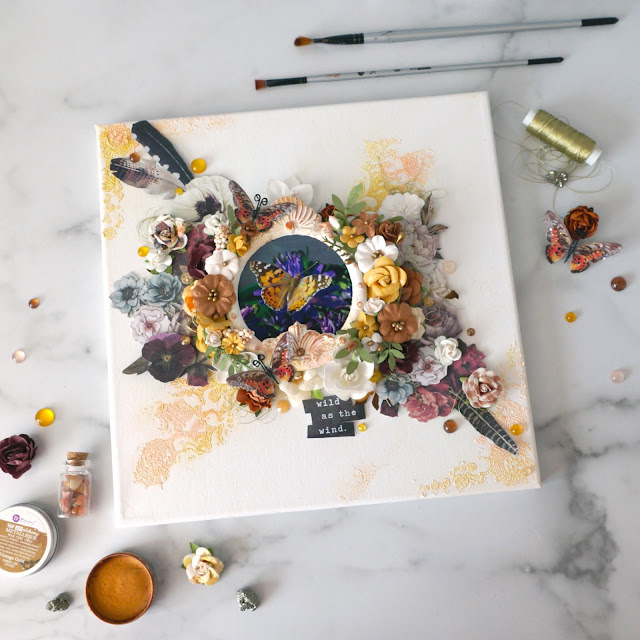
I took a ton of really great photos but I knew I wanted to display at least one of these photos in my craft room or bedroom in a really neat way. While mulling over how I wanted to add one of these photos to a mixed media canvas project, I came across some gorgeous butterfly embellishments from Reneabouquets that almost exactly matched the butterflies in my photos!
So I purchased a set of these butterfly embellishments and then a few flower embellishments from Prima online and waited with baited breath to receive my goodies in the mail. Once I got it all, I was super excited to get started on my project.
But I wanted to make sure that the photo didn't get completely lost in all the embellishments on this canvas. (I mean, when else can you use a ton of paper flowers if not on a mixed media project?!) There are a few ways to make sure that your photo doesn't get lost in the mix.
1 | Subject
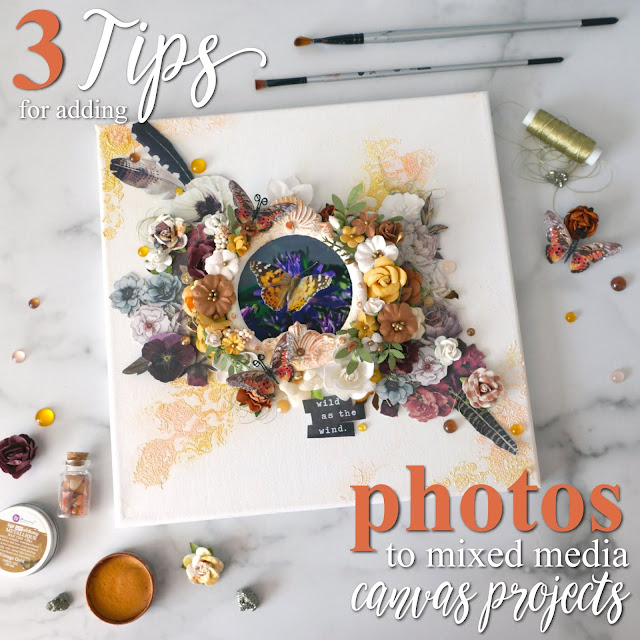
First, you need to consider the subject of your photo. Not every single one of your favorite photos will be a candidate for a project such as this. Your photo needs to be simple in color. Black and white, sepia and monochromatic color photos are definitely simple in color. But don't be afraid to choose a photo with a few more colors--my photo is mostly orange, yellow-orange and purple with a bit of green and neutral colors like brown.
You also want your subject to fill most of the frame. My butterfly takes up most of the frame, pushing the flowers to the background. If your subject is a person, a head shot is better than a full body shot. This close-up attention will ensure that your subject is "weighty" enough to compete with all the art mediums and embellishments.
2 | Layering
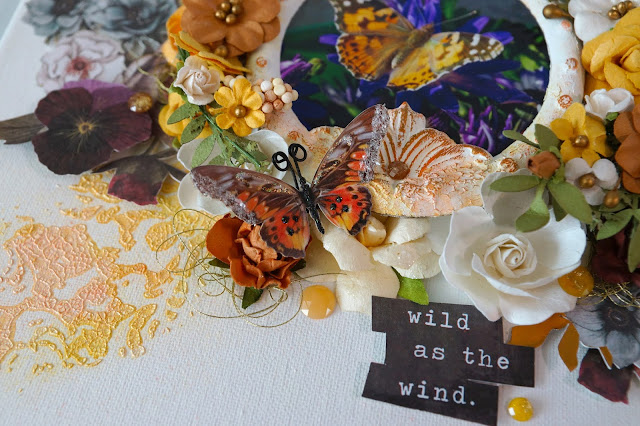
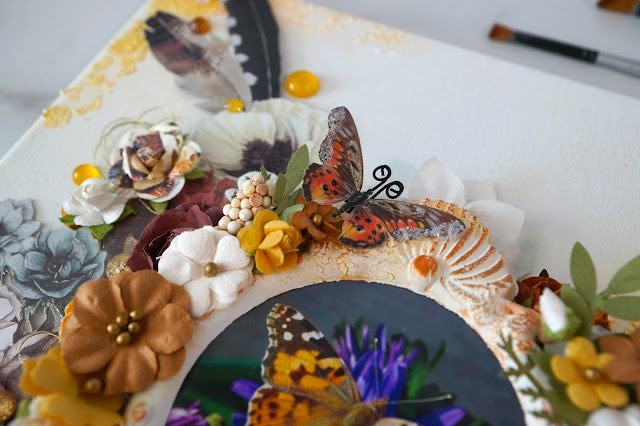
Second, you need to think about your layering. One way of layering is to make sure that the photo is the top layer or has minimal embellishments layered over it (like one or two simple embellishments). The second way to layer is to frame the photo so that the eye is drawn inward to the photo. This can be done easily with a resin or paper clay frame element.
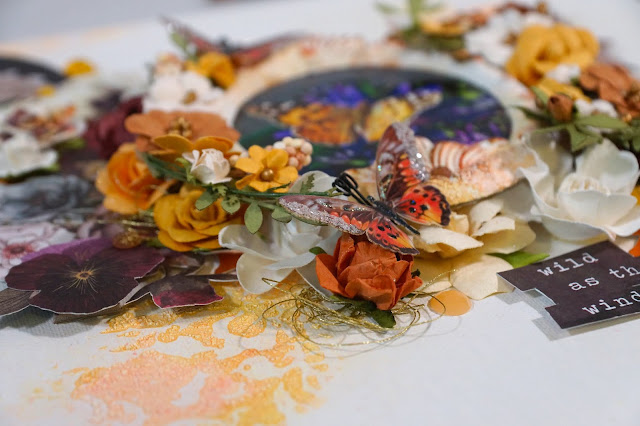
This second layering route is the way I wanted to go so that I could naturally place those gorgeous butterfly elements over the flowers in a realistic way. But as you can see from the photo above, my paper clay framed photo is still pretty high up in the mix; I placed some flowers and the butterflies in a way that they fall gently over the edges of the frame.
3 | Color
And finally, you need to consider your color pallet for your mediums and embellishments. No matter which layering option you choose, keep your color pallet to a minimum and to match those colors to the shades in your photo for cohesiveness. A good rule of thumb is to have two main colors and a few pops of other colors to keep it interesting. My main colors are orange and yellow with a few pops of dusty blue and purple-reds to match the minimal colors in my photo.
To pop this framed photo up higher in the layering, I made use of a small empty ribbon roll that I saved. Not only does reusing packaging save you money when creating mixed media projects, but it's the perfect way to be environmentally friendly in the craft room. And this is very important to me. I save a ton of packaging to use in other ways and recycle anything that I don't hang on to if possible. And for this particular project, it was the perfect way to honor a mixed media project about nature and pop my photo up so it sits higher in the levels of layers.
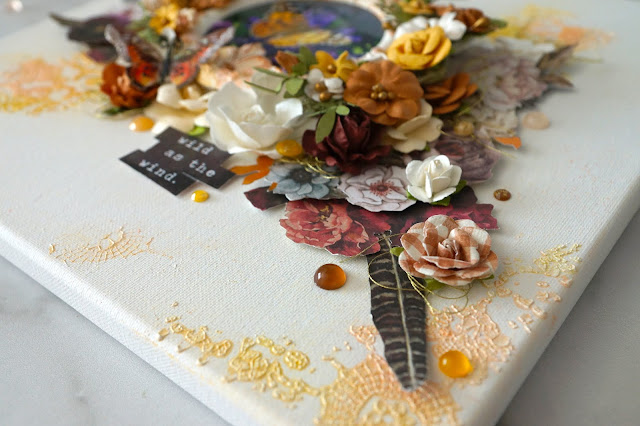
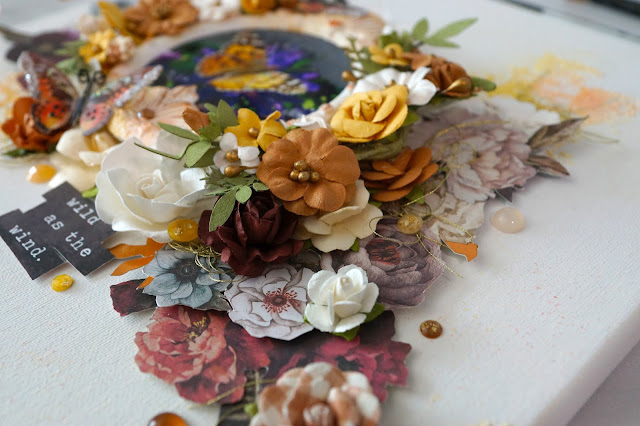
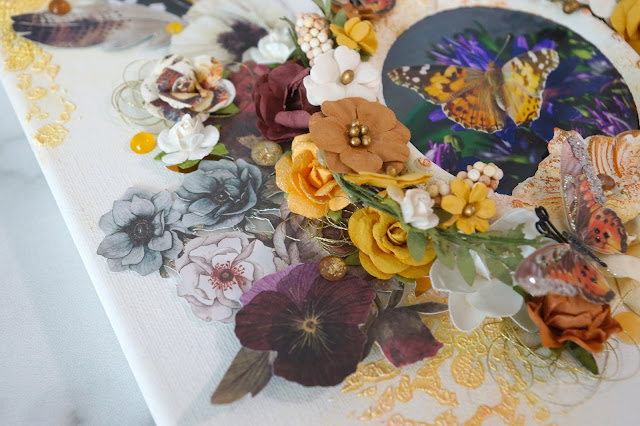
This particular mixed media project is also lighter on the art mediums but heavy on the paper flowers and patterned paper elements. The base starts with some crackle paint and two color mists. Then I fussy cut a bunch of floral and feather elements from Prima's Midnight Garden collection to add lots of layers and details. I finished it off with some pretty gems and nests of gold thread.
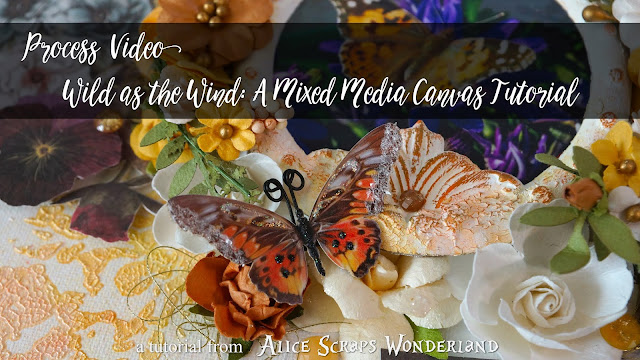
Watch my tutorial video below to see all of my steps in making this really amazing piece of art.
And now that my project is all done, I have the perfect place to hang it--just outside of my bedroom door, where I can see it every day.
Products Used
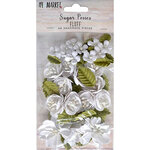
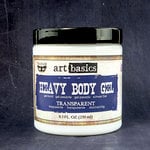
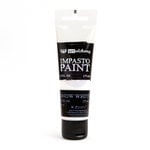
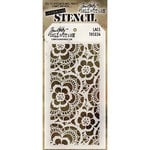
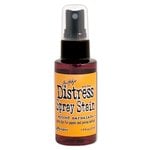
Artist's Loft: Canvas- 12x12 wrapped | ReneaBouquets: Glitter Glass Butterflies - rustic autumn | Prima: Midnight Garden - feather collector, more roses please, midnight garden; Apricot & Honey - 12x12 pack; Autumn Sunset - falling leaves, harvest moon, say it in crystals; Art Basics - heavy body gel, soft gloss gel, 1" silicon brush; Art Alchemy Impasto - snow white; Art Alchemy Wax - vintage gold, firebird; Stencil - 6x6 ornate lace; Art Ingredients Melange - vintage art pebbles; Isabella - pia; Flowers - purity II; Invild Bolme - distress tool | Tim Holtz: Distress Spray Stain - fossilized amber; Distress - collage medium matte; Tonic - mini snips, 9" scissors | Ranger: Texture Paste - opaque crackle; Glossy Accents | KiaserCraft: Blooms - terracotta, aubergine | Marion Smith Designs: Color Lab - happy | WeR: Stitch Happy - gold thread; Swivel Knife | Scrapbook.com: Chipboard - lightweight; Double-Sided Foam Adhesive - small | Prima ReDesign: Mould - warrington framework | Recollections: Flower Shoppe - white script mix, mini white mulberry | Other: glue tape runner, pallet knife, glass marking pencil, 1/4" brush, 1/2" angled brush, 3/4" brush, paper clay
Happy Crafting!
Adrienne
I am an affiliate with Scrapbook.com. When you shop the links below, I receive a small commission from the affiliate, at no additional cost to you. This helps me balance the costs of the time and love I put into my projects and blog so I can continue to share my ideas with you for FREE. If you shop the links, thank you! I greatly appreciate it.
















0 comments
I'd love to hear your thoughts!