
Beautiful Butterflies: Quick and Easy Shabby Chic Mother's Day Cards
I love handmade cards. My family members all get handmade cards from me for holidays and birthdays and I love making them for my friends when I have the time. But sometimes you need to create a beautiful card that looks like you spend hours on it in no time flat.

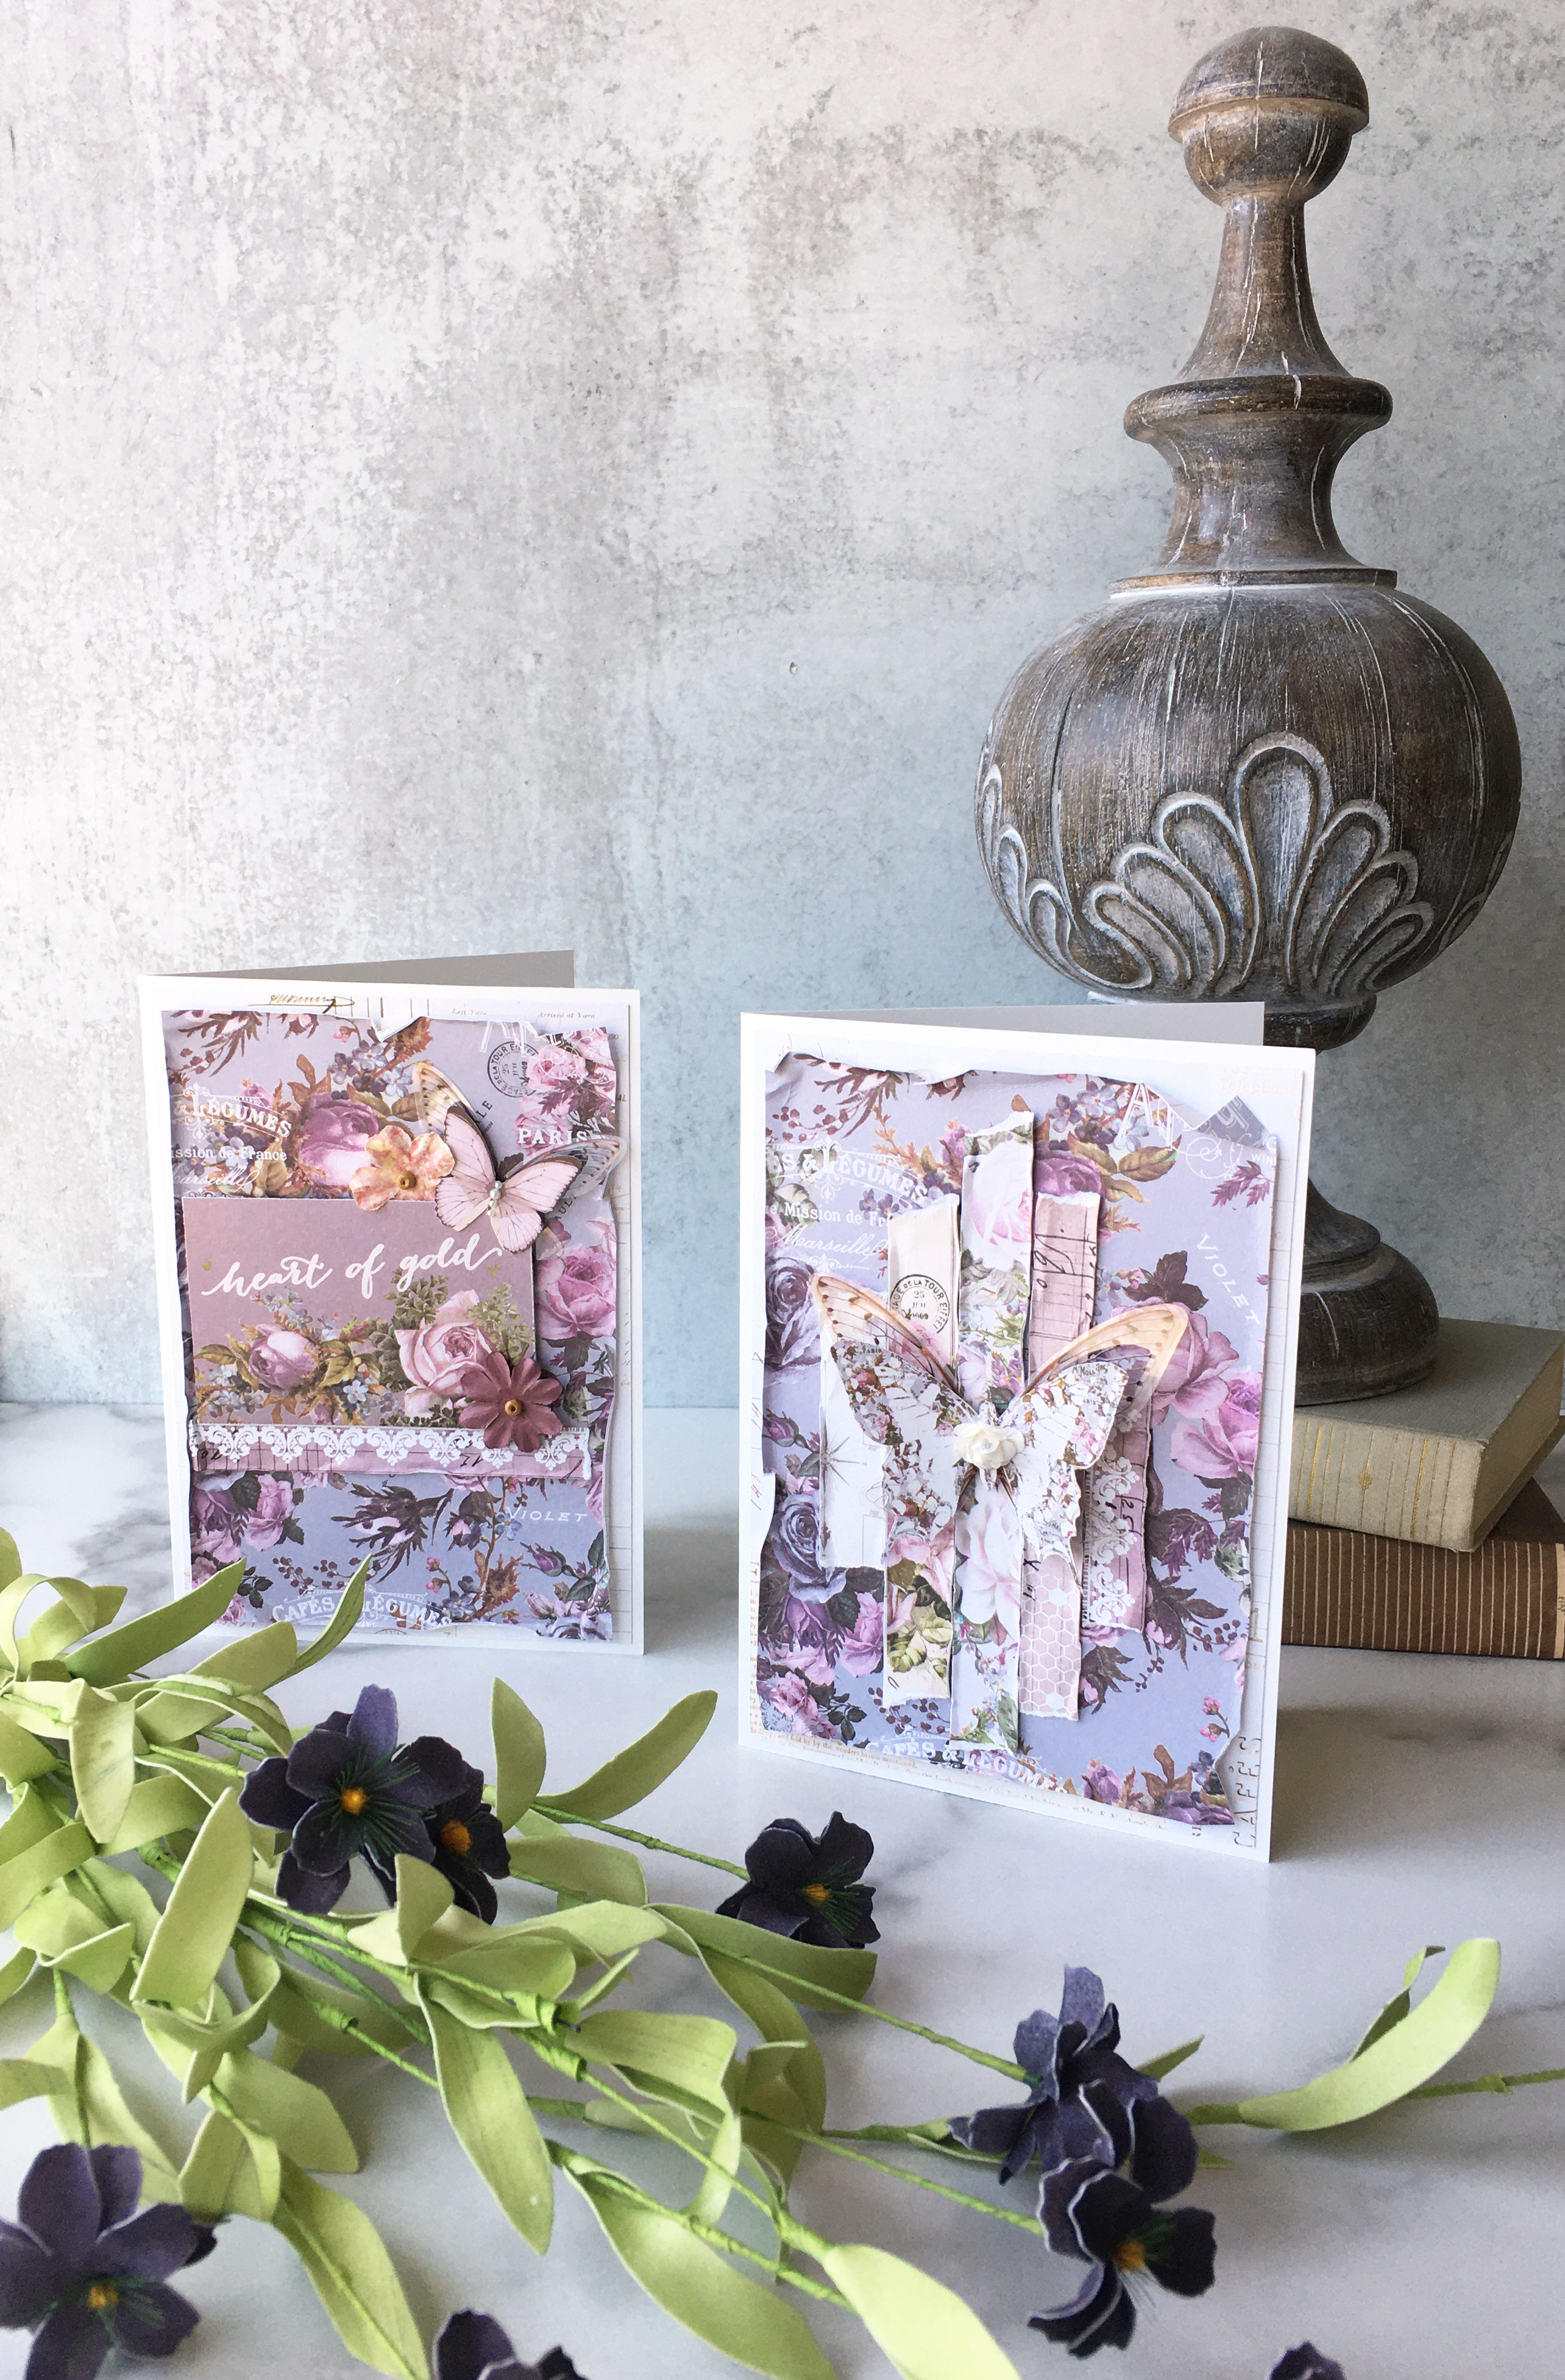
And it is pretty easy with a few simple tools and some patterned paper. I made this set of shabby chic cards using some old papers in my stash as well as a few flowers, pearls and some transparent wings from Tim Holtz.

Start by cutting out the card base from a piece of plain white cardstock. I made my cards 5x7 so I cut my cardstock to 10 x 7 inches and scored the 10 inch side at 5 inches to fold the card in half. I like adding layers of patterned papers to add dimension to my cards. To do this, I cut a mat out of a less busy patterned paper, sized 4.75 x 6.75 inches. I mount this directly on the front of the card using glue runner tape.
Next I cut a second mat from a purple floral paper at 4.5 x 6.5 inches. I distress the edges with my fingers by creasing and bending the edges. You can also you a paper distress tool that will rough up the edges of the paper, creating a frayed look. I glue this second mat down onto the first using glue runner tape.

I love saving the information strips you cut off of your 12x12 papers because there is almost always a bit of pattern on these strips that can be used specifically for projects like this. I grabbed a bunch of these strips; the ones I used are a half-inch wide. If you don't have any of these strips on hand, cut some half inch wide strips with your paper trimmer. I tore them to different lengths and then distressed the edges like I did the purple floral paper. I then glued these on to the center of the card, offsetting them.
Next for this particular card in the set, I fussy cut out a butterfly from one of the patterned papers. This is the only part of this card that took a bit more time, but honestly, it only took me a minute or two. I layered this fussy cut butterfly over a set of Tim Holtz's transparent butterfly wings, first using Tim's collage medium to glue the transparent wings to the card and then using a small double-sided foam mounting square to attached the fussy cut butterfly over the transparent wings. To finish off this card, I used some heavy body gel to glue a small paper flower to the center of the butterfly.

For the second card in the set, I cut out a small journaling card from the paper collection as the main element for the front of the card, using large double-sided foam mounting squares to adhere it. I layered on a scrap of patterned paper with a cool lace motif under the journaling card, tearing it on one end and distressing the two visible edges of the strip, gluing it with glue tape runner. Then I fussy cut a small butterfly and again layered it with a set of transparent wings. I used the collage medium to glue the transparent wings down, tucking them under the journaling card and then I used a small double-sided foam square to pop the fussy cut butterfly up over the transparent wings, layering it over the journaling card. I added a few pearls to the center of this butterfly and a couple of paper flowers. Last, I took a gold marker and added a couple of small gold hearts to the journaling card.
And voilá! That is all you need to do to create your own set of shabby chic cards. No fancy tools, just a small pair of scissors, a paper trimmer and a scoring board.
Products Used
Prima: Lavender - through the years, my love in the bundle, i'll fly with you, communication through love; Wild and Free - precious stone | Tim Holtz: Idea∙ology - transparent wings; Distress - collage medium matte | Fabre-Castlle: Pitt Artist Pen - metallic gold | Scrapbook.com: Double-Sided Adhesive Foam Squares - small, large | Recollections: Gems - white pearls
I hope you enjoyed this short tutorial!
Adrienne


0 comments
I'd love to hear your thoughts!