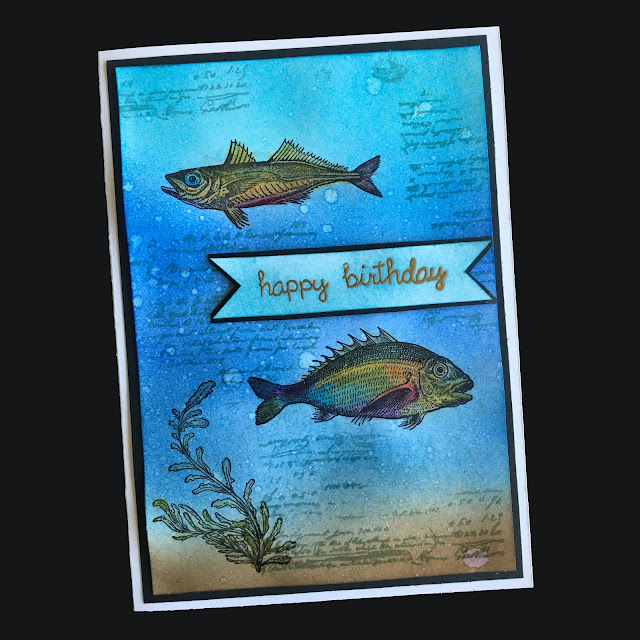
I had been wanting to create a smooth, blended background for a card recently and my cousin's birthday gave me the perfect excuse. It was his sweet 16 and with COVID-19, we couldn't celebrate his birthday in person with him. So I wanted to make a special handmade card that we could mail with a gift card inside.
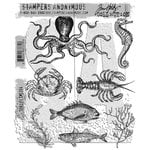
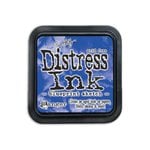
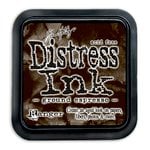
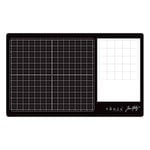
He loves fishing so I pulled out my Tim Holtz Stampers Anonymous Sea Life stamps. Using a piece of white cardstock, I stamped on two fishes to the front of the card along with some seaweed. Next, I used a brown and a few shades of blue Distress Ink to create the background. I used my Distress Ink Blending Brushes and my Glass Media Mat to create the smooth and seamless blend from one blue to the next and into the brown. I skipped coloring inside the fishes as much as possible. Once I was satisfied with the blend, I spritzed on some water and set it aside to dry.
I wanted a white card base so I could easily handwrite a sentiment inside and I also cut out a black mat that I though would accentuate the design. I glued the black mat onto the front of the card and then set about picking out some colors of Distress Crayons to the color the fish with.
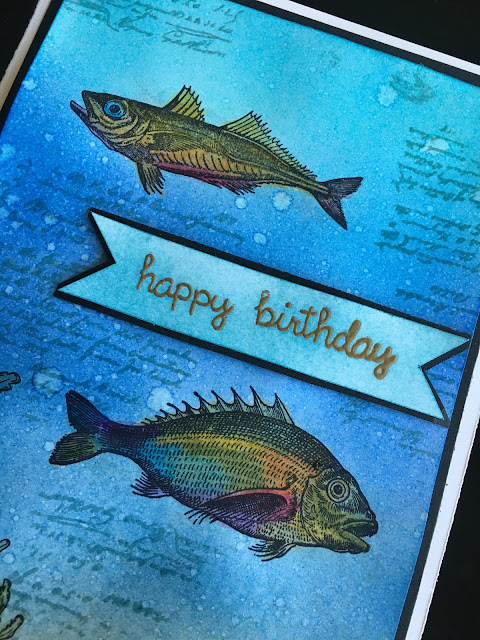
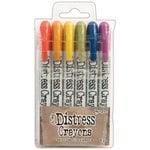
I colored a little bit of some of the Distress Crayons onto the non-stick mat of my Glass Media Mat and used a water brush pen to pick up the crayon and color in the fish and seaweed. I love these crayons because like all of Tim's Distress colors, they can be as vibrant or faded as you want and they blend well.
While that dried, I created the sentiment for the front of the card, cutting out a white banner and a black banner to mat it with. Using some Lawn Fawn stamps and my Zing gold embossing powder, I created the sentiment, then used some of the blue Distress Ink to give it a blue tint.
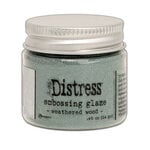
Before glueing the sentiment on, I used the script stamp from Tim's Entomology stamp set to create a bit of distressy grunge (yup, I just made up the word distressy). I used Tim's embossing ink dauber and just dabbed on some of the ink to a small section of the stamp and then used my hand to press down the stamp--no stamping block, to create a distressed looking image. I did this a few times in several different places on the front of the card and then used the new Distress Embossing Glaze in weathered wood. I love how weathered wood changes depending on the color you put it over.
Finally, I glued the decorated part on to the front of the card base and then I used some double-sided foam mounting squares to pop the sentiment up off the card.
Products Used
Tim Holtz: Stampers Anonymous - sea life, entomology; Distress Ink - broken china, faded jeans, blueprint sketch, ground espresso; Distress Glaze - weathered wood ; Distress Crayon - festive berries, fossilized amber, spiced marmalade, peeled paint, mermaid lagoon, seedless preserves (all in sets 1 and 2); Distress - embossing dauber | Ranger: Archival Ink - jet black | American Crafts: Zing - gold | VersaMark: Watermark - clear | Lawn Fawn: Stamps - happy everything | Recollections: Cardstock - black, heavy white
I hope you enjoyed this short tutorial!
Adrienne
I am an affiliate with Scrapbook.com. When you shop the links below, I receive a small commission from the affiliate, at no additional cost to you. This helps me balance the costs of the time and love I put into my projects and blog so I can continue to share my ideas with you for FREE. If you shop the links, thank you! I greatly appreciate it.








0 comments
I'd love to hear your thoughts!