
How to Use Stamps to Create Custom Embroidery Patterns
In this tutorial, you'll learn how to use individual stamps to create your own layered embroidery pattern.

Love embroidery but want to create your own patterns? Don't worry--you don't need to know how to draw because you can use stamps to create endless embroidery patterns.

I've shared a tutorial like this previously using some stamps designed by Willow Wolfe, but this was a larger stamp that didn't need much additional stamp layering to create a full embroidery pattern. Today, I'm going to share how to take smaller, individual stamps to create your own endless embroidery patterns.

For this particular project, I wanted to take some single flower and leaf stamps to create a crescent moon shape. When looking for stamps to use, you want to choose some that offer multiple sizes of the same type of element, in this case, florals. For this project, I used the Floral Layers #1 and Greenery Layers #1 designed by Vicki Boutin for Sizzix.

In order to layer your stamps without your pattern becoming too busy, you also want to have some low tack craft tape that you can mask with. Scrapbook.com's 4 inch wide Mint Tape is perfect for masking with. You'll also want to have a stamping platform. The benefit of a platform over acrylic stamping blocks is that if your image doesn't stamp perfectly the first time, you can stamp it again without having to try and line it all up. The hinged lid of the Sizzix Stencil & Stamp Tool allows you to stamp as many times as you want as long as you don't remove the stamp from the hinged lid.

A bonus is getting stamps with matching dies to cut them out with and a die cut machine. But if you don't have this or don't want to invest in this type of equipment just yet, you can stamp onto the Mint Tape and fussy cut the image out with a pair of scissors.

In my video below, I show how to stamp on that tape as well as how to die cut it out with the matching dies. Now I totally could have just die cut the Mint Tape--but I wanted to show stamping on it for those who need to fussy cut it. Also, I find that those stamped lines make it easier to line the mask up with the stamped image on your printer paper.
The final tip before getting started is to have an idea of what you want your pattern to look like and what layers are going to be "on top." You want to start by stamping that "top layer" first, mask it and then stamp the next layer and so on.

So now that we've talked about tools and some tips, let's break this down into the actual steps! Here's how to create a layered stamped image if you are new to stamping:
- Trace the inner part of your embroidery hoop onto a piece of printer paper--this helps you keep your pattern within the boundaries of your hoop.
- Place that piece of printer paper onto your stamping platform.
- Place your first stamp onto your paper design side down. Bring the lid of your stamping platform down and press on the stamp to pick it up.
- If your stamp is brand new, rub your fingers across your stamp to remove production residue that can make your ink bead up.
- Ink up your stamp with a good black ink, then press the lid down onto the paper. Repeat as necessary to get a good stamped image.
- Create your mask by stamping and fussy cutting or die cutting out your piece from the 4 inch Mint Tape.
- Line your mask up with your stamped image and press it into place.
- Place your next stamp on your paper where you want it, and repeat the previous steps to stamp your image.
- Keep repeating these steps until you have your full embroidery pattern stamped out.
- Remove your pattern from the stamping platform.

I definitely recommend cleaning your stamps when you are done with this--no need to buy harsh chemicals to clean your stamps (stamp cleaner). I recommend a stamp shammy, which you simply wet with water and wipe across your stamps.

From here on out, it's just like any normal embroidery pattern. So this next part of the tutorial is for those who are new to embroidery.
- Iron your fabric to get rid of wrinkles and creases.
- Place your pattern onto a lit surface, like the Cricut Light Pad and tape it in place. Then place your fabric over the pattern and weight it down or tape it in place. I like to use washi tape for this.
- Trace out your pattern with smalls strokes using a heat erasable pen. (These marks will disappear when you apply heat to them). Remember--smaller strokes is better so you aren't tugging on the fabric and distorting your traced image.
- Once your pattern is traced, place it in your embroidery hoop and tighten the knob. Pull your fabric nice and taut.
- Trim excess fabric off with some pinking shears.
- Embroider your pattern however you like! (You should check out my YouTube video on this to get an idea of how to embroidery--I'm by no means an expert so I added a bunch of other videos to the description box for you too!)
- When you are done, remove your embroidered fabric from the hoop and use either a heat tool or an iron to remove any pattern marks that might still be visible.
- Trace the inner hoop onto a piece of wool felt using the heat erasable pens and cut it out. Use heat to remove any marks.
- Put your fabric into your hoop, pulling it taut and tightening the knob. Place the wool on the back of the hoop to protect the back of your embroidery from snags and to make it look neater. Use a few dots of hot glue to hold it in place if needed.
- Use a running stitch to gather the excess fabric on the back of your hoop and knot it off.

And that's it! It's so easy to create your own custom embroidery patterns with stamps and this particular project used a simple satin stitch and French knots. Be sure to put any of your stamping or embroidery questions in the comments, and until next time, happy crafting!
Adrienne
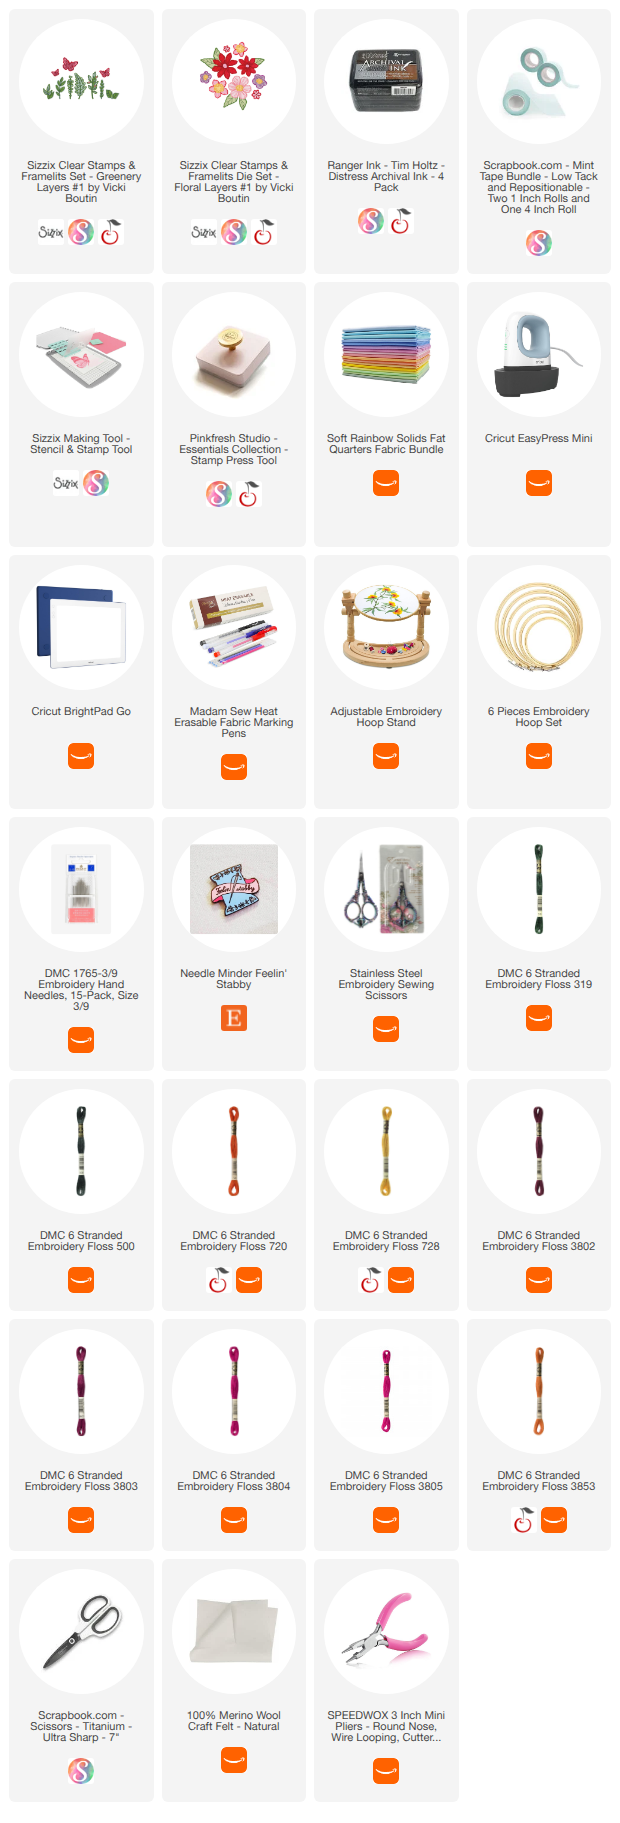
Shop the Supplies:
Scrapbook.com, A Cherry On Top, Sizzix, Prima Marketing, Spellbinders, Scrap Diva Designs, Etsy & Amazon
I am an affiliate/associate with multiple companies. When you shop the links below, I receive a small commission from the affiliate on qualifying purchases, at no additional cost to you. This helps me balance the costs of the time and love I put into my projects and blog so I can continue to share my ideas with you for FREE. If you shop the links, thank you! I greatly appreciate it.
Below are products that I used for this project.


0 comments
I'd love to hear your thoughts!