
Buttons & Keepsakes Swan Ornament ATCs Tutorial
Gifting or trading ATCs is fun, but turning them into an ornament means they'll be even easier to display!

Hi, crafty friend! Artist trading cards (ATCs) are so fun to create. They are a mini little project perfect for trading or gifting. Turning your ATCs into some sweet little ornaments makes them even easier for the recipient to enjoy.

You can make your ATCs from literally any collection, but I thought these Keepsake Swans from the Buttons & Keepsakes collection were so graceful and perfect for a tasseled ornament! I've got all the supplies you need to recreate these swan ornament ATCs listed below, so let's get right into the tutorial!
Note: The Spellbinders coordinating products will go live on their website on June 17, 2026. I have placed the links below in anticipation of them going live in about a week--so be sure to check back in if you want to pick up these products!

First, cast some of the buttons moulds from the Buttons & Keepsake mould. You can use white resin or the Redesign casting mix for this. Then, cut out and assemble the Keepsake Swans from the coordinating Spellbinders products for this collection. I used both Spellbinders cardstock and the Buttons & Keepsakes 6x6 paper pad for this.
Pro Tip: The proper sandwich for thin metal dies using your Spellbinders Platinum with Universal Plate System is the base plate A, shim B, cutting pad C, your cardstock and die, and cutting pad C. I always like to keep one pad C for cutting into and another pad C for sticking on top--this keeps impressions from your dies pressing into the top side of your cardstock.
New to die cutting with metal dies, embossing, hot foiling or letter pressing? I've been doing these techniques for years and I've collected all of my pro tips into one place! Just visit my blog post for the Buttons & Keepsakes Altered Embroidery Hoop to find them all!

Mist a piece of white cardstock with water and then place it into the Haberdashery Buttons 3D Embossing Folder from the Spellbinders coordinating product set. Run this through your die cut machine and set it aside.
Pro Tip: The proper sandwich for 3D folders using your Spellbinders Platinum with Universal Plate System is the base plate A, the embossing folder with cardstock, and pad D. Also, misting your cardstock is essential as it keeps the paper from tearing and helps it mould better to the embossing folder.

To create the circles of paper, I used the Spellbinders Everlasting Circles metal die set. For the front, I die cut the 3rd largest and 5th largest circles from Buttons & Keepsakes 8x8 paper pad. For the back, I cut the 3rd and 4th largest circles. I also cut the 8th largest circle from some white cardstock--this will be sandwiched between the decorative papers for more stability.
Add sewing details to your largest and 5th largest circles. I used my sewing machine for this but a hand-sewn running stitch or backstitch is perfect if you don't use a machine. I used basic white thread for this.

Create texture and a bit of sparkle on the smaller pattern circles for the front by applying some of Finnabiar's Crushed Ice effects paste through one of her stencils. I used the Calculations stencil.
Once dry, glue the top circle layer to the larger circles for both the front and back--but don't glue the fronts and backs together yet! You can add the white cardstock circle to the inside of the back circles though.

If you used resin to cast your button moulds, be sure to prime them with gesso first. I prefer Finnabair's Clear Gesso as it is thinner and keeps the details of the moulds better than the heavier White Gesso. Then paint the button moulds a wooden beads with pink chalk paint.
Using one of Finnabair's Dabbing Brushes, apply her Celestial wax to the bead. Then use your finger to apply the wax to the highlights of the button moulds.

String a wooden bead onto a light pink tassel. I added a little dot of hot glue to keep it firmly in place. Then add one of the button moulds above the bead using hot glue. Add a second mould to the back of the first to encase the tassel loop between the button moulds.
Hot glue the remaining portion of the tassel loop to the inside bottom of the back circle. Cut a 4 to 6 inch piece of distressed silk ribbon and hot glue the ends to the inside top of the back circle to create a hanging loop.

Then glue the top and bottom circle sets back-to-back-encasing the ends of the ribbon and tassel loop between your paper circles. I used both roller adhesive and hot glue for this, adding the hot glue just over the ribbon and loop of the tassel.
Using the Heirloom Words Press & Foil Plate and the Spellbinders BetterPress system, ink and press the sentiments onto some cotton card panels. Then die cut these sentiments out with the coordinating die that comes with the plate.

Add your assembled swan die cuts to the front of your ornaments using 2 millimeter thick foam adhesive. Add a button ephemera from the Cherished Companions Ephemera pack in the collection using roller adhesive.

Fussy cut some embossed buttons from the cardstock you embossed then glue a button (or two!) down using some 1 millimeter thick foam adhesive. Glue a pink rose from the collection onto each ornament using hot glue. Add a BetterPress sentiment with a foam adhesive strip. Then as a finishing touch, add some Spellbinders pearls for a shimmery touch!
And that's it--these ornament ATCs are ready for hanging up and enjoying, gifting or trading! I hope you enjoyed this tutorial using the Buttons & Keepsakes collection designed by Frank Garcia for Prima, plus the coordinating Buttons & Keepsakes products from Spellbinders! If you want even more Buttons and Keepsakes inspiration, check out my Swan Easel Card and my Altered Embroidery Hoop tutorials. Until next time, happy crafting!
Adrienne
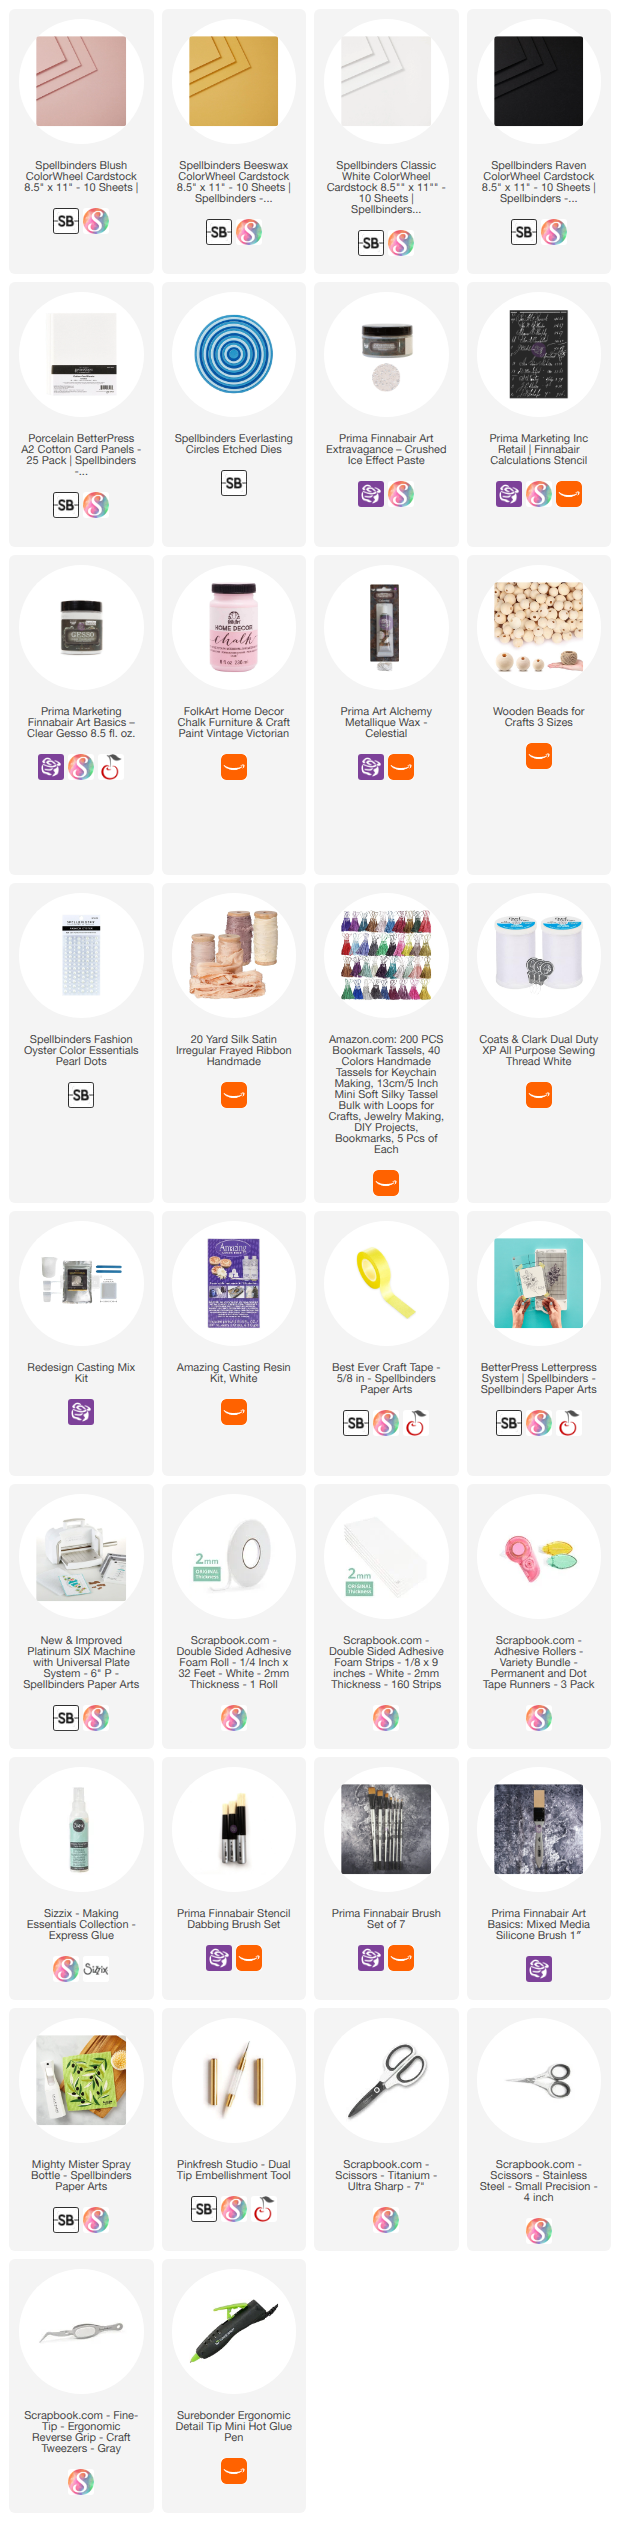
Shop the Supplies:
Scrapbook.com, A Cherry On Top, Sizzix, Prima Marketing, Spellbinders, Scrap Diva Designs, Etsy & Amazon
I am an affiliate/associate with multiple companies. When you shop the links below, I receive a small commission from the affiliate on qualifying purchases, at no additional cost to you. This helps me balance the costs of the time and love I put into my projects and blog so I can continue to share my ideas with you for FREE. If you shop the links, thank you! I greatly appreciate it.
Below are products that I used for this project.


0 comments
I'd love to hear your thoughts!