
How to Store Your Cherished Family Recipes in a New and Fun Way!
If you have a special family recipe, here's how to store it in a new way and memorialize it for years to come. Let's get crafting!

This layout is very near and dear to my heart. If you have followed me for a while, then you probably have heard me talk about my Oma (grandmother) before. She was from Austria, was a Holocaust survivor, and was just generally a cool woman.
Jump to a Section

Back Story to this Layout
As a kid, I would remember we would have Apfelstrudel (apple strudel) days, where my mom, sister and I would go over to her house and help her make Apfelstrudel. I always told my friends that Apfelstrudel is like apple pie, but a million times better! This dessert is made of a pastry dough that is stretched really thin, brushed with melted butter, and filled with wonderful and tasty things--in this case, the classic apple medley (buttered breadcrumbs, sliced apples, cinnamon, sugar and raisins).
Making the Teig (pastry dough), as my Oma said, is all about the feel. Unfortunately for my mom, my Oma was a perfectionist and so my mom never really got to learn how to make the Teig. My Oma would take it from her and say, "You aren't doing it right and it will be wasted." My Oma grew up during the depression in Europe, so I get that. We are also perfectionists, so I also get that too.

But we would help with everything else, from peeling and slicing apples, to buttering the breadcrumbs, stretching the dough, and rolling it all up into a neat little log for baking. At some point, we also started making Strudels with dried cranberries instead of raisins, because we all liked tart things better.
My Oma passed away in 2016 and at some point, I decided I was bound and determined to learn how to make the Teig correctly. For several years, I've had what I've titled "The Strudel Saga" on my Instagram Stories, sharing my journey of perfecting our Strudel. Each time we make it, my mom, sister, niece and I (3 generations of Schmidtmeier women) converge in my mom's kitchen to make Studrel from scratch using my Oma's recipe. And each time, our Teig gets a little better. I've finally learned to not overwork the dough!

So when Prima released their Homegrown collection full of apples, I knew exactly what I would do with that pretty 12x12 paper with the apple pattern. I was going to memorialize my Oma's recipe and document an Apfelstrudel that my family and me made together.
And I think this is a really fun way to document a really special recipe. Because it's not just about that recipe--it's all the memories you have around it. It's making the recipe together with family, enjoying it together as a family. And trust me, if my Oma was still here with us, I would have loved to have had a picture of her and all of us girls together making this--4 generations together. But since that's not possible, and I don't think we have an old picture of her making Apfelstrudel in her home, this will do. And for us, it's about our journey in learning to make this recipe on our own too. Strudel making is an art form!

And this time, we filmed the process of making it--so stay tuned for a fun little extra video that I'm going to post on my Instagram of us making the Apfelstrudel so you can see all the love and care that goes into this dessert that doesn't look so complicated on the outside. (Hint--it's not easy to make and any Austrian or German who is honest would tell you that too!)

My Oma's Apfelstrudel Recipe
And for anyone interested in making your own Apfelstrudel, I'm not gatekeeping this recipe--besides, it's one my Oma adapted from her Köchen ABC recipe book from Austria (you can even see the recipe book and her handwritten notes in the main project photo above). So here's the seemingly simple recipe.
For a double recipe of the Teig you will need:
- 50 dekagrams (or about 5 1/4 cups) all purpose flour
- 8 to 9 Tablespoons of oil
- 1 3/4 cups lukewarm water
- 1 teaspoon salt
- A few "spritzes" of vinegar or lemon juice
Place the flour and salt in a bowl, then add the water, oil and a little splash of vinegar or lemon juice. Work the dough--it will be really sticky, so if you need to add more flour, you can do it (I had to add quite a bit to our latest batch). You want the dough to come together and stop just when it becomes smooth. Cut this dough into half and rub each half with some oil, set it in a bowl and cover it with a towel to rest for 30 to 50 minutes.

For the classic apple filling you will need:
- Apples (way more than you probably think, probably around 10-15 large apples), peeled and thinly sliced
- Raisins or dried cranberries (if you want, you can reconstitute them in Rum--many Austrians do this!)
- Breadcrumbs
- Butter
- Sugar
- Cinnamon
**You'll note that there aren't really measurements for any of these and that is because you measure all of these ingredients with your heart! It also depends on how large you manage to stretch your Teig!**

Start by preheating your oven to 375 degrees Fahrenheit. Then peel and slice your apples. If you don't want them getting brown, you can add a little lemon juice to them. Then create your buttered breadcrumbs by melting butter in a pan. Once melted, add your breadcrumbs and toast them. My Oma never did this, but my mom likes to do this--sprinkle a little sugar in with your breadcrumbs. Set your breadcrumbs aside. Melt butter and have a pastry brush ready to go.
Place a tablecloth on your table and sprinkle it with flour. Once your Teig has rested long enough, take a ball out and place it on your floured table cloth and roll it a little with a rolling pin to get it started--we want a rectangular shape. Then if you are feeling brave, flour your arms and hands and pick the Teig up and start stretching it by picking it up with your arm and a closed fist, using each arm to pick the bottom end of the dough up and stretch it. Your nails can leave holes in the dough so always use your knuckles for this! (Austrian Cravings on Instagram has perfected this technique and you should check out Astrid's videos to see this in action--she is incredible! And I'll even plug that she sells Strudel making classes, you can learn from a real pro!)

Once you've got it going, lay it back on the table and start stretching that Teig. Start by placing your closed fist knuckles up in the center and pull the dough back toward you. Once you get the center thin like an onion skin (you should be able to see your table cloth pattern through it), you can then start to use your fingers to gently pull the Teig toward you around the edges. If you get some holes, it's okay, it all gets rolled up in the end, but we want to avoid as many as possible.
Once you get your Teig is as big as you can get it, trim the thick ends of the dough off with some scissors. You'll want to work quick now because the Teig will start to get dry. So brush the entire surface with the melted butter. Add the filling to 1/3 of the Teig, starting with the buttered breadcrumbs, then the apple slices, the sugar, cinnamon and then the dried cranberries or raisins.

Pick up your table cloth on one of the long sides of the Strudel and use it to help you fold over the edge of the Teig. Do this on the other long side. Then starting from the short side with the filling, again use your table cloth to help you roll the Strudel up into a log. Then transfer your Strudel to a big baking sheet.
Bake each Strudel for about 40 minutes, or until the outside gets golden brown. Remove it from the oven, let it cool slightly, then sprinkle the entire Strudel in powdered sugar! Then slice it up and serve it with a dollop of whipped cream on the side--eating it while it is still warm is when it will be the best. (P.S. If you want Austrian's secret to stiff whipped cream that doesn't get overly sweet, make your whipped cream with Whip It, a whipping cream stabilizer that Germans and Austrians alike use. We've had whipped cream last for an entire week in the fridge before turning liquid again! Also, place your bowl in the freezer for several hours so it's really cold, which also helps form stiff whipped cream.)

How to Make a Recipe Scrapbook Layout
So now that I've waxed poetic about this extra special memory of mine and the recipe, let's jump into this layout. It's actually pretty simple. Let's start with casting out some moulds so they are ready to go. Cast the small rectangular frame from Redesign's Ornate Legacy Mould, one of the bows from Timeless Ties (or some other small decorative mould that fits on the flap of the envelope), and the apple cluster from the Homegrown Sweet Garden Moments Mould (or whatever decorative mould that fits your theme that will sit atop your photo nicely). I also added the squirrel from the Homegrown Tiny Gardeners Mould as well to my layout.
You can use resin or Redesign with Prima's Casting Mix. If you use resin, you will have to prime your casts before painting. I recommend Finn's Clear Gesso because it keeps the fine details in your mould casts better than the Heavy White Gesso does.

For the Casting Mix, you won't have to prime with gesso, but here are my recommendations for using this casting mix successfully:
- Be sure to get your ratios correct--it's a 2:1 ratio of powder mix to water. Use the measuring cups provided to help you get your measurements.
- After pouring the Casting Mix powder and water into the mixing cup, use the stir stick to really mix it well and scrape down the sides.
- Pour into one cavity then stir up your mix in the pouring cup before pouring into the next cavity in your mould--the water can separate quickly from the sediment (what it's designed to do in order to cure). Having incorrect ratio of water to powder from not mixing between pours can lead to fragile casts that break when demoulding.
- After you finish pouring, don't touch your moulds! Don't slide them on your table, don't bump your table--just don't touch them! Leave them for at least an hour and gently touch the backs with your fingers to feel them--if it's cool to the touch, leave them as they are still wet and not fully cured. If it feels like or close to room temp, you are good to demould. Curing time depends on how close you got your ratio of mix and water and your environment (temperature and humidity).
- If you are impatient like I am or haven't fully been successful with this mix yet, I recommend pouring your casts the evening before you need to work with them. Do this at the end of your day in your craft room so you aren't tempted to try and demould the casts before they are ready and let them set up overnight. I promise you, if you've done the ratios of powder to water right, you'll get amazing casts that won't break as you demould them. You may have a few small details like a leaf break off, but don't worry--it doesn't have to be perfect!
- When demoulding, pull the edges of the mould away from the cast first, then gently bend the mould off of the cast--remember, the mould is flexible for a reason! Gently lift your cast out. You'll want to store these in a safe space on a flat surface until you are ready to use them. I like to stack them up in the Scrapbook.com Stack and Sort Trays until I'm ready to work with them. You can even get silicone mats that fit perfectly inside them to keep your moulds from sliding around and breaking when moving the trays. Moulds made from the Casting Mix can break if you drop them or they get jostled around too much.

Now let's move on to storing the recipe itself. The Homegrown collection comes with an Envelope Kit. The little envelopes look like seed packets and have little cards you can insert. Simply fold the flaps on the envelope and glue the sides and bottom in place. Add some sticky velcro dots to the top flap of the envelope so you can open and close this with ease as this envelope will be glued down to the page. Write your recipe on the card(s).
If you are using a collection that doesn't have this envelope kit, you can make your own envelope and cards with scrapbook paper and journaling notecards. The Sizzix Scoring Board and Trimmer tool is perfect for making your own envelopes and comes with a handy guide to help you get the perfect sized envelope. And you can switch between Imperial and Metric systems by flipping the scoreboard and rulers over!

The backs of the cards are perfect for storing extra photos. I had 3 I wanted to include--one of my niece posing with a finished Strudel, one of a Strudel slice, and one of my sister, niece and me holding up a finished Strudel. I used 2 recipe cards and then trimmed down one of the 6x6 papers for the third photo. I also used it to decorate the backside of the cards from the Envelope Kit because they are white on the back. I didn't want the white showing. Slide all of your cards into the envelope.

Select your 12x12 patterned paper, for me this was the apple branch pattern from the Homegrown 12x12 Paper Pad. Then choose one of the 4x6 Journaling Notecards from this collection (or trim some patterned paper to 4x6 inches). This will hold the small frame mould and the photo up. Select your Prima flowers--you want a variety of sizes and some that are a bit more dimensional to help hold that 4x6 card up along the edges and to hide the foam adhesive further underneath. I used the Blush Harvest, Apple Blossom Garden, Meadow Petals and Garden Hydrangea Mist flower packs.

We want the photo to centered, but it won't be centered over the frame or the 4x6 card--it will be a little offset. So attach the envelope (flap side up) to the left side of the paper using roller adhesive. Then add the 4x6 journaling notecard slightly off to the left, overlapping the envelope a bit, using foam adhesive. You want enough layers of foam adhesive that it will float the 4x6 journaling notecard over your flowers. Make sure to keep the foam adhesive toward the center of the journaling card so you can layer your flowers under a bit next.

Paint your moulds. I used the Color Chronicles acrylic paint set (Peach Blossom and Herb Garden) to add color to the Timeless Ties bow and the Ornate Legacy frame. Then used Finn's Old White Wax to distress the highlights and show off the texture of the mould casts. I used both the Color Chronicles and Decadent Pies Watercolor confections to pain the apple and squirrel moulds. To add highlights to the eyes of mice, squirrels, people, or whatever lifelike mould you are using, a dot of white gesso creates that highlight! I also used it to add highlights to my apples. I also used a bit of the Old White Wax on the leaves around the apples and the squirrel's fur-especially his face to highlight those whiskers!

Start layering in your larger flowers, photo and moulds. I matted my photo on a piece of coordinating cardstock. Use Foam adhesive to help pop your frame up from the 4x6 journaling notecard and to help pop the photo up slightly higher than the frame mould cast. For the flowers, you can use Finn's Heavy Body Gel, hot glue or a liquid glue such as Tacky Glue.

Tuck some coordinating ephemera in among your flowers to help add more layers and interest. I used some of the apple ephemera pieces from the Homegrown collection. Then tuck in some of the smaller flowers. You can tear the Garden Hydrangea Mist flowers apart into smaller clusters, which is what I did.

Cover your photo and any other important things up with some scraps of paper. Then splatter your layout with opaque white watercolor. Once that is dry, finish off by adding some gems and chipboard stickers to your layout. I used the Homegrown Say it In Crystals and the Homegrown and The Home Baker chipboard stickers for my layout. Now you can store this layout in a shadowbox for safekeeping. Until next time, happy crafting!
Adrienne
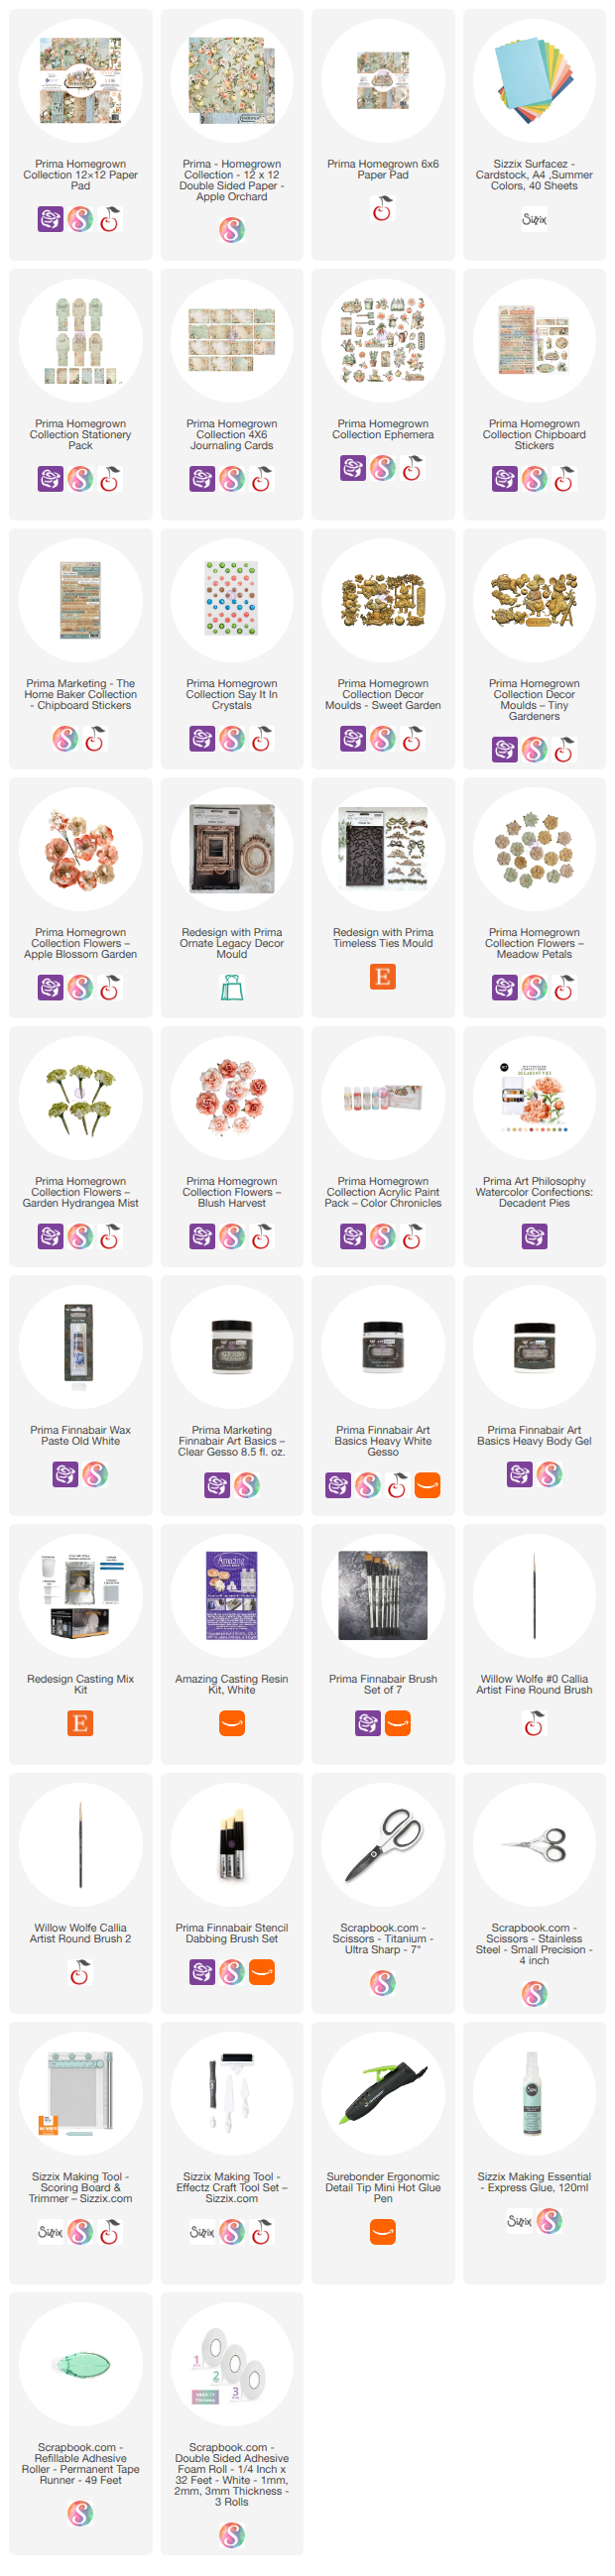
Shop the Supplies:
Scrapbook.com, A Cherry On Top, Sizzix, Prima Marketing, Spellbinders, Scrap Diva Designs, Etsy & Amazon
I am an affiliate/associate with multiple companies. When you shop the links below, I receive a small commission from the affiliate on qualifying purchases, at no additional cost to you. This helps me balance the costs of the time and love I put into my projects and blog so I can continue to share my ideas with you for FREE. If you shop the links, thank you! I greatly appreciate it.
Below are products that I used for this project.


0 comments
I'd love to hear your thoughts!