
Mixing and Matching Vicki Boutin Sizzix Releases
The Floral Bouquet Stamp and Framelit set from Vicki Boutin's second release with Sizzix is perfectly designed to mix and match with her first release! Let's create a scrapbook layout together with these products.

Hi, crafty friend! I know it can be so easy (and fun) to just use the latest craft supplies you purchased, but there's also a great sense of satisfaction we can get from going to back to older supplies. Plus, we all love to get the most out of all our supplies!

That's why today I'm sharing a scrapbook layout idea that mixed and matches the Floral Bouquet Stamp and Framelit set from Vicki's first release, with Stamp and Framelit sets and a stencil set from her first release with Sizzix. And if you don't do scrapbook pages, this can totally translate to cards or art journals or whatever your preferred project type is.

I've got the full supply list for this project below, so let's move right into the tutorial!

Start by doing a bunch of stamping with your Sizzix Stencil and Stamp Tool. I stamped out two of the Floral Bouquet, and several pieces from the Floral Layers #1 and Greenery Layers #1 Stamp and Framelit sets on some heavy white cardstock. To stamp, I used Distress Archival Ink in black soot--whatever ink you choose, just make sure it's a permanent one as we'll be getting these inks wet with color in the next step.

After you've stamped everything out, use some of the Scrapbook.com Lustre brushes to color in your images. These are marker brushes that you can layer up color with.
To get the shading, I first added where some color to the areas I wanted to be darker, then I went over the entire area with that color to shade it all in.

Once the stamped images are colored in and dried, you can die cut them out with the coordinating Framelits.
I always like to use a little bit of low tack craft tape to hold the die in place as it runs through my Big Shot machine--perfect options include Sizzix Makers Tape and and Scrapbook.com's Mint Tape.

To create the texture on the background page, I applied some of Finnabair's Paper Texture Paste through one of the stencils in the Buildables Backgrounds #1.
I applied the paste using the large palette knife attached to my Sizzix Multi-Tool onto a sheet of heavyweight white 12x12 cardstock.

The patterned papers are from Paige Evans' Garden Shoppe collection (something I've had in my stash for a while, but you can still find it on Amazon). I cut the papers down to matte a 4x6 photo (that I also matted on that same heavyweight white cardstock). To add texture to my patterned papers, I distressed them using the distressing tool head on my Sizzix Making Tool.

I layered on the papers, photo and stamped and die cut florals using roller and foam adhesives. I splattered some of the Lustre Brushes onto the page (make sure to cover up the subject of your photo with a scrap of paper first), then added some pearls and a few foam stickers from that same paper collection.
And that's it--super fun and super simple! I hope you enjoyed this little mix and match idea and that it inspires you to mix and match your new and older supplies. Until next time, happy crafting!
Adrienne
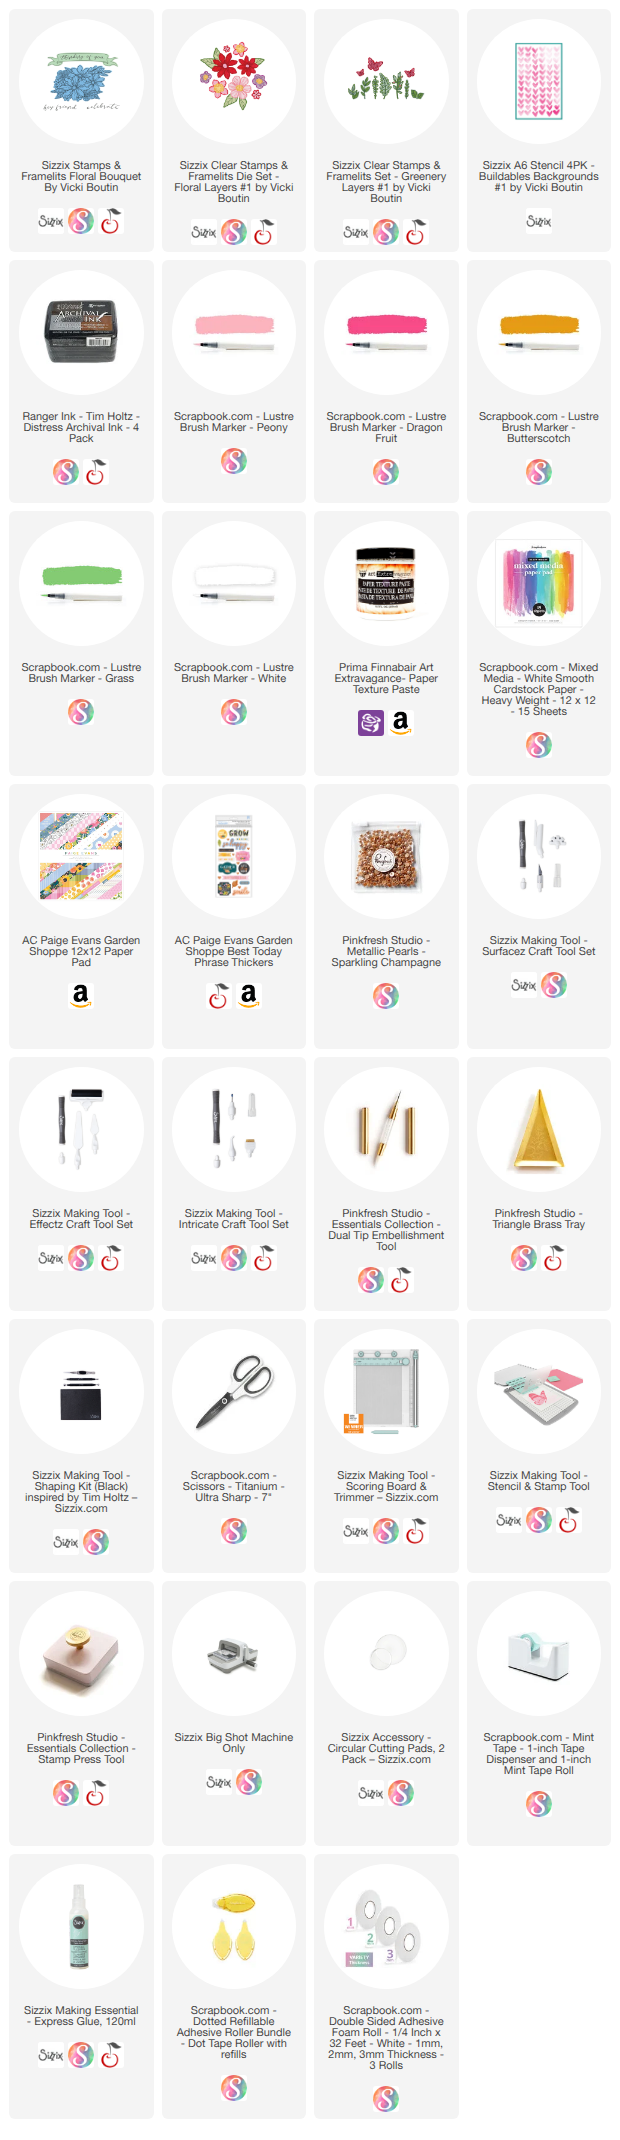
Shop the Supplies:
Scrapbook.com, A Cherry On Top, Sizzix, Prima Marketing, Spellbinders, Scrap Diva Designs, Etsy & Amazon
I am an affiliate/associate with multiple companies. When you shop the links below, I receive a small commission from the affiliate on qualifying purchases, at no additional cost to you. This helps me balance the costs of the time and love I put into my projects and blog so I can continue to share my ideas with you for FREE. If you shop the links, thank you! I greatly appreciate it.
Below are products that I used for this project.


0 comments
I'd love to hear your thoughts!