
How to Turn Gardening Tools into Art
Love gardening or have a friend who does? Turn a gardening tool into a piece of art perfect for gifting (or keeping)!

Hi, crafty friend! Whether you have an old gardening tool laying around or you pick up a cheap tool online or in a store, you can turn it into a piece of art that is perfect for gifting--or keeping (I don't judge, because I'm definitely keeping mine...but I'm also a gardener)!

I've got all the supplies I used listed below, so let's just dig right into this tutorial!

Start by casting your mould focal point from the Homegrown Sweet Garden Moments Mould so it has time to set up. I used resin for this one, but you can also use Redesign's Casting Mix, which I also love and would work for this. I just happened to have the bird bath mould already cast from a previous pour.
Then sand your trowel down a bit--this will help create a "jagged" surface that will help the gesso stick better, essentially like creating an insurance policy for your gesso. I sanded the handle and the metal bits with a large grit sandpaper.

Wipe down your trowel really well to remove any dust. Then using an air dry clay (I tried out a new to me one for this project, Hearty Soft, which is a foam clay), mould out some trim using the Redesign with Prima Regal Flourish Mould. I brushed my mould with baby powder/cornstarch like I usually do, but I'm wondering if this particular clay doesn't need it--experiment at your own risk!

Glue the moulds onto the handle with liquid adhesive. I added it around the metal bit that connects the wooden handle to the trowel spade. Then I covered up the logo debossed on the handle with a line of this trim as well.
Let your clay set up a bit. I was impatient and smooshed the top of my clay, so if you don't wait for it to dry fully, just be careful. Paint the entire trowel with Finn's Heavy White Gesso. Once the gesso is dry, paint your trowel with the Color Chronicles Acrylic Paint. I created an ombre from the Peach Blossom to Butter Petal colors. Then dry brush your trowel with Heavy White Gesso--this will highlight the texture on the moulds. I also dabbed around the edges of the trowel to add even more texture.

After the paint has dried, apply some of the vine transfers from the Homegrown Rub On Transfer Set. Cut the pieces to fit where you want to apply them, remove the backing sheet, use the stick that comes with the set to rub it on really well, then carefully peel the transfer sheet off. I placed a ring of vines around the bottom of the handle where I left a gap between moulds for some flowers, then one up each side of the handle.

At this stage, I highly recommend sealing your transfers on your handle with a spray sealant as these will get handled a bit more than any you put on the spade of the trowel, plus all over to protect your paint job. I used Aleen's Matte Finish Acrylic Sealer. Make sure to do this outside or a well ventilated area and to wear a face mask. Follow the directions on the can. (And yes, this stuff dries really fast like it says on the can!)

Paint your focal point mould cast. I pained my little bird bath cast with the Art Philosophy Vintage Pastels Watercolor Confections set. After painting in the details, highlight the texture with Finn's Old White Wax. Then I painted a bit of Finn's Soft Gloss Gel onto the water in and spilling over the sides of the birdbath to make it shine.

Now for the fun part--the flowers! Glue your flowers and mould cast focal point using Finn's heavy Body Gel. I also added a touch of hot glue once I knew I had the pieces placed just right--especially for the flowers that hold up the mould cast and the mould itself. This stability allowed me to work on adding additional layers without worrying about things shifting around. I combined flowers from Homegrown and Among the Wildflowers. I also added in some of the fuzzy green leaves from the Buttons & Keepsakes Sheer Beauties flower set.

As you work on creating your flower cluster, also add in some of the flowers from the Homegrown Rub On Transfer Set. Then glue a few of the tiny vellum bees together from the Among the Wildflowers Vellum Ephemera pack, adding a clear glue only on the body. I created two bees, adding one to a flower stem I cut off one of the Garden Hydrangea Mist flowers. Then bend the wings and glue the bees in place. I put one on a flower on the handle and tucked the other one under a flower on the spade of the trowel.

Add a Chipboard Sticker and Crystals from Among the Wildflowers collection. Then braid together the pink, yellow and the light green yarn from the Homegrown Spools of Yarn set. I did one long braid, then tied it off in several spots, cutting between the knots to create a couple of pieces. I wrapped one between the decorative moulds on that metal piece between the spade and handle, then strung the other longer piece through the hole on the top of the handle for a decorative handle loop.
I hope you enjoyed this tutorial and that it inspires you to alter a garden tool of your own! Until next time, happy crafting!
Adrienne
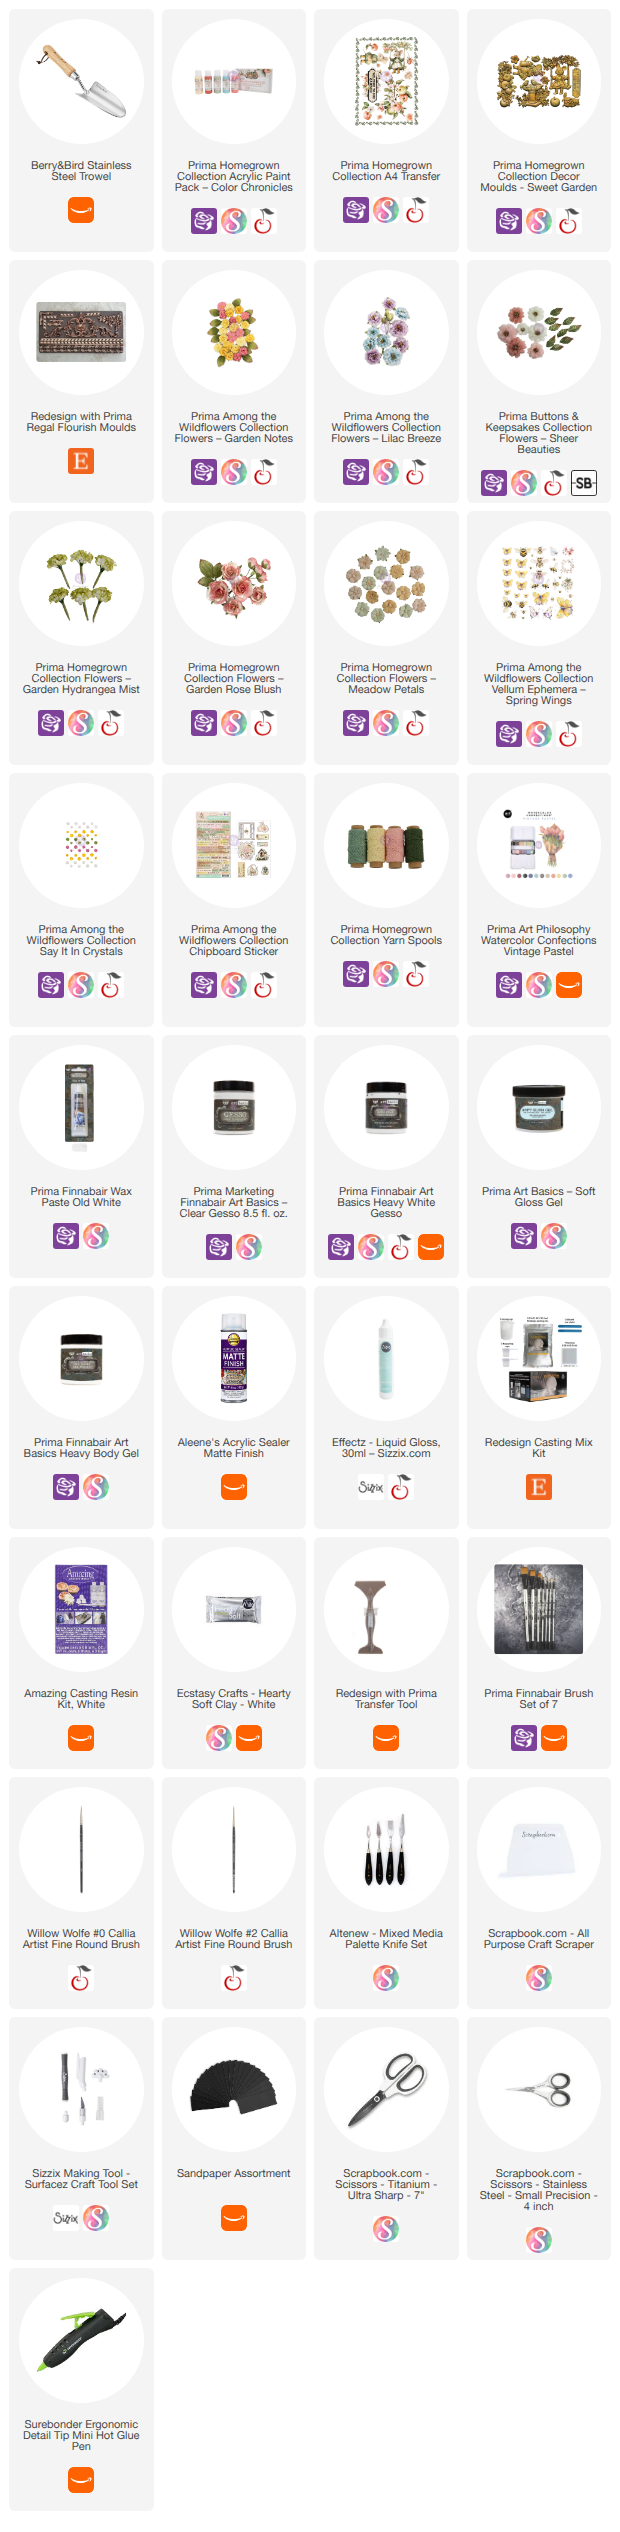
Shop the Supplies:
Scrapbook.com, A Cherry On Top, Sizzix, Prima Marketing, Spellbinders, Scrap Diva Designs, Etsy & Amazon
I am an affiliate/associate with multiple companies. When you shop the links below, I receive a small commission from the affiliate on qualifying purchases, at no additional cost to you. This helps me balance the costs of the time and love I put into my projects and blog so I can continue to share my ideas with you for FREE. If you shop the links, thank you! I greatly appreciate it.
Below are products that I used for this project.


0 comments
I'd love to hear your thoughts!