
Buttons & Keepsakes Embroidery Hoop Mixed Media Tutorial with Prima and Spellbinders!
Frank Garcia's newest Prima paper collection, Buttons & Keepsakes, has coordinating dies, embossing folders and press & foil plates from Spellbinders. Let's combine several of these elements together to create an altered embroidery hoop reminiscent of a vintage sewing room.

Hi, crafty friend! I'm so excited about the newest collection designed by Frank Garcia for Prima! It's full of shabby chic sewing notions and iconography that is sure to make your heart swoon. But the best part is that there are coordinating metal cutting dies, 3D embossing folders and Press & Foil plates from Spellbinders!

These additions from Spellbinders make this collection even more versatile, and I can't wait to share even more projects with you as both a member of the Prima Design Team and as a Spellbinders Guest Designer!

The main project for the release of this collection that I created is this altered embroidery hoop. I chose this because it's perfect for a collection about fabrics and sewing. And the best part for you is that I have a full tutorial on YouTube for you. I share how to alter your hoop, die cutting and embossing, hot foiling with the Press & Foil plate, and of course all the layering and adding of flowers and embellishments!

I won't get into the step-by-step here, so make sure you watch the video. But while you are here, you can check out the full supply list below and more photos of this pretty little project. I'll also have some die cutting, hot foiling and embossing tips for those who are new to these techniques--even if you've been doing these for a while, you may find some tricks you didn't know about that will improve your technique!
Note: The Spellbinders coordinating products will go live on their website on June 17, 2026. I have placed the links below in anticipation of them going live in about a week--so be sure to check back in if you want to pick up these products!
Skip to a Section

Watch the Tutorial Video
Photos & Details
Let's look at the top of this hoop first. I covered up the silver tightening knob with a piece of ephemera and a mould. I also added a hot foiled sentiment using the Heirloom Words Press & Foil plate near the top.

On the right side is a sweet little embellishment cluster featuring the sewing machine mould from the collection and the pretty Couture Dressform metal die.

I love to layer up my die cuts and glue them together in a way that adds a ton of dimension. I even added a bit of tulle to the bottom of this dress for more texture!

On the bottom of the hoop I added an embossed cardsotck panel made from the Haberdashery Buttons 3D Embossing Folder.

And on the right side is the larger embellishment cluster featuring the stars of this project--the sweet little dollie and bear ephemera from the Cherished Companions ephemera pack.

I love the flowers in the collection--there are some cool rosettes, roses, stemmed flowers and more! Here's a closer look at some of them. I even added a fancy button to the rosette flower (I've linked it below in case you love the sparkly button too!)

I'm obsessed so here's a slightly different angle! And the full project again below.

Pro Tips for Die Cutting, Embossing and Hot Foiling
If you are new to these techniques, these tips and tricks will help you find success and enjoyment from learning a new skill. If you have been doing these techniques for a while, there may be some tricks here you don't know about yet that can improve your technique!
Tips for Die Cutting with Thin Metal Dies
- Die cutting machines for metal dies always come with a set of platforms and plates to run through your machine--it's essential that you follow the directions for your machine for the proper sandwich for die cutting thin metal dies. You can usually find these directions listed on the platform base and shim(s) for your machine. For the Spellbinders Platinum with the Universal Plate System, this is the platform base A, shim B, cutting pad C, your cardstock, the thin metal die cutting side down, and another cutting pad C.
- It is totally normal for an impression to be made into the bottom cutting pad from your metal dies, so don't worry about this!
- Always keep one cutting pad for cutting your dies into and another one that you always place on top. Cut lines from the pad can leave impressions on the top of your cardstock due to the high pressure of the machine. Keeping a "clean" pad for the top will keep unwanted "embossed" lines from showing up on your die cuts.
- Never add additional shims, like cardboard, bubble wrap or extra cardstock layers. This can damage your machine by widening the rollers. This results in diminishing the pressure of your machine, causing you to get poor results in the future. It can also void the warranty on your machine!
- Placing a long straight edge of a die parallel to your die cut machine's rollers make it harder to load the plates and die in as you roll it through. Instead, set your die onto the cutting pad a little slanted. This will create a smaller edge that is easier for your die cut machine to pick up and roll through.
- Never force anything through your die cut machine! If you can't get something to roll through, stop, back it out if you got a portion of the pads through, and readdress your sandwich. It could be that you just have an improper sandwich.
Tips for Embossing (Regular and 3D Embossing Folders)
- Make sure you are using the proper sandwich for your embossing folder. Start by identifying the type of embossing folder it is. 3D embossing folders have a different sandwich than other embossing folders, so pay attention to the directions listed on the platform base and shim(s) for the correct sandwich. The Frank Garcia Buttons & Keepsakes embossing folders are 3D (indicated on the packaging and in the SKU printed on the folder itself, which will always begin with E3D). That means your sandwich for the Spellbinders Platinum with the Universal Plate System will be the platform base A, the 3D embossing folder loaded with cardstock, and pad D.
- When using 3D embossing folders, always mist your cardstock first with a spritz of water from a spray bottle. Wetting the fibers of the paper or cardstock ensure that it will mould better to the embossing folder and prevent or minimize tearing. If you are getting tearing, one of two things could be happening: you didn't mist your cardstock/paper with enough water, or your have the incorrect sandwich.
- Never place your cardstock or paper so that the top edge aligns with the crease/fold of the embossing folder. Place your cardstock/paper a few millimeters down from this fold. It will help it load into your machine better.
- As with metal dies that have a long straight edge, the straight edge of an embossing folder can also be difficult for your die cut machine to pick up, especially for 3D folders. So place your embossing folder at a bit of an angle. This can be difficult for larger folders going through a machine with a 6 inch platform, but even the tiniest angle can help!
- Never add additional shims, like cardboard, bubble wrap or extra cardstock layers. This can damage your machine by widening the rollers. This results in diminishing the pressure of your machine, causing you to get poor results in the future. It can also void the warranty on your machine!
- Never force anything through your die cut machine! If you can't get something to roll through, stop, back it out if you got a portion of the pads through, and readdress your sandwich. It could be that you just have an improper sandwich.
Tips for Hot Foiling
Hot foiling is one of the more difficult techniques to master. I highly recommend playing around a bit with it and giving yourself some grace when it comes to the results. Once you figure out what works, you'll really enjoy the sparkly results you get!
- Smooth cardstock provides the best results for hot foiling. If you want to foil on vellum or acetate, make sure to pick up specialty versions of these substrates from Spellbinders that are specifically designed for hot foiling.
- Always cut your foil down to fit your plate design with a small amount of excess along the edges. This will reduce over-foiling along the edges of the design.
- Applying antistatic powder (used for heat embossing) to your cardstock will also help reduce over-foiling. Apply the powder to the side of the cardstock you are foiling onto.
- Make sure to follow the directions in the manual of your hot foil system. One of the most important things is allowing the plate to heat up for long enough before running it through your die cut machine. On the Spellbinders Glimmer system, there is a timer button you will want to press once you have added your plate to it.
- Once heating up, never touch the area that gets hot or you will burn your fingers. Be careful when pulling the hot foil platform out of the heating base element.
- Don't worry about your plate, cardstock, foil or shims for the system overheating or melting. Your hot foil system is designed to heat to a certain temperature and stay there and the shims are designed to accept that heat. (I often place my plate, foil, cardstock and shims on while the system is still warming up--even before I can press the timer button.)
- Always place the flat (non-design) side down on the heating area of the hot foil system. Then place your foil shiny side down and then your cardstock on top. Conversely, you can prepare this little "sandwich" off the machine by laying the foil shiny side up on top of your cardstock, then your plate with the design side down.
- Adding a bit of the low tack craft tape can keep your plate and/or foil in place so you don't accidentally end up foiling off your paper.
- Always roll your hot foil platform through your die cut machine slowly. You want to make sure that the plate has enough contact time with the rollers to get enough pressure to apply the foil to the cardstock.
- Your hot foil or press and foil plate may come with a coordinating die to cut the design out (like Frank's Heirloom Words Press & Foil Plate). Be sure to switch over to your die cutting platform and plates and never use your hot foil platform to die cut with!
- If you accidentally get hot foil on one of your shims, don't worry! Tools are meant to get messy and this won't affect the quality of future hot foiling attempts.
- Never add any additional shims as this can damage the hot foil platform and/or your die cut machine, voiding the warranty.
- I've got a few more tips for hot foiling in my tutorial video about rolling your platform through your die cut machine and how to keep your system ready for additional foiling. So make sure you watch that video!
Tips for Letter Pressing
Letter pressing is a fun technique for people who love stamping, or just don't want to go through the trouble of hot foiling! It creates a lovely stamped impression that is slightly de-bossed.
- Use a cotton card panel designed for letter pressing--it will give you the best results. Spellbinders offers a variety of sizes and shades of white BetterPress Cotton Card Panels that work perfectly with their BetterPress system.
- Place the plate onto the magnetic platform of the BetterPress, making sure you have it where you want it within the lines of A2 or A7 guides. This will ensure your design transfers to the right spot on your cotton card panel.
- Use an ink that stays wet for a little while so that you have enough work time to apply to a larger design and get it to transfer in your die cut machine. Spellbinders makes BetterPress inks and there is a Frank Garcia set of 4 inks that match perfectly with this collection. (I've also found great results with Distress Oxide inks as well as Catherine Pooler inks, but permanent/archival inks are recommended.)
- Be sure to pat the ink on gently--never rub it on the plate. And unlike rubber or acrylic stamps, you don't need to "season" your press plates first. Just pat the ink on to a new plate and go!
- Yes, permanent inks will stain your plate and your platform. Spellbinders does sell replacement magnetic platforms and shims, but remember, tools are meant to get messy! I do like to clean my plates after I use them with a wet stamp shammy just to remove any excess ink.
- Attach your cotton card panel to the top (clear part) of the BetterPress system with some of the low tack craft tape. This will hold your cardstock in place, hovering over the inked up plate until you run it through your die cut machine, ensuring there are no errant ink smudges.
- Run the BetterPress platform through your die cut machine--not overly slow or fast. General die cutting speed roll through is perfect for this. As it rolls through, you'll see the plastic piece with the cotton cardstock press down and meet the inked up plate.
- Some press plates come with a coordinating thin metal die that allows you to cut the letter pressed design out. (Frank's Heirloom Words comes with a single die that will cut all those sentiments out at once!) Make sure to switch over to your die cutting platform and plates to cut these out. Never use your BetterPress platform for die cutting!
And that's it for this closer look and tips from a pro! Make sure to check out the video tutorial to see how it all comes together and to get tips for hot foiling during the process. If you have any questions about these "new to you" techniques, be sure to drop them in the comments! Until next time, happy crafting!
Adrienne
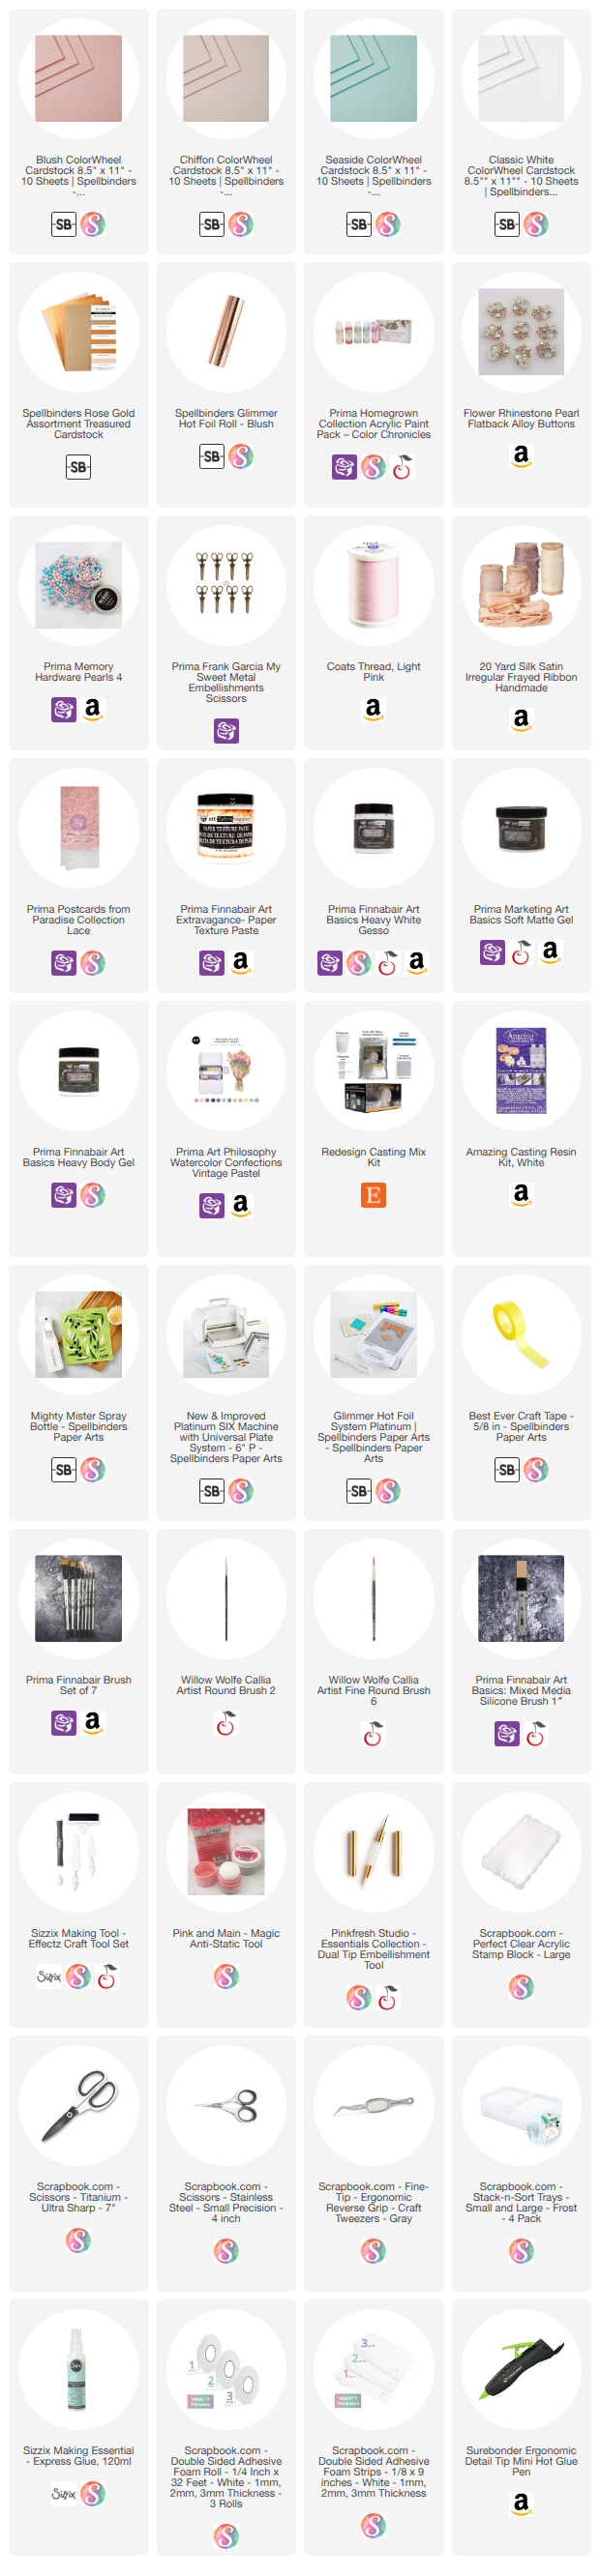
Shop the Supplies:
Scrapbook.com, A Cherry On Top, Sizzix, Prima Marketing, Spellbinders, Scrap Diva Designs, Etsy & Amazon
I am an affiliate/associate with multiple companies. When you shop the links below, I receive a small commission from the affiliate on qualifying purchases, at no additional cost to you. This helps me balance the costs of the time and love I put into my projects and blog so I can continue to share my ideas with you for FREE. If you shop the links, thank you! I greatly appreciate it.
Below are products that I used for this project.


0 comments
I'd love to hear your thoughts!