
Buttons & Keepsakes Layered Swan Card with Silk Ribbon
Torn and distressed layers, ephemera, and die cuts mix to create a shabby chic and sweet birthday card.

Hi, crafty friend and welcome to the blog! Today I'm combining Prima Marketing's Buttons & Keepsakes papers and ephemera with the coordinating Spellbinders products.

For this project, I'm using one of the embossing folders, both Press & Foil plates and one of the etched metal dies. I've got a full product list for this project below, so let's get right into the tutorial.

- Cut an A2 sized card base--we will be making a card in landscape format (card front measures 5 1/2 inches wide by 4 1/4 inches tall).
- Trim some patterned paper mattes from the Buttons & Keepsakes 6x6 paper pad, one measuring 5 3/8 x 4 1/8 inches and the other measuring 5 1/4 x 4 inches.
- Tear the smaller of the 2 on one side and then distress all the other edges of both papers with a distressing tool.

- Place the Vintage Atelier Press & Foil Plate onto your BetterPress platform and ink it up with Distress Oxide Ink in Tattered Rose.
- Attach a piece of Classic White cardstock to the clear plate with craft tape, place it onto the magnets and run this through your die cut machine.
- Trim it down to 3 7/8 inches high and then tear it along one side and distress the other 3 edges.
New to die cutting with metal dies, embossing, hot foiling or letter pressing? I've been doing these techniques for years and I've collected all of my pro tips into one place! Just visit my blog post for the Buttons & Keepsakes Altered Embroidery Hoop to find them all!

- Mist a piece of Chiffon cardstock with water, place it into the Ribbons & Seams 3D Embossing Folder and run it through your die cut machine.
- Trim this to 3 3/8 tall and then tear it along one side. Distress the other 3 edges.
- Glue all of your paper matts together with the letter pressed and embossed cardstock on the right side. Keep adhesive away from the edges so you can layer ephemera under these two pieces.

- Fussy cut one of the button cards from the Buttons & Keepsakes 6x6 paper pad. layer under the letter pressed background matte.
- Add a silk ribbon bow to the right side of your card and then glue the mattes onto the card base.

- Splatter your card background with Splatter White paint. Set this aside to dry.

- Using the Keepsake Swans etched die, cut the swan that faces left along with her cape and bow layers using these cardstock colors: Classic White, Raven, Beeswax, Alabaster, Chiffon and Seaside.
- Glue the layers together.

- Place the Heirloom Words Press & Foil Plate onto your BetterPress platform. Ink it up with the black ink that comes with your platform.
- Tape an A2 BetterPress Cotton Card Panel in Porcelain to the clear plate, place it on the magnets and run it through your die cut machine.

- Use the coordinating die with this Press & Foil Plate to cut the sentiments out.

- Place the pincushion ephemera piece near the bottom left of your card using 1 millimeter thick foam adhesive.
- Add the swan die cut with 2 millimeter thick foam adhesive.
- Add the letter pressed sentiment with 1 millimeter thick foam adhesive.

- Use hot glue to add buttons and flowers to your card.
- Add some of the pink Color Essential Gems.

And that's it! This sweet little card is full of distressed papers, ephemera and fun elements from the coordinating Spellbinders products. I hope it inspires you to mix the Prima products you know and love with the Spellbinders coordinates to create something fun and new. Happy crafting!
Adrienne
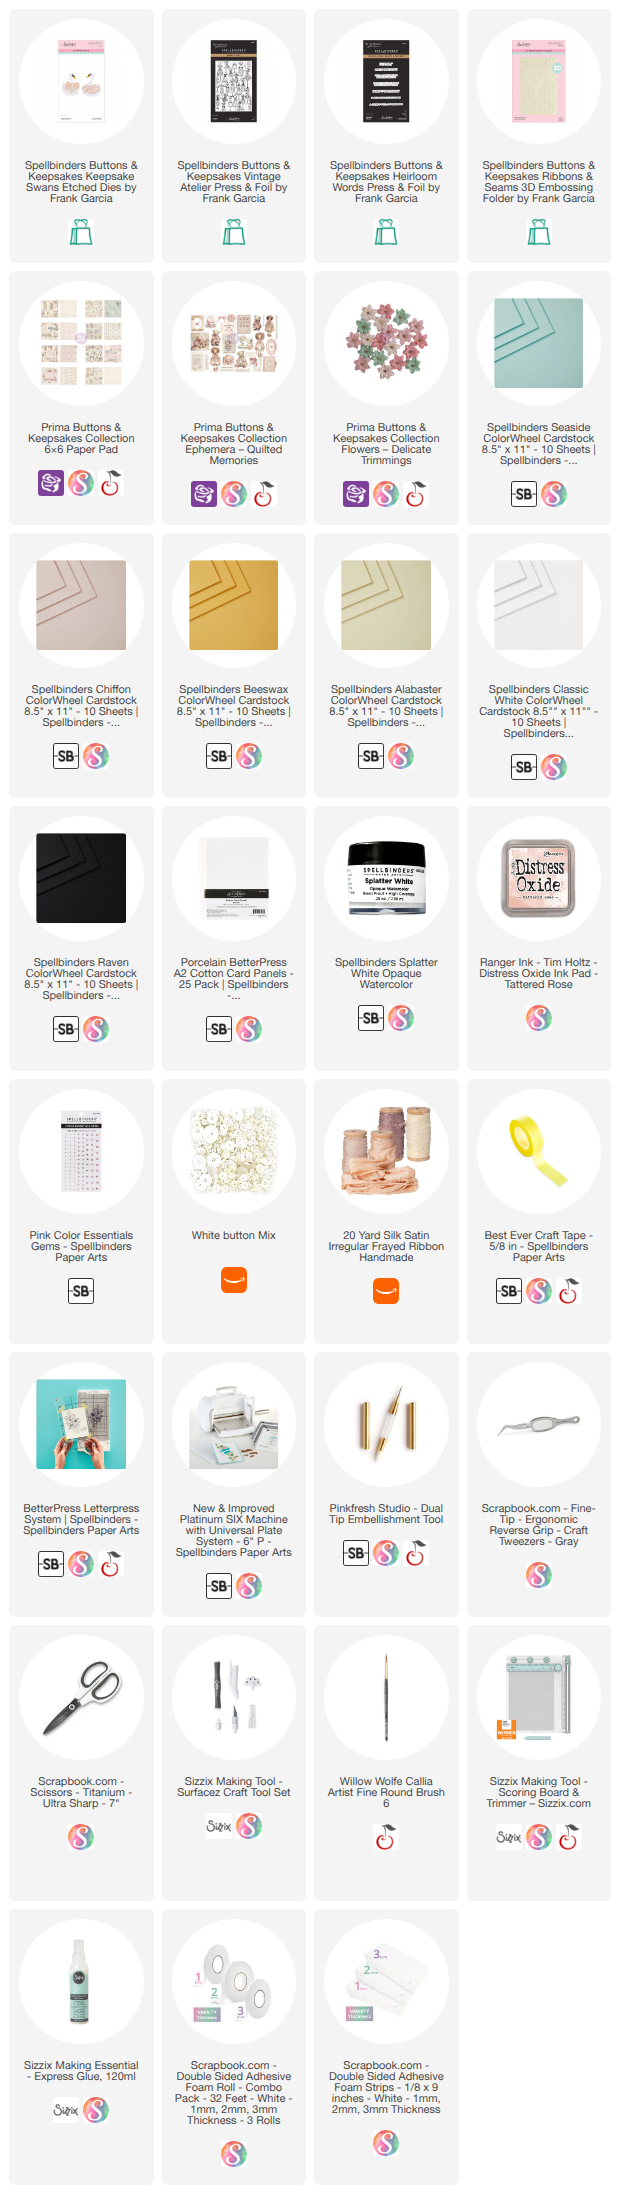
Shop the Supplies:
Scrapbook.com, A Cherry On Top, Sizzix, Prima Marketing, Spellbinders, Scrap Diva Designs, Etsy & Amazon
I am an affiliate/associate with multiple companies. When you shop the links below, I receive a small commission from the affiliate on qualifying purchases, at no additional cost to you. This helps me balance the costs of the time and love I put into my projects and blog so I can continue to share my ideas with you for FREE. If you shop the links, thank you! I greatly appreciate it.
Below are products that I used for this project.


0 comments
I'd love to hear your thoughts!