
How to Create a Cohesive Look Using Multiple Paper Collections
These sweet ATCs feature a single focal point, while using 3 different collections. Here's how to create a cohesive set of ATCs!

It's fun to mix and match your paper collections, but it can also be overwhelming trying to figure out how to create something cohesive, especially if there are some really different color palettes across the board.

So today, I'm going to give you my tips for creating cohesive projects using multiple collections--especially when doing multiples of different collections in one set.
Jump to a Section

Tips for Cohesive Projects
Mixing and matching collections is a great way to use up scraps and leftover bits of paper collections. But when your projects don't necessarily match in theme or the overall color palettes, it's hard to know where to start. And when you are trying to create a set of cards or ATCs with multiple collections that you want to photograph together, it can definitely feel overwhelming.

And trust me, I sort of got frustrated and overwhelmed at the start of this challenge to create 3 versions of a project with 3 different collections. But Once I thought through it, I figured out how to do it in a way that made these ATCs look beautiful together. So here's what I learned and my tips for you:
- If you can, choose the same type of products across multiple collections--this will create repetition of product. For example, my ATCs used moulds, ephemera and paper from three different collections.
- Create a single design and use it across all your iterations. So choose a single type of product to be the focus point of your design and then add in similar embellishments in a similar way. For me, the mould from each collection was my focal point, then I designed a flower and ephemera embellishment cluster in a lower corner of the ATC.
- Choose a couple colors that match or are similar across the collections and use those the most. This will help you create a similar color palette. I chose to focus on the pinks, corals and light and dark golden browns in Homegrown, Buttons & Keepsakes and Among the Wildflowers. This helped to tie in the yellow from Among the Wildflowers, the pinks from Buttons & Keepsakes and the peachy corals in Homegrown. I also added a touch of blue that you can find in each of the collections.
- Choose 1 or 2 of the same product from a single collection to use across all your iterations. For example, I used flowers, crystals and chipboard stickers from Homegrown on all 3 of my ATCs.
With these tips, you can create multiple iterations of a project using different collections without it looking chaotic. Remember, it's all about creating cohesiveness in other ways!

ATC Tutorial
So let's get into this ATC tutorial now that you know my tips and tricks! I chose a size of ATC that would fit my largest mould and cut all three to that size. I chose 2 patterned papers from each of the 3 collections 6x6 paper pads. One was cut to be the matte and the other the background. I distressed the edges of all 6 of the pieces of patterned paper with a distressing tool and then glued the top layer to the bottom with roller adhesive.

I cast all of the moulds ahead of time using Redesign's Casting Mix. I chose the bunny in the basket from Among the Wildflowers, the bear from Buttons & Keepsakes, and the mouse with the watering can from Homegrown. I painted the moulds using three Art Philosophy watercolor palettes, making sure I stuck to my color palette of warm golden browns, pinks and corals with a touch of blue or green where needed. When they were dry, I dry brushed them all with a touch of Finn's White Gesso to draw out the highlights of the moulds.

I chose 2 pieces of ephemera from each of the collections. From each collection, I chose a tag or other background type element, then I also selected a floral from each. I glued the tag or other background element to the ATC with roller adhesive, then added the mould on top right in the center using hot glue (you can also use heavy body gel or tacky glue).

Then I created an embellishment cluster of flowers and floral ephemera in either the bottom right or bottom left corner. I used 2 flower packs from Homegrown, with 1 of each flower on each ATC. I tucked in a bit of sisal fibers to this cluster as well for added texture. I used hot glue to attach these elements.

To finish this set of ATCs off, I added a Homegrown chipboard sticker sentiment and some of the Say It In Crystals. I used hot glue to attach the chipboard stickers and added a dot of liquid glue to help adhere the crystals--I live in a really arid climate, and adding that extra bit of adhesive to the sticky back of the crystals really helps them stick better.
I hope you enjoyed this tutorial and the tips and tricks for mixing and matching collections for a more cohesive look. Until next time, happy crafting!
Adrienne
Shop the Supplies:
Scrapbook.com, A Cherry On Top, Sizzix, Prima Marketing, Spellbinders, Scrap Diva Designs, Etsy & Amazon
I am an affiliate/associate with multiple companies. When you shop the links below, I receive a small commission from the affiliate on qualifying purchases, at no additional cost to you. This helps me balance the costs of the time and love I put into my projects and blog so I can continue to share my ideas with you for FREE. If you shop the links, thank you! I greatly appreciate it.
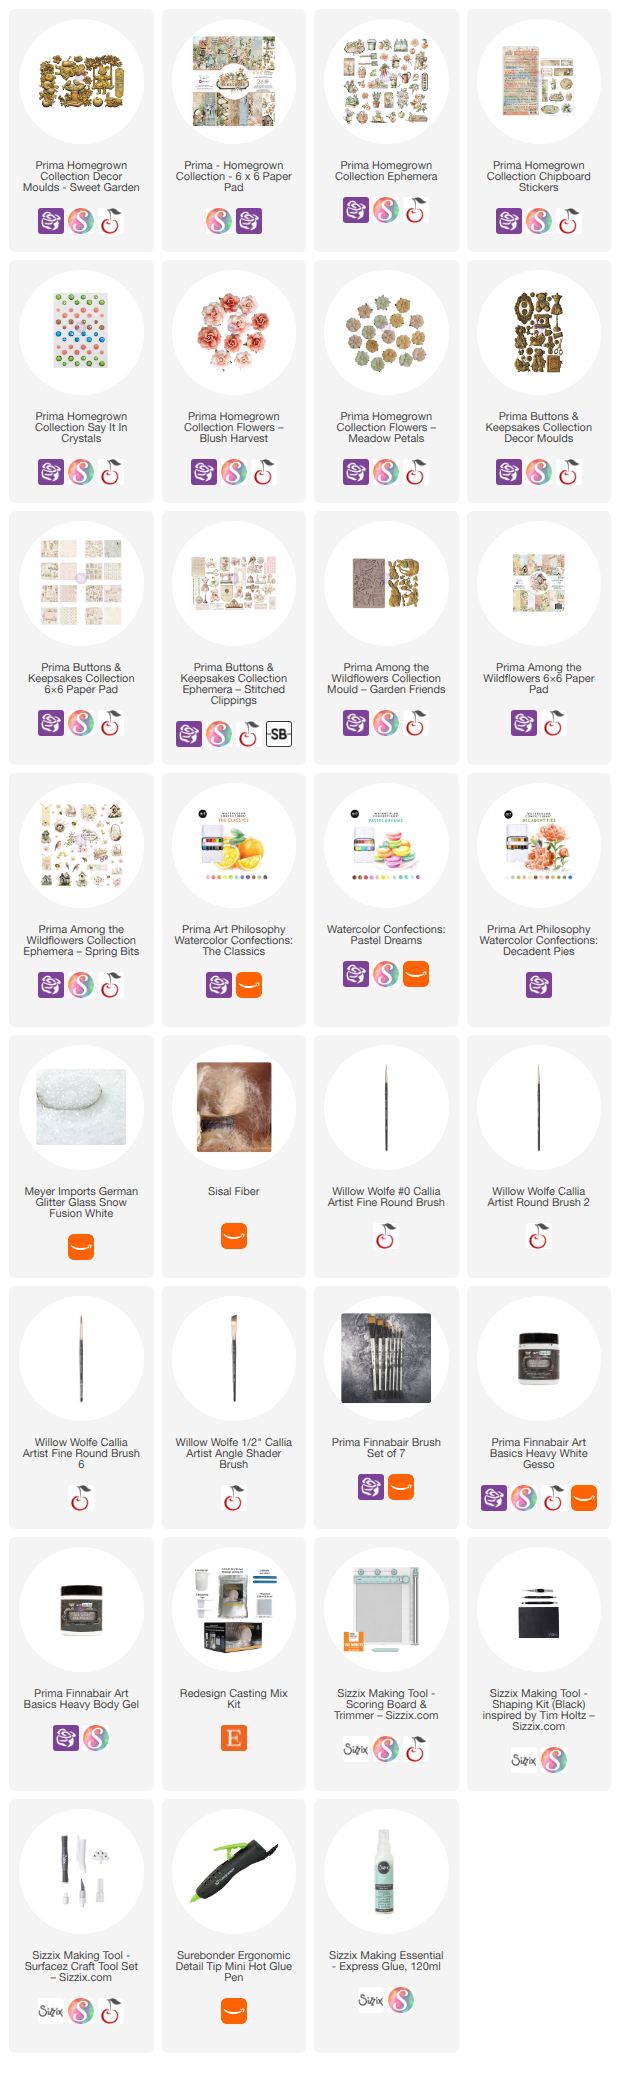
Below are products that I used for this project.


0 comments
I'd love to hear your thoughts!