
Birthday Scrapbook Layout Tutorial with the Sizzix 25th Birthday Collection
It's Sizzix's 25th Birthday and they are celebrating with a special set of products. Let's create a birthday scrapbook layout with some of them!

Hi, crafty friend! Sizzix just turned 25 and they are celebrating the momentous occasion with a special collection of 9 products from your favorite licensed designers. There are stamps, dies, embossing folders and stencils, so whatever you love to create with, there is something for you!

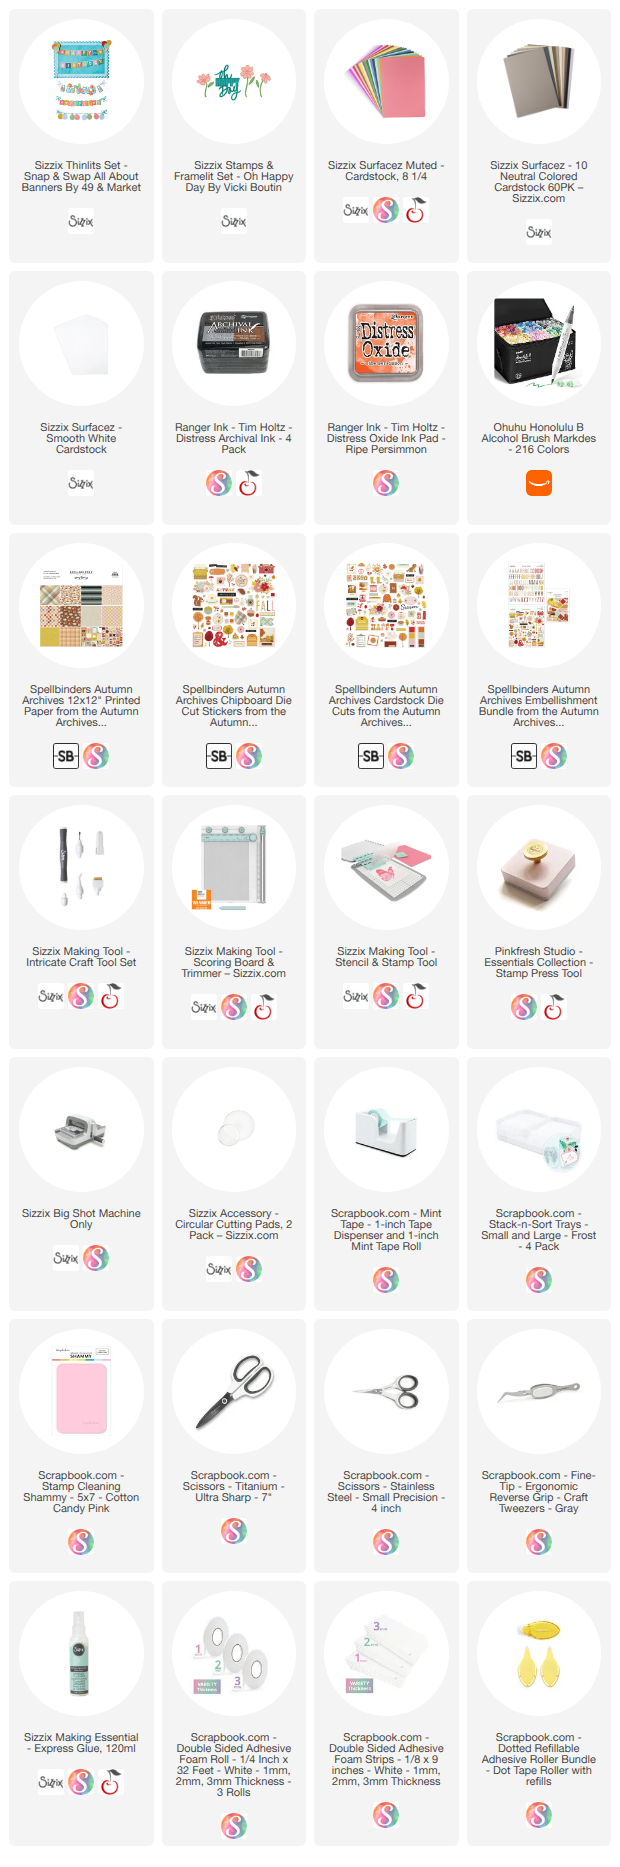
I've combined 2 of those products, Oh Happy Day Stamp & Framelit set by Vicki Boutin and the Snap & Swap Thinlits All About Banners by 49 & Market, to create this sweet birthday scrapbook page. I've listed all the supplies I used below, including the Ohuhu alcohol ink markers I purchased to try out.

Start by die cutting the postage frame Thinlit from the Snap & Swap Thinlits All About Banners set from some Sizzix Cardstock. Place the small interchangeable lines into the Snap & Swap slots--we are going to die cut just a plain frame to hold a portrait orientation photo. If you have a landscape orientation photo and some good space at the top of your photo, you can totally use one of the interchangeable banners that snap into one set of the slots.

There are 3 sets of slots and several interchangeable options, so you can really customize this Thinlit to what you want. Just insert the interchangeable pieces you need and hold them in place with some low tack craft tape like Sizzix Makers Tape or Scrapbook.com Mint Tape. Then you can also die cut any of the matching layers for the interchangeable pieces you cut. Since I'm just doing a plain frame, that's all I needed to cut, other than the matte base shape for this postage frame. I used Sizzix smooth white cardstock for this base layer.
I want to add some of the tiny little letters in this set as part of an extended title with a piece of ephemera, so I die cut the alphabet strip twice from Sizzix cardstock.

Next, stamp out the flowers, stems and leaves from the Oh Happy Day Stamp & Framelit set twice each using a black archival ink, like Distress Archival Ink in Black Soot from Tim Holtz. I used my Sizzix Stencil and Stamp platform and some Sizzix smooth white cardstock to stamp on. The stamping platform makes it easy to re-stamp an image without worrying about having to line your stamp back up again, ensuring you get a perfect stamped image without wasting cardstock!

Then stamp out the Oh Happy Day sentiment using an ink color that coordinates with the cardstock color you cut your frame from. Since I cut from an orange cardstock from Sizzix's Muted Surfacez cardstock pack, I chose Tim Holtz Distress Oxide in Ripe Persimmon for my ink color.
After stamping these images, color in the flowers, leaves and stems with some alcohol ink markers. I'm not a huge alcohol ink marker user, so I wanted something a little cheaper than Copic or Olo, where I could get a lot of colors to use for crafts here and there, but still nice enough to have a smooth appearance. I purchased these Ohuhu markers in the Honolulu & B style (double tipped with brush and fine tips) in a 216 pack. I got this whole set of markers for $179 at the time of purchase, so I felt that was a pretty good deal for someone who doesn't do a ton of stamping and coloring.

If you do like to color with alcohol ink markers, you can get a total of 363 colors in this particular style. And they are ACMI certified. They also have good reviews on Amazon. I think, for me, there will be a bit of a learning curve of how to choose colors to blend together and blending itself, but the colors apply nicely and smoothly. I look forward to playing with these a bit more, and to use them to color on acetate and shrink plastic for mixed media and other DIY crafts and projects.

Here's the specific colors I used if you like these colors and are recreating this layout:
- Stems and Leaves: YG012 Yellow Green, YG015 Dark Olive
- Flower Centers: Y27 Sunflower, YR111 Persimmon
- Flower Petals: YR111 Persimmon, YR112 Orange, YR513 Papaya
Once you are done coloring the flowers, leaves and stems, die cut everything out with the coordinating Framelits in the set.

Then you can assemble your scrapbook page. Trim your photo down to fit inside the postage stamp frame. Glue the frame top layer to the photo using Sizzix Express Glue. Then use roller adhesive to glue this to the white base layer. Add foam adhesive to the back of the photo and place it in the center of your layer. Be sure to keep the foam adhesive away from the edges of the photo so you can layer ephemera and other things underneath.

I then added some ephemera and a foam sticker around the upper corners of the photo. Add the Oh Happy Day sentiment to the bottom right of your photo with more foam adhesive. I added another piece of ephemera below this stamped sentiment that says "The Best." I'll be adding the word Birthday with the tiny alpha letters later.

Then glue the flowers, stems and leaves together with Express Glue. Add your flowers to your layout using both Express Glue and Foam adhesive to layer them up. I added one flower without a stem or leaves to the top right corner, layered up with the ephemera and stickers, so feel free to add in flowers like this as well.

I wanted my Birthday letters to be two layers thick, hence why I die cut that strip twice. Glue the letters together with Express Glue then glue them to your layout. Add a few gems and other small stickers to finish off your layout and you have a sweet floral and birthday themed scrapbook page. Until next time, happy crafting!
Adrienne
Shop the Supplies:
Scrapbook.com, A Cherry On Top, Sizzix, Prima Marketing, Spellbinders, Scrap Diva Designs, Etsy & Amazon
I am an affiliate/associate with multiple companies. When you shop the links below, I receive a small commission from the affiliate on qualifying purchases, at no additional cost to you. This helps me balance the costs of the time and love I put into my projects and blog so I can continue to share my ideas with you for FREE. If you shop the links, thank you! I greatly appreciate it.
Below are products that I used for this project.


0 comments
I'd love to hear your thoughts!