DIY Tiered Tray Felt Decor with Spellbinders Fergus the Gnome
This sweet little gnome can be decorated and dressed for any holiday and season you want and can be added to a tiered tray. So let's make Fergus the gnome together!
Hey, crafty friend! Spellbinders sent me the Fergus 3D Felt Decor and coordinating embellishments sets for me to make a couple of gnomes for you all!
I of course had to make a Halloween Fergus and a winter Fergus (snowflakes are winter's flowers, after all). I won't go into my own tutorial, but rather link Spellbinder's tutorial videos with Sandy MacIver, who is the creator of this sweet collection. But I will break down which felt and DMC floss colors I used for each of my two gnomes in case you want to recreate either of these fashionable looks! And of course, I'll share additional photos so you can see all of the details I added with embroidery floss and the embellishments.
There are a few supplies that I used for both, like the Platinum die cut machine, the needles, rotary trimmer and beads.
You can shop all of the supplies used for this project at the bottom of this blog post!
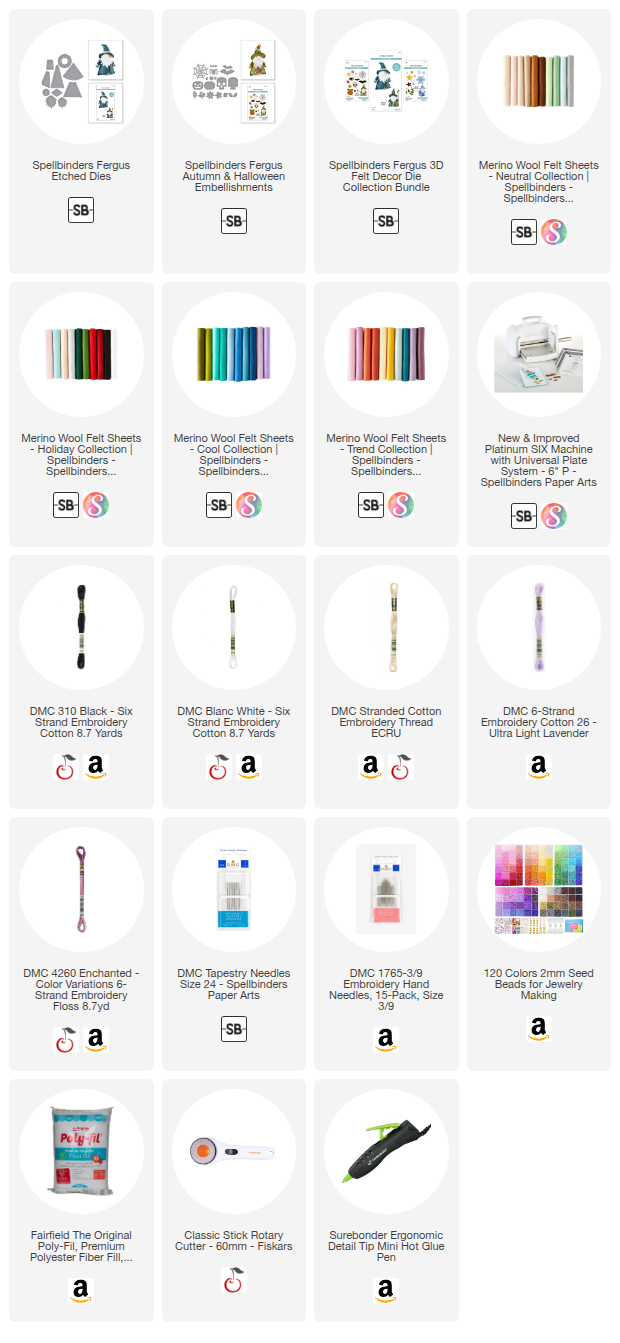
First, let's break down what I used for the Mystical Halloween Fergus:
- Fergus Base Die (this creates the gnome--including his coat and hat)
- Fergus Autumn and Halloween Embellishments Die Set (this gives you all the seasonal elements)
- Holiday Merino Wool Felt (black, white and grey)
- Neutral Merino Wool Felt (beige)
- Cool Merino Wool Felt (light purple)
- Trend Merino Wool Felt (dark purple)
- DMC Floss Colors: 26, 310, 4260, ecru and blanc
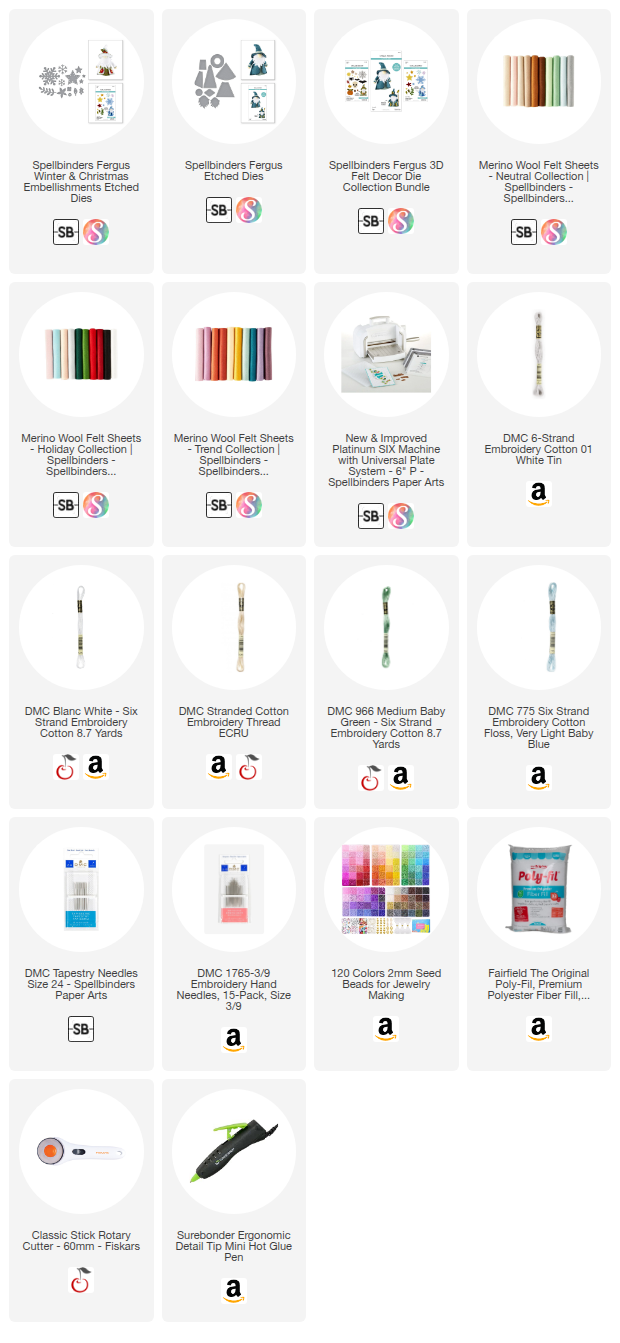
And here's what I used for my Winter Wonderland Fergus:
- Fergus Base Die (this creates the gnome--including his coat and hat)
- Fergus Winter and Christmas Embellishments Die Set (this gives you all the seasonal elements)
- Holiday Merino Wool Felt (white and grey)
- Neutral Merino Wool Felt (light blue and beige)
- Trend Merino Wool Felt (sage green)
- DMC Floss Colors: 01, 775,966 Black, ecru
Sandy's tutorial videos start with the hat, the coat, then the body. She also shares how she embellished one of her gnomes, but you can access that video and the intro to Fergus by scanning the QR code on the back of your Fergus die set.
Here's how to stitch the hat:
Here is how to stitch the coat:
And here is how to stitch the body, beard and nose:
I added a little bit of freehanded embroidery to the body of my Halloween Fergus and some stitching to the large snowflake on the back of the Winter Fergus. I also added some small seed beads to my flowers and snowflakes to give my Fergus gnomes a little bling!
I hope that you enjoyed this closer look at my two little Fergus gnomes. I can totally see either of these displayed on a tiered tray for the two seasons. Let me know what you think of these versions of Fergus, and until next time, happy crafting!
Adrienne
Shop the Supplies:
Mystical Halloween Fergus:
Scrapbook.com, A Cherry On Top, Spellbinders, Sizzix, Etsy & Amazon
I am an affiliate with multiple companies. When you shop the links below, I receive a small commission from the affiliate, at no additional cost to you. This helps me balance the costs of the time and love I put into my projects and blog so I can continue to share my ideas with you for FREE. If you shop the links, thank you! I greatly appreciate it.
Below are products that I used for this project.
Winter Wonderland Fergus:
Below are products that I used for this project.


2 comments
Beautiful and cute Adrienne 😍
ReplyDeleteSteff “Brownbabycraftaholic”
Thank you so much, Steff! ☺️
DeleteI'd love to hear your thoughts!