
Design geometric stenciled background with ease using the new Sizzix Rotating Stencils. What should you pair this background with? I've got a creative idea for you!

Hello, crafty friend! Today I’m sharing how easy it is to use the Sizzix Rotating Stencils! These fun geometric backgrounds are perfect for cards, mixed media panels and so much more.

You can use a single color, 2 colors or 4 colors of ink with this stencil to create fun backgrounds. You could also use pastes, Pops of Color, paint and many other mediums to create your backgrounds.
You can shop all of the supplies used for both cards at the bottom of this blog post.

So how easy is it to use the Rotating Stencils and what can you pair it with? Well let’s get right into that with these 2 fun Halloween card ideas!

So here’s just how easy it is to use this stencil. Place it onto your Sizzix Stencil and Stamp Tool using the stencil adapter. Place your cardstock onto the Sticky Grid of your tool. Apply your ink or other mediums through the stencil.
Remove the stencil and clean it off if needed and then rotate it 90 degrees. Apply your medium through the stencil again. Then repeat the clean, rotate 90 degrees, and applying your medium another 2 times to complete the 4 parts of the geometric design. And that’s just how simple it is!

Now, if you aren’t in to super bold and busy backgrounds, you can use soft colors for the background or you can soften bolder colors with a piece of vellum as an overlay. I created several layers for the background of both these cards—an A2 sized white base, a color matte, the stenciled background, then the vellum on top.

I knew immediately which Sizzix Thinlits I wanted to pair these stencils with—the Infinite Doodles Thinlits! Since the Rotating Stencils are the brainchild of the incredible Pete Hughes, I wanted to use his Infinite Doodles to create some fun Halloween shapes. I created some jack-o-lanterns and candy corn all with smiling faces!

The great thing about Infinite Doodles is that you can combine different dies to make different shapes by layering the different shapes, or using one shape to die cut from another shape.
For example, I used one of the long shapes to cut through the middle of the candy corn base shape to help me create the layered colors. I used some low tack craft tape to hold two of the colors together and cut through both of them at the same time, right through the middle. This gave me the middle and top colors, which I then glued onto the bottom color, which was the full shape. Check out my shape guide below for the dies you need to create these little candy corns.

The pumpkins didn’t require cutting through another cut, but simply layering the different pieces together. I used a couple of different shapes to make different sized gourds and gave each jack a different little face to make each one unique. Check out my shape guides below for the dies you need to create each little jack-o-lantern.

I also paired this background stencil with some alpha and word dies from Sizzix. I used Catherine Pooler’s Exclamation Words and Tim Holtz’s Alphanumeric Cutout Lowercase Thinlits to create “yay candy” and “hey boo.” I die cut the words and letters 3 times from black cardstock, gluing those layers together to create a thick and sturdy die cut. Then cut the same letters and word from a different color of cardstock and offset it to create a drop shadow.

And that’s it! I hope you feel inspired to try out different mediums and colors for your Rotating Stencil backgrounds and to give the Infinite Doodles a go if you haven’t already! They are so fun and a blast to think about how to use the different shapes to make what you want. Until next time, happy crafting!
Adrienne
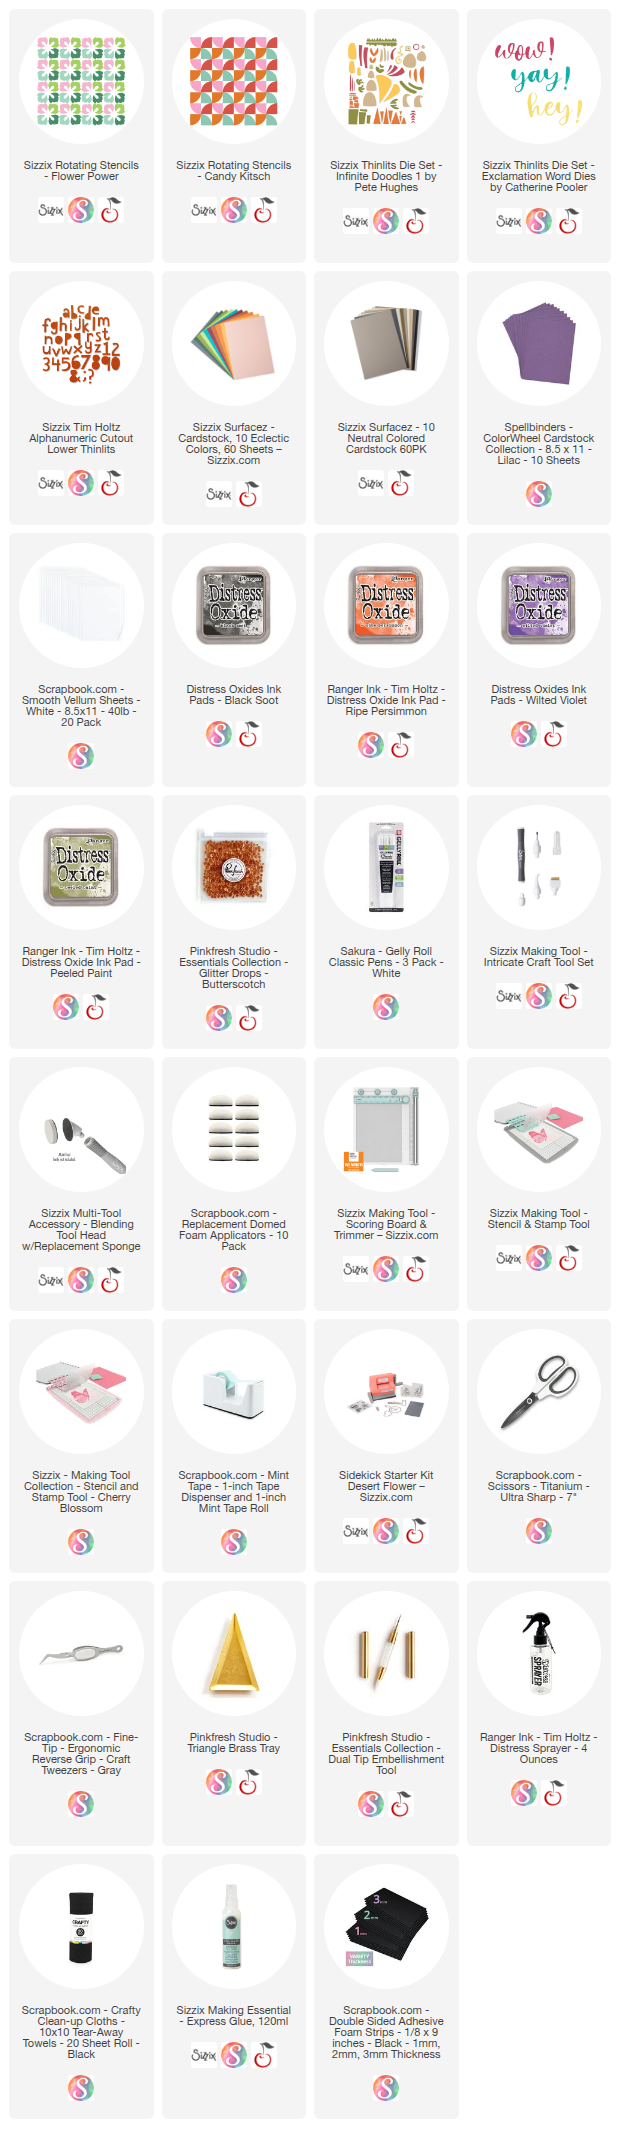
Shop the Supplies:
Scrapbook.com, A Cherry On Top, Spellbinders, Sizzix, Etsy & Amazon
I am an affiliate with multiple companies. When you shop the links below, I receive a small commission from the affiliate, at no additional cost to you. This helps me balance the costs of the time and love I put into my projects and blog so I can continue to share my ideas with you for FREE. If you shop the links, thank you! I greatly appreciate it.
Below are products that I used for this project.


0 comments
I'd love to hear your thoughts!