
DIY Ocean Themed Party Invitations
One bottle, four ways to fill it! These handmade party invitations are sure to make a splash for your next ocean-themed party.

Hey, crafty friend! My niece's birthday party theme this year is ocean/mermaid. So I of course pulled out all the stops on her party invitations, bottling up some sea creatures--then putting the cork back in! (See what I did there?)

I used the Whale in a Bottle die from Spellbinders but created 4 iterations of this card--I used the whale in one, but then used a turtle and fish in another, then a crab and lobster from Sizzix in two other versions of the card.

Spellbinder's Monthly Club Kit for August 2025 has some additional dies that work well with the Whale in a bottle die, including the Small and Large Die of the Month, which are some cute scuba divers and a mermaid! I wish I had these dies a little earlier so that I could have used these as well, but I'll use them to make her a birthday card if I receive them in time!

But on to this quick and easy tutorial!
- First, cut a 5x7 white card front from white cardstock.
- Mist the cardstock and then send it through an ocean themed embossing folder (I used Summertime Waves, which is no longer available, and Nautical Knots, which I've listed below in the supply list.)
- Then die cut your bottle, waves and sand from various blue, white, grey and brown cardstocks.

- Add a little ink shading to your small sand hills with a small blending brush. A grippy surface like the GripMate will help hold your small dies in place while inking them.
- Then cut the seaweed and coral from green and coral colored cardstocks.
- Assemble the bottle, leaving the top layers of waves off for now. I used a bit of foam adhesive on one of the small sand hills for some dimension.
- Wrap some jute twine around the neck of the bottle and tie it into a knot.
- Glue the bottle base to your white card front using permanent adhesive.

- Cut a white card base, score and fold. Then Add the card front with the bottle to the card base.
- Die cut out your chosen underwater creature from cardstocks of your choice (I've listed all the ones I used below) and assemble the layers.
- Add your underwater creature to your scene and then use foam adhesive to pop on the upper waves so it overlaps the creature.
- Type or stamp up a sentiment and cut it into a banner and pop it onto the top of the bottle.
- Add a few iridescent gems to your card for some bubbles. (I realized while writing this blog that I forgot to put some on the crab card--whoops! Good thing I haven't sent them out just yet!)

My simple tip for mixing it up with different die sets, is to just let your creativity flow. Look for cutting dies that are in the same theme. Size can also be a consideration, but as you can see, there is a big difference in size between the turtle and the lobster, yet it still works. So just play with different combinations to see what looks good.
I hope that you enjoyed this quick little tutorial and seeing how you can mix and match your dies up to create different underwater scenes. Until next time, happy crafting!
Adrienne
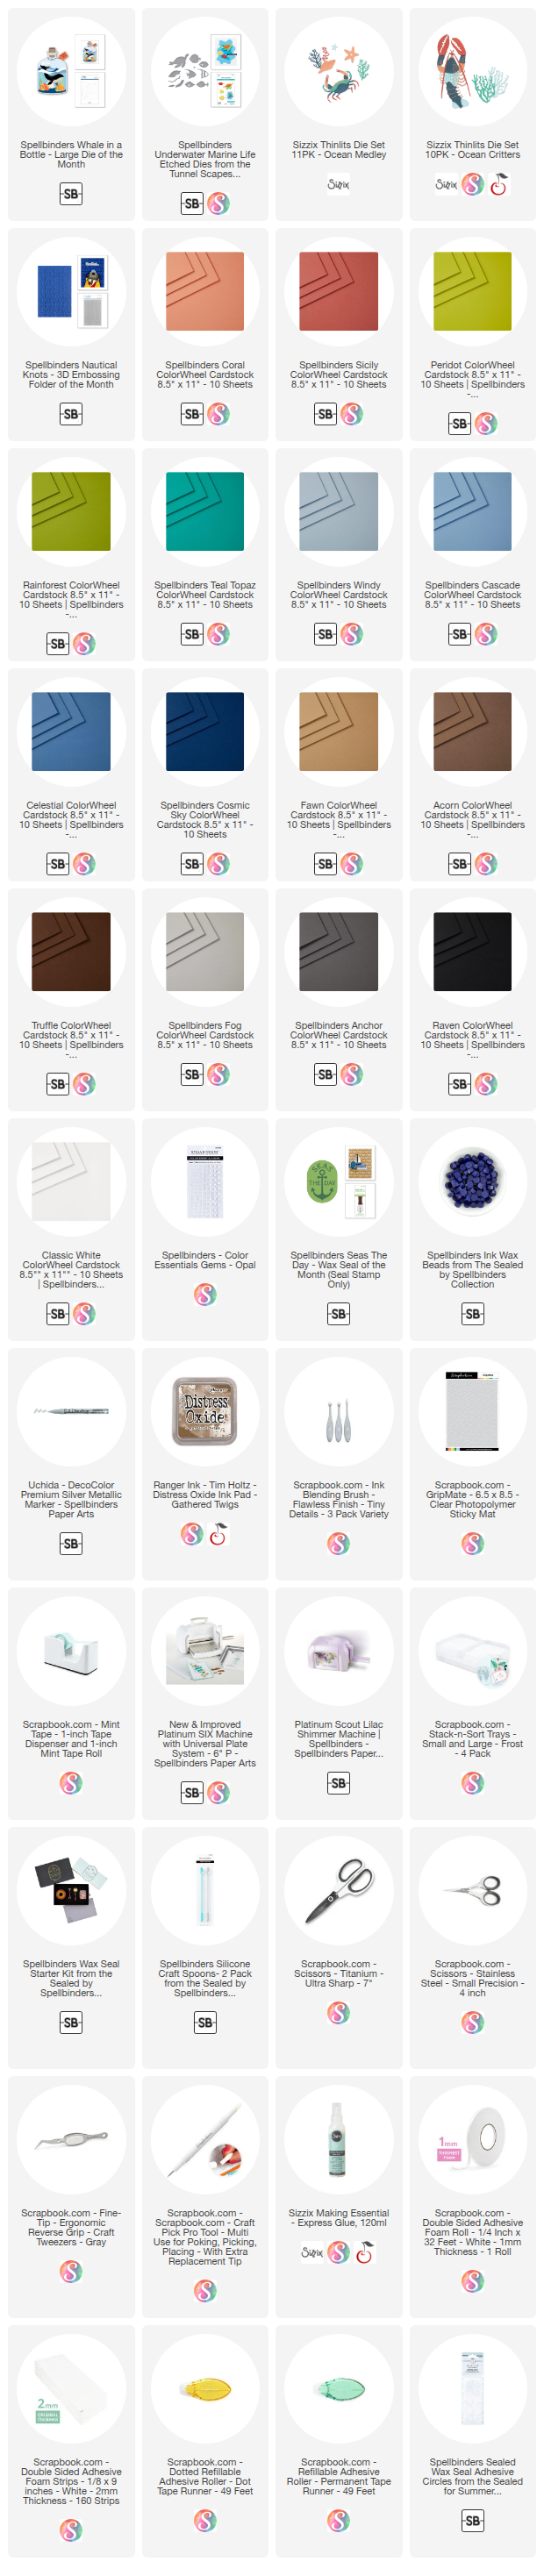
Shop the Supplies:
Scrapbook.com, A Cherry On Top, Spellbinders, Sizzix, Etsy & Amazon
I am an affiliate with multiple companies. When you shop the links below, I receive a small commission from the affiliate, at no additional cost to you. This helps me balance the costs of the time and love I put into my projects and blog so I can continue to share my ideas with you for FREE. If you shop the links, thank you! I greatly appreciate it.
You can also use the code adrienne15 for 15% off your order on the Prima Marketing Retail site.
Below are products that I used for this project.


0 comments
I'd love to hear your thoughts!