
Channeling Wednesday Addams: Moth Magic Mixed Media Tutorial
Bright butterflies? Not here. This project brings black moth goth vibes and ice cold blue flowers for your endless deathly enjoyment--but don't get too excited.

Hello, ghoul-friends. This is another Goth Adrienne takeover. The spooky dead flower card I created with that tiny touch of red for the black widow made me want to explore other deathly shades. So this project has a touch of ice blue--the color of nearly dead lips.

And yes, I'm still channeling my inner Wednesday Addams. The next challenge was to take the Happy Garden Texture Fade Embossing Folder and the Bright Butterflies Thinlits designed by Catherine Pooler for Sizzix and make it goth. Happy and bright are two things we cannot have, so let's get right into this "goth-it-yourself" tutorial.
Oh, and again, you can shop all of the supplies used for this dark and dreadful project below.

Start by cutting a piece of bone white chipboard to 6 1/2 by 4 1/2 inches. Then trim a piece of black cardstock from the Sizzix Neutrals Surfacez Cardstock Pack and a piece of thick black mixed media cardstock to 6 1/4 by 4 1/4 inches. Glue the black cardstock onto the black mixed media cardstock with permanent adhesive. This will make the textured black cardstock stiff--like death.
Add foam adhesive to the back of the black layer, peel off the protective layer like you are peeling dead skin off, and add a little Sizzix Express Glue to the back of the foam. Then center and stick it to the white chipboard. This is where Pastel Shabby Chic Adrienne would tell you that the Express Glue gives you "wiggle time" to get the layers placed just right, but I hate the word wiggle.

Cut a piece of bone white smooth cardstock to 6 by 4 inches. Mist it with cold water and place it into the Happy Garden embossing folder. Run it through your die cut machine. I prefer the Black Big Shot Switch, but you can also use the bone white one. Just don't use the pink one. Disgusting.
Allow the embossed cardstock to dry by setting it to the side. Cast one of the Ornate Frames moulds in resin and prime it with Clear Gesso. Then paint it black with the Sizzix Creamy Matte Acrylic Paint.

While that dries, because we don't want to mix our colors, die cut some of the Bright Butterflies. Cut the base layer from a dark gray and the upper layer twice from black cardstock. I prefer the butterflies with the web-looking de-bossed design, but I also forayed into the world of swirls and used that butterfly as well. Swirls are okay because they are like whirl pools that take you to the dark depths of the ocean. Speaking of the depths of the ocean, did you know that male Angler fish use a parasitic form of mating, attaching themselves to the female fish? It's weird, but also delightfully creepy.

Die cut the body and antenna 9 times--3 for each butterfly, excuse me, moth. We don't want droopy antenna. Glue the layers of the antenna together with Express Glue. Also glue 2 of the black moth layers to the gray, only adding glue to the center. Then add one body to each moth.

The hearts of these moths are cold, so add some Ice Drops to the centers with small drops of Express Glue. Then gently bend the wings of the moths up for dimension, as if you are carefully making an extraction from your latest victim.

Once the resin frame and embossed cardstock are dry, you can add dimension with wax. I used the Finnabair Graphite wax on the embossed cardstock and the White Pearl wax on the resin frame. I applied the wax with my fingers. Sometimes tools are overrated--I like to do things with my own 2 hands occasionally.
Heat up your hot glue gun. Again, I hate warmth, but I hate fuss more. And hot glue will attach these layers instantaneously. While it heats up, attach the embossed cardstock to the black layer on the base of the project with more foam adhesive and Express Glue.

Once the glue gun is hot, glue some of the ice cold flowers to the project base. Then hot glue the the resin frame to the top of those flowers. Add 2 more cold flowers to the top left of the frame. Then, brush some Soft Matte Gel onto the edges of the flower petals. Sprinkle on Diamond Shard Glitter Glass. I enjoyed playing with this even though it sparkles. It is sharp and made of real glass.
Social Media Adrienne has told me I need to say that you should be careful with these shards of glass, but I don't mind a little blood, do you? Tap the excess off and pour it back in your jar. We don't waste good things in this house.

Add a strip of foam adhesive to the back center of each moth. Then use a small amount of hot glue on the foam and place your moths on your project. Then add a few more Ice Drops to the base of the project.
I still refuse to wish you happy crafting, like Social Media Adrienne. And because her fingers are still incapacitated, I rather wish you endless dread.
Kisses and Daggers,
Goth Adrienne
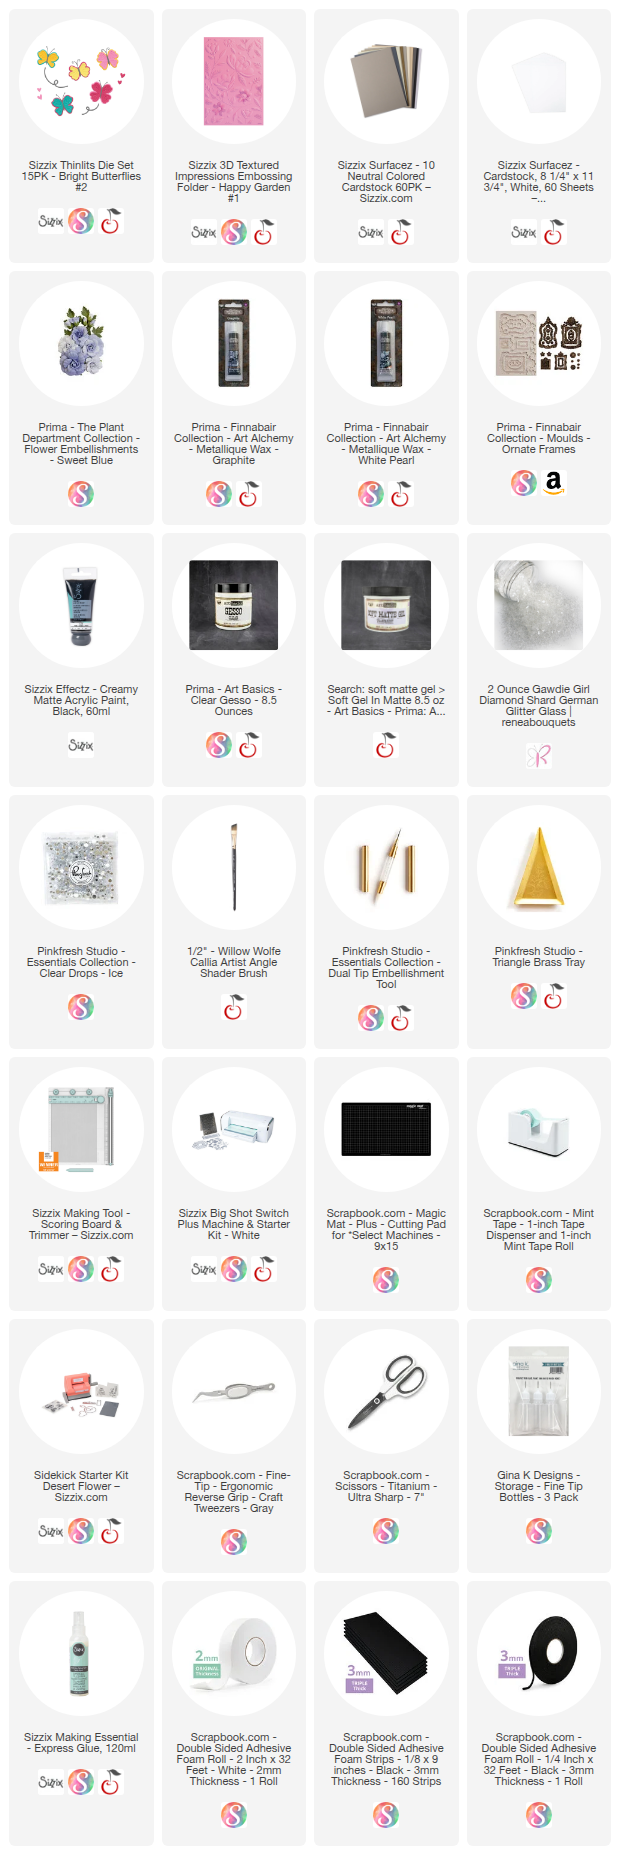
Shop the Supplies:
Scrapbook.com, A Cherry On Top, Spellbinders, Sizzix, Etsy & Amazon
I am an affiliate with multiple companies. When you shop the links below, I receive a small commission from the affiliate, at no additional cost to you. This helps me balance the costs of the time and love I put into my projects and blog so I can continue to share my ideas with you for FREE. If you shop the links, thank you! I greatly appreciate it.
You can also use the code adrienne15 for 15% off your order on the Prima Marketing Retail site.
Below are products that I used for this project.


0 comments
I'd love to hear your thoughts!