
How to Watercolor Detailed Resin Mould Casts + Mixed Media Project Tutorial
Intimidated by detailed moulds and wondering how to paint them? It's easier than you think with this painting tutorial and bonus mixed media project using detailed mould casts!

Hi, crafty friend! I used to be really intimidated by detailed moulds that require more than a single wash of paint and a contrast color to show the highlights and texture of the mould. So I've been in your shoes!

But doing a detailed paint job is easier than you think! The mould has all the details there for you and you need to do is paint in the lines. So there's no need to be able to draw well.
Shop all of the supplies for this project at the bottom of this post!
Acrylic paints are great, but have you ever considered watercolors for your mould casts? Sound crazy? It's totally possible with a bit of patience! In this latest tutorial video, I share my step-by-step process for watercoloring your detailed moulds. From prep to finishing touches, it's all there. And I have tips for caring for your watercolor pans and brushes too.
Watch the Tutorial
Just remember, any kind of detailed paint job requires layering and adding those small details. The only things that I add that isn't already there in this Cherry Sweet Girl mould, are her rosy cheeks and some eyelashes! If you are feeling bold, you could even add freckles to her for some more whimsy!

But I won't go into the painting tutorial here. You'll have to watch the full video for all of that. What I want to focus on instead, is how to assemble the little mixed media medallions that I used these Cherry Sweet girl moulds in. So let's dive right into it!

I also cast the medium sized round frames from the Redesign with Prima Astrid Mould. And I painted these with watercolor too, however this was just a single wash of color and some white gesso for the highlights. I wanted to keep this mould coloring simple because it's this project is really about showcasing those detailed moulds.

Cut out a circle that fits behind the Astrid frame mould and a larger one for the base of the project. I used the largest circle die from Spellbinder's Everlasting Circles nesting die set for the largest circle, and the 7th one in for the smaller circle. I cut these from both heavyweight white cardstock and a couple of patterned papers from the Cherry Sweet 8x8 paper pad. Then I glued the patterned paper to the white cardstock circles.

Glue the Astrid frame mould to the smaller circle and then pop this smaller circle onto the larger one, offsetting it slightly. I used several layers of foam adhesive to pop it up. You want enough space to be able to place some of the Cherry Sweet flowers under the smaller circle.

Glue your chosen mould to the center of the smaller circle. The little girls both fit nicely on top of the frame mould. You can use Finn's Heavy Body Gel or hot glue for this.

Add one of the Pink Cloud flowers to the larger circle, placing it toward the bottom of the project. Then tuck in one of the Delicate and sweet flowers next to it, also near the bottom of the project. I used hot glue to adhere these, but you can also use Finn's Heavy Body Gel.

Add a label ephemera from one of the 2 cherry Sweet Ephemera packs to the larger circle, tucking it under the upper circle and part of the larger flower. Use liquid adhesive on the side that is tucked under, and a bit of foam adhesive on the other end to give it more dimension.

On top of the larger flower, add one of the Cherry Kisses flowers with the diamond center. It should hit the edge of the Astrid frame mould. Then on top of the Astrid frame, add the peony bundle ephemera and one of the Cherry Candy flowers, tucking in a small label ephemera piece.

Now that the peony bundle ephemera is in place, add another Delicate and Sweet flower under the smaller circle so it peeks out above the peony ephemera.

Use some shaping tools to shape the tiny ladybug ephemera and one of the small butterflies. Pop them on to your flowers, then add a crystal to your project. Dry brush the edges of your larger circle and all your flower petals with Heavy White Gesso and you're done! It's the perfect little mini mixed media project to showcase your detailed moulds.
Be sure to watch the full painting tutorial--I even give you all of my colors and color mixes to help you achieve a paint job similar to mine! So there is literally no excuse to give this type of moulding painting a try. Until next time, happy crafting!
Adrienne
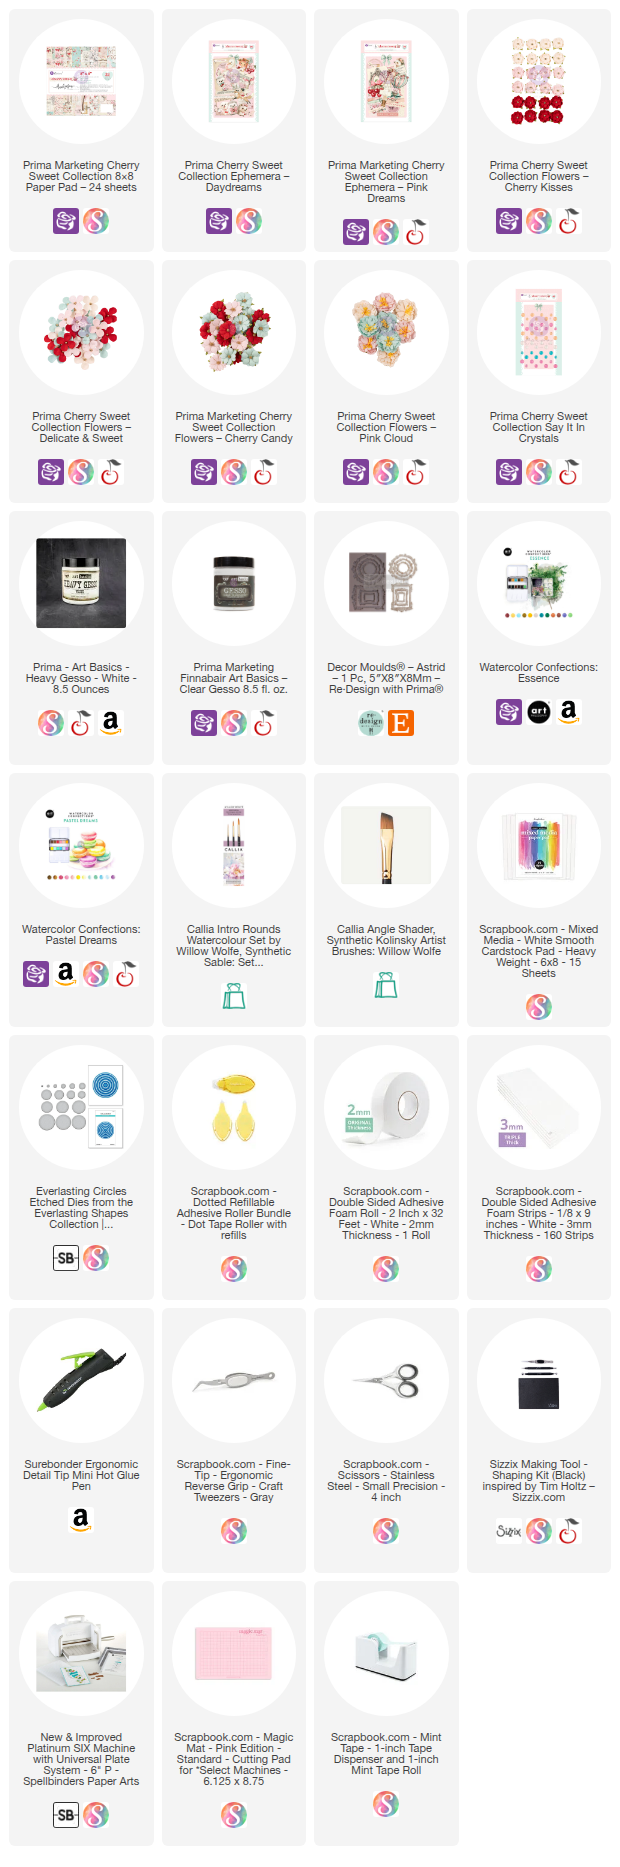
Shop the Supplies:
Scrapbook.com, A Cherry On Top, Spellbinders, Sizzix, Etsy & Amazon
I am an affiliate with multiple companies. When you shop the links below, I receive a small commission from the affiliate, at no additional cost to you. This helps me balance the costs of the time and love I put into my projects and blog so I can continue to share my ideas with you for FREE. If you shop the links, thank you! I greatly appreciate it.
You can also use the code adrienne15 for 15% off your order on the Prima Marketing Retail site.
Below are products that I used for this project.


0 comments
I'd love to hear your thoughts!