
Channeling Wednesday Addams: I Miss You Gothic Rainbow Card
The best part about rainbows? I'll leave that for you to decide. But this gothic grayscale rainbow card tutorial may have you joining the dark side.

Hello, ghoul-friends. It's Goth Adrienne again. Pastel Shabby Chic Adrienne is inaccessible at the moment, and Social Media Adrienne is still tied up. This is my final project in this series using the new Catherine Pooler collection from Sizzix, but don't worry, Goth Adrienne isn't going anywhere any time soon. If you missed my Gothic Floral card or the Moth Magic mixed media tutorial, be sure to read those first. Going out of order in these blog posts could result in you becoming incapacitated as well.

My best friend told me I have to use the Rainbow Arches Thinlits from this release. When I recoiled, she asked, "Who doesn't love rainbows?" And to that I say, the only good thing about rainbows is that it contains the word rain. So instead of bright and colorful, these rainbows are getting a gloomy treatment.
Social Media Adrienne is screaming from the other room, reminding me that I have to tell you that you can shop all of the supplies used in this project below. Jokes on her--I love the sounds of screaming.

Anyway, let me take you through this tutorial. Trim a piece of the bone white smooth cardstock to fit two of the largest Border Party Circles Thinlits side-by-side. Fold it in half and then lay the circle die over the cardstock so the edge of the circle falls over the folded edge. Run it through your die cut machine to create the card base. I assume by this point, you have a sufficiently dark hued die cut machine.
Place the same circle die onto another piece of the bone white smooth cardstock and cut it again to create the card front. Then place this full circle on your Sizzix Stencil and Stamp Tool, pressing it into the Sticky Grid, like a fly trapped on fly paper.

Select 3 colors of gloomy Distress Oxide colors--I recommend Lost Shadow, Pumice Stone and Black Soot. Place stencil layer #1 from the Paper Scraps Stencil set onto the Stencil and Stamp Tool using the stencil adapter. Place the blending head onto your Sizzix Multi-Tool and add a foam blender to the tool. Blend a light layer of Lost Shadow through the openings of stencil layer #1.
Change out the blending foam and the stencil to layer #2. Blend Distress Oxide in Black Soot through the stencil openings. Then switch out the foam and the stencil layer to #3. Blend a darker layer of Lost Shadow through the openings.

Finally, switch out the foam again and the stencil layer to #4 and blend Pumice Stone through the openings of the stencil. This stencil reminds me of the jarringly colorful Terrazzo that people love for the kitchen counters. I hate that colorful stone, but this grayscale version is acceptable.
Moving on. Use the "Missing You" sentiment from the Overarching Sentiments set and place it on to the edge of the card. Perhaps I will actually miss doing these projects and blogs, but it was the only sufficiently gloomy sentiment in the stamp set.

Pick it up with the lid of the Stencil and Stamp Tool, add Distress Archival Ink in Black Soot to the stamp and make an impression. Take your card front off the Sticky Grid and then use dotted adhesive to attach it to the card base.
Die cut the largest rainbow and some clouds from black and gray cardstocks from the Sizzix Neutrals Surfacez Cardstock pack. This cardstock set is the only doom and gloom cardstock set Sizzix offers and matches the Distress Oxide colors well.

Add 1 millimeter thick black foam adhesive to the back of each layer of the rainbow and glue them to the card front. Then add 2 and 3 millimeter thick foam adhesive to the clouds and layer them on. The gloom and doom is really starting to present itself now. But it's missing something. Perhaps a touch of black rain?

My friend suggested clear crystals to make it look like rain, but I overrode her in that notion. Add some black crystals below the cloud. To make my friend happy, I added a few Ice Drops. Then to tie it back in to the gothic flower card, I added 3 red gems to the outermost layer of the rainbow.

And that is it. Again, I will not wish you happy crafting. Instead, I leave you with this question: why look for rainbows when rainstorms are so much more interesting and gloomy? My friend is telling me that the church forced early scientists to say that rainbows had 7 colors, not 6, because 6 is the devil's number. Perhaps, I am beginning to like rainbows...maybe.
Kisses and Daggers,
Goth Adrienne
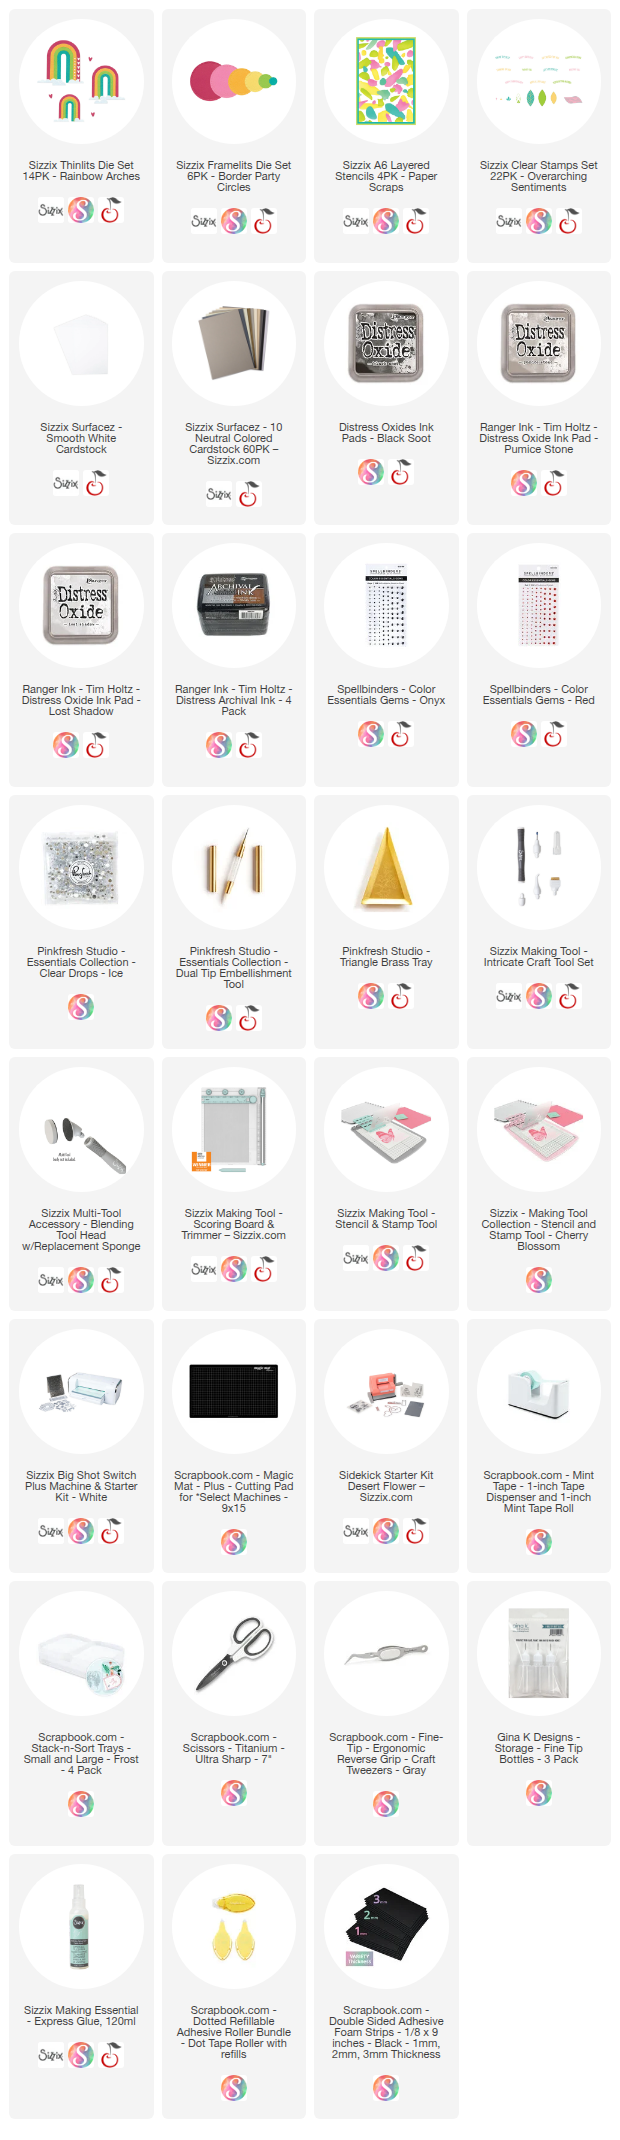
Shop the Supplies:
Scrapbook.com, A Cherry On Top, Spellbinders, Sizzix, Etsy & Amazon
I am an affiliate with multiple companies. When you shop the links below, I receive a small commission from the affiliate, at no additional cost to you. This helps me balance the costs of the time and love I put into my projects and blog so I can continue to share my ideas with you for FREE. If you shop the links, thank you! I greatly appreciate it.
Below are products that I used for this project.


0 comments
I'd love to hear your thoughts!