
Bewitching DIY Halloween Decor Tutorial
Halloween is just around the corner! Today's DIY decor project tutorial showcases the new Prima Marketing Bewitched collection, which I use to alter a wooden frame. Watch the tutorial video and get the full supply list here.

Hello, ghouls and Prima lovers! Today I'm sharing how to create your own gothic Halloween DIY art frame using the new Bewitched collection and some Redesign with Prima moulds.

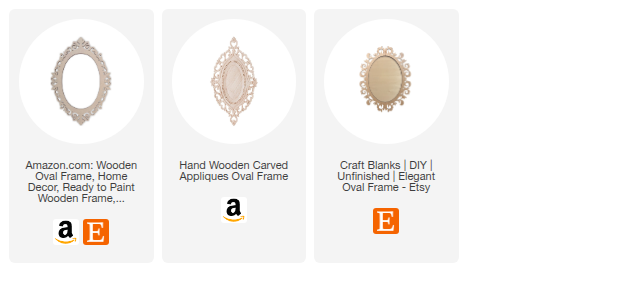
For the base of this project, I used a wooden frame with beads that I found at Hobby Lobby. The full frame dimensions are approximately 15.5 by 11.5 inches and the inside dimensions for the flat section are approximately 7.5 by 6 inches.

But if you don't have a Hobby Lobby near you, or you can't purchase online from them, here are just a few similar options I found for you on Amazon and Etsy that have similar dimensions and style:
Now on to the new collection and the project itself! What I love about decoupage paper is that it is flexible and you can easily add it to the inside of a tray or frame that has a lip. In my full-length tutorial video, I share not only how to easily add the Bewitched Decoupage Paper to your frame, but also how to add moulds and layer on all the pretty Prima flowers!
Watch the Video Tutorial
This is definitely a can't miss tutorial video, so make sure you watch it! But I just wanted to share some close up shots of all the amazing details in this project with you so you get a better look at it.

First is are the beautiful Regal Flourish moulds I added to the outer part of this wooden frame. It's a flat wood scrollwork and I wanted something more dimensional. In the video, I talk about the best adhesive to get long-lasting hold for these moulds so they never fall off your project! And just look how stunning they are in black and silver!

I also used the Redesign Ornate Legacy Mould to frame the little ghost from the Bewitched Mould. I also added the tiny bat from the Bewitched Mould to the center top of the frame to make it more gothic.

Just look at the detail you can add to even the tiniest of your moulds! How adorable is that bat with her little eyes--I added some eyelashes to her.

I adore stacking up my Prima flowers on my projects and adding in little bits of ephemera, lace and even die cut leaves. I used some scraps from both the Bewitched 6x6 and 12x12 Paper Pads to cut the leaves from.

And of course I always add lots of bling to my projects with glitter and the Say It In Crystals! And just look at that sweet mini bat ephemera! In the video, I share a little trick to making it more life-like.

And of course that Decoupage Paper really shines as the base material! I love seeing the ghosts and flowers peek out when you look at this frame from different angles.

And here are just a few more gratuitous photos for you to enjoy...

I can't decide what detail I love most about this project. I know it's for Halloween, but Goth Adrienne really wants to hang this up year-round! 😆

I hope you enjoyed this closer look at my Bewitched altered wood frame project. Be sure to check out the full-length tutorial video over on the Prima Marketing YouTube channel, and until next time, happy spooky season crafting!
Adrienne
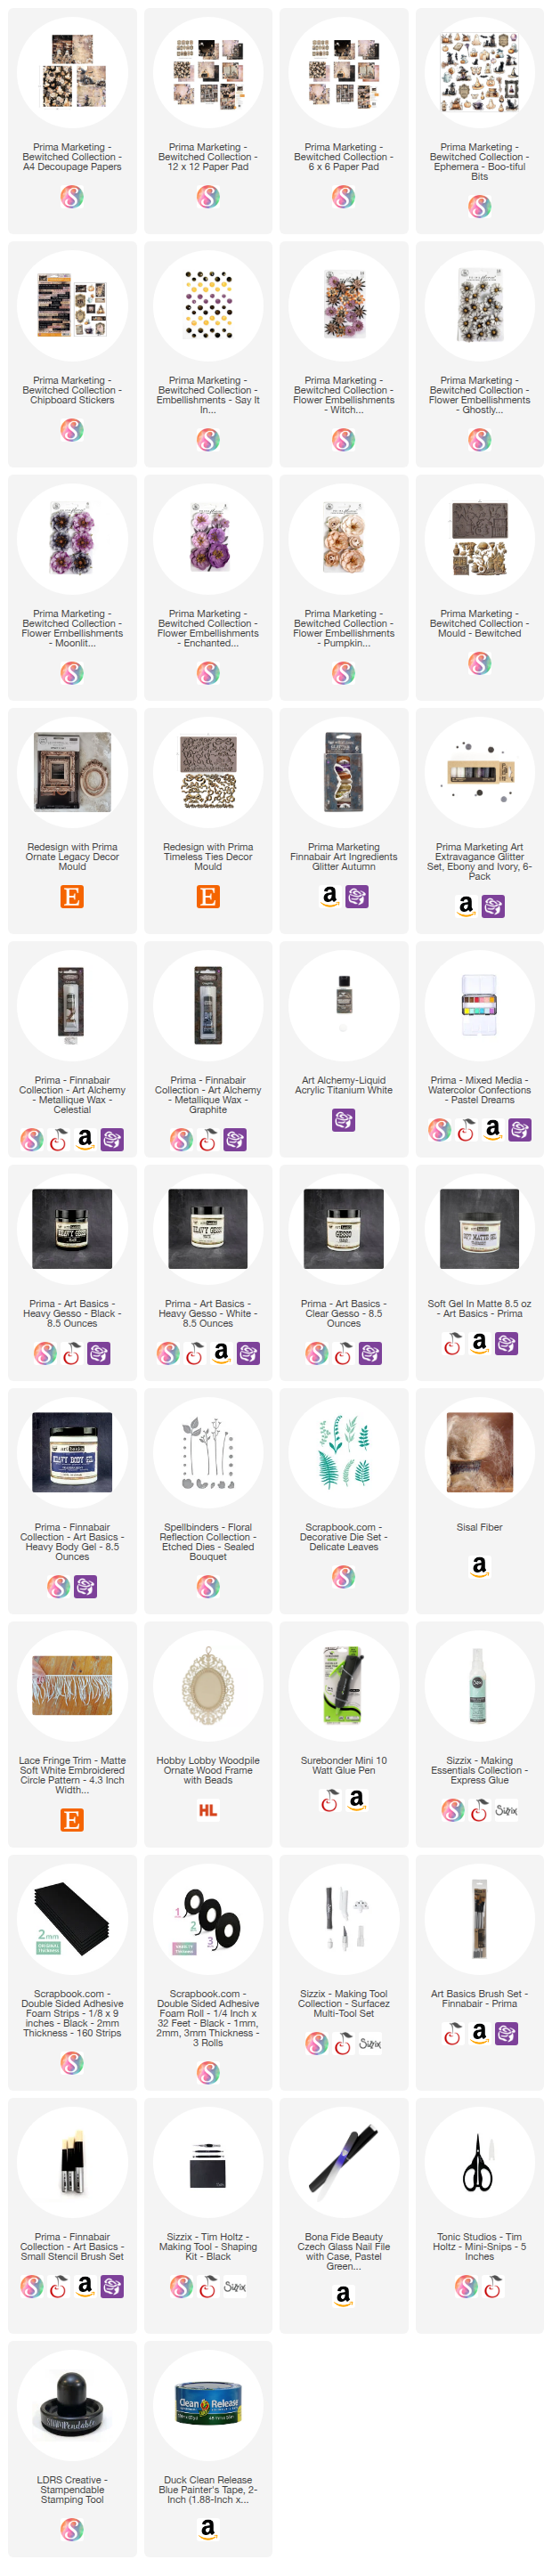
Shop the Supplies:
Scrapbook.com, A Cherry On Top, Spellbinders, Sizzix, Etsy & Amazon
I am an affiliate with multiple companies. When you shop the links below, I receive a small commission from the affiliate, at no additional cost to you. This helps me balance the costs of the time and love I put into my projects and blog so I can continue to share my ideas with you for FREE. If you shop the links, thank you! I greatly appreciate it.
You can also use the code adrienne15 for 15% off your order on the Prima Marketing Retail site.
Below are products that I used for this project.


0 comments
I'd love to hear your thoughts!