
Have you ever wondered whether you could make custom barrettes with your metal dies? Wonder no more, it's possible--and super easy!

You can cut a lot of different substrates with metal dies, but I wondered if I could cut faux leather to make my own hair barrettes. So I thought I'd give it a try--and the results are fantastic!

I used the Fruit Doodles Thinlits designed by Letters by Shells for Sizzix. Her Thinlits are designed to be used with the Sizzix Sidekick, also making them perfect for die cutting newbies. Shelly's first collection with Sizzix is full of really cute elements, like these fruits shapes, but also some frames, a mini embossing folder, sentiments and other doodle shapes!
I'll be doing a more traditional paper crafting project with her collection later, but I was just too excited to show you the possibilities--even with using your little Sidekick! I absolutely love my Sidekick because you get the same amazing power the larger Sizzix machines have, but in a really small footprint. It's perfect for first time die cutters or people with limited space for crafting supplies.

Tips
So let's talk about cutting faux leather sheets and the best adhesives to adhere your cuts together. First, you want to make sure that you have the thinner faux leather sheets that are perfect for making hair bows. I found the ones I used on Amazon, and I've included the plain and glitter options that I used in my supply list below.

These thinner sheets are able to be cut by your metal dies. If you don't have a Sidekick, you definitely want to make sure that you are using 2 plastic cutting pads. So don't pull out your Magic Mat or other "softer" cutting pad. Think of cutting these faux leather sheets like cutting felt or other fabrics--you want more resistance so the blades cut all the way through the material.

Second, it's a good idea to run these dies through your cutting machine twice--especially for the glitter which is slightly thicker than the plain faux leather sheets. Also, it might be more difficult to cut more detailed dies. The strawberry layer with the seeds cut really well on my Sidekick, but the top layer for the citrus fruits for some reason didn't cut quite as nice. So I ended up cutting the second layer from two different colors and layering them over one another.

Once you cut out your shapes, here are the other supplies you want to have on hand (all of these are linked below in my supply list):
- Metal alligator clips--to attach your shapes to
- Polyfil/polyester stuffing--to make your shapes puffy
- E6000 glue--an absolute must-have for this project
- Wooden bamboo skewers--this will help you apply E6000 glue to your shapes
- Hot glue pen--optional and helps speed up the process
- Craft knife (like the one in the Sizzix Surfacez Multi-Tool) and a self-healing craft mat--to cut slits with
- Guillotine trimmer and/or handheld rotary cutter--to cut the faux leather sheets down to fit in your die cut machine
- Tool with a wax tip or a pencil with an eraser--this will help with stuffing your shapes as the wax or rubber helps grip the polyester fibers

You can totally just use the E6000 glue, but I found that the hot glue pen was perfect for speeding up the process and it works really well when glueing a backside to a backside on the faux leather. The back should be a canvas type material and hot glue will stick to this. But in order to glue anything to the front of the faux leather, you need E6000 glue. Hot glue just won't stick to the shiny, non-porous surface of the faux leather and glitter. To add those detail layers, you'll need to use E6000.

I find it best to put a little bit of E600 onto a scrap of cardboard and then use a bamboo skewer tip to apply the glue to the faux leather pieces. Some versions of E6000 have a thin applicator tip, but I had the big tube with a regular opening. You also want to make sure you are working in a well ventilated area when using this adhesive--it has a very strong smell, so open a window or turn on a venting fan.

Tutorial
So let's get into this quick and easy tutorial!
- Trim down your faux leather to fit your metal dies and to fit through your die cut machine.
- I used both my handheld rotary trimmer and my guillotine trimmer to cut my leather sheets down to size.
- Die cut all the layers for the fruit shapes you want from sheets of faux leather using your Sidekick or other die cut machine.
- Die cut the base shape twice--cutting once with the faux leather side facing up, and once with the faux leather side facing down to create a front and back.
- A little Mint Tape or other low-tack craft tape will help hold your dies in place if you need it.
- If your shape doesn't completely cut through in a few spots, use a self healing craft mat and a craft knife to finish cutting through the fibers. You can also use a pair of titanium blade scissors to clean up any edges or help you cut through spots that didn't fully cut through. It's usually the canvas on the back that sometimes doesn't get cut all the way through, but it only happened in a couple of spots for me.

- On your back layer, with the canvas side facing up, hold an alligator clip over it and mark along the edges with a pencil or marker.
- Use your craft knife and a self healing craft mat to cut two slits in between the lines you drew then slide the top of the alligator clip through those slits.
- You don't want to cut the slits too wide, you want the shape to be nice and snug on the alligator clip.
- If you like, place a tiny amount of hot glue onto the clip and faux leather shape, just to help really hold it in place while you work.
- Glue the detail layers onto the front base shape of your fruit with E6000. Set these aside for a few minutes to cure.
- I made several shapes at once and by the time I was done gluing layers onto the last shape, the first one was ready to work with again.

- Using hot glue, adhere the front and back layers together only part of the way, leaving an opening for stuffing your shape.
- Work in small sections at a time--it's a little awkward with the back being attached to the clip, but it gets easier with each barrette you do!
- Once you've glued the pieces together half way, stuff your fruit shape with a small amount of polyester filling.
- I used the wax tip on the Craft Pick from Scrapbook.com, but you can also use a pencil eraser to help shove those fibers down into your shape.
- Use your hot glue pen to finish gluing your shape closed. Use your scissors to cut any polyester fibers that popped through.
- If you want, you can add some gems with a small dot of E6000.

I left my fruit shapes without gems, but I did make some mini bows that do have some gems added to the centers. If you want the bow shape, you can get it in a bundle from Spellbinders still.
I hope this inspires you to try experimenting with different substrates and your cutting dies. I'm giving these barrettes to my niece--she's very excited for the strawberries and the purple bows (purple is her favorite color). Until next time, happy crafting!
Adrienne
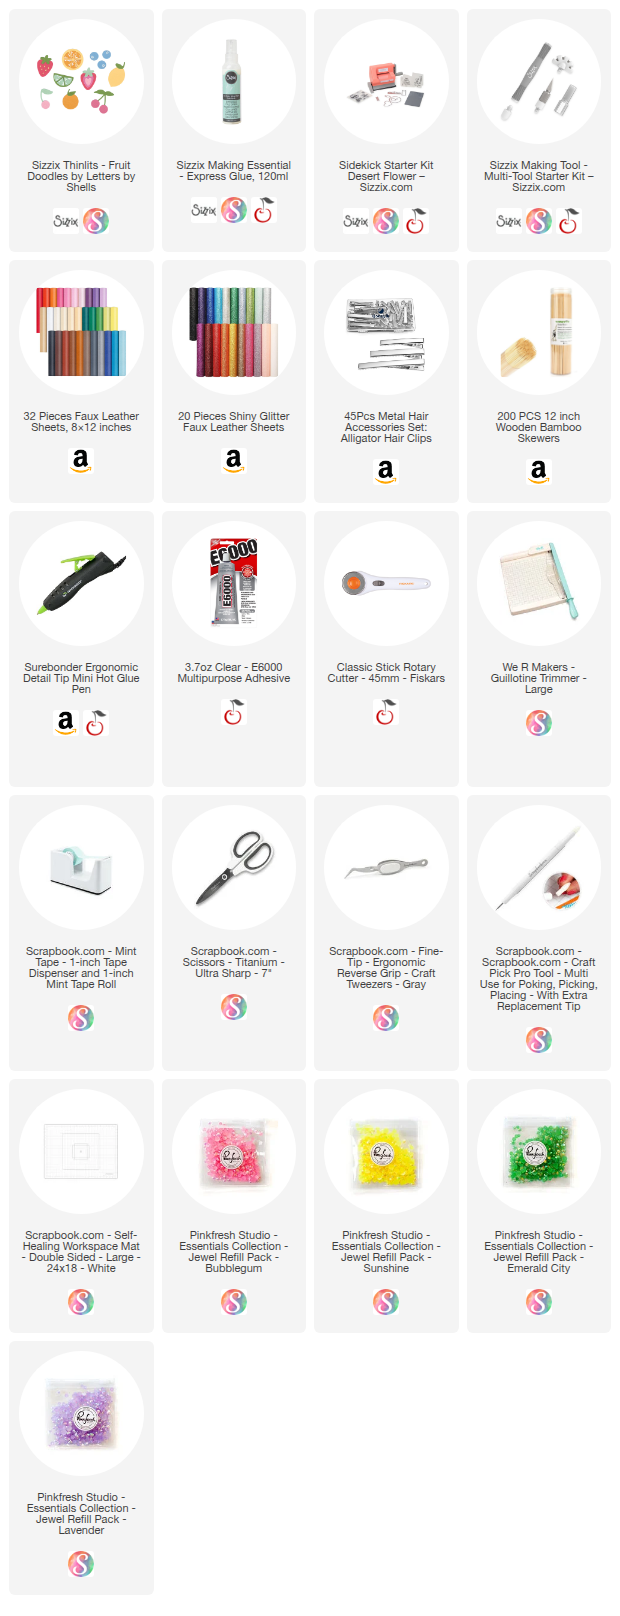
Shop the Supplies:
Scrapbook.com, A Cherry On Top, Spellbinders, Sizzix, Etsy & Amazon
I am an affiliate with multiple companies. When you shop the links below, I receive a small commission from the affiliate, at no additional cost to you. This helps me balance the costs of the time and love I put into my projects and blog so I can continue to share my ideas with you for FREE. If you shop the links, thank you! I greatly appreciate it.
Below are products that I used for this project.


0 comments
I'd love to hear your thoughts!