
Dark Forest Mixed Media Canvas with New Finnabair Moulds!
It's time to head into the forest and experience the cool tones and natural elements. This set of Finnabair moulds is perfect for a nature academia style mixed media canvas.

Hello, crafty friend! Earlier I shared a mixed media canvas in rusty yellow, orange and brown hues using Finnabair's latest mould drop. But today, I'm taking you back into the cool shade of the forest for this mixed media canvas!

So let's get right into this tutorial using Finnabair's newest Moulds, Decoupage Papers and Stencil Sets! I used an oval canvas board for the base of my project and covered it with the Nightdreaming Decoupage Paper. I selected the section I wanted to used and ripped the top and bottom edges of the Decoupage Paper to create a softer edge that blends nicer with stenciling.
Shop all of the products used in this project at the bottom of this blog post!
Paint a layer of Finn's Soft Matte Gel onto your canvas and then press the Decoupage Paper into it. I used a brayer to help me sooth out any wrinkles or creases. Use a nail file to file off the excess decoupage paper on the sides. Then Paint another layer of Soft Matte Gel over the top of the Decoupage Paper and set it aside to dry.

Once dry, paint a layer of Finn's Clear Gesso onto the canvas and Decoupage Paper to seal it and prevent warping from the texture paste. I used one of the Decadent Walls Stencils and the Paper Texture Paste to add texture to the top and bottom of the canvas to help blend the transition from blank canvas to decoupage paper.

While the canvas is drying, let's prep the Moulds. Start by giving all of your moulds a coat of gesso--I used the Clear Gesso. The Moulds I used were the Steampunk Beetles, Rusty Flowers, Tapes & Labels and Fresh Foliage from this latest release, plus one of my older favorites, Grungy Frames.

Paint the flowers and frame with Liquid Acrylic in Prussian Blue. Paint the label and the fern fronds with the Emerald Liquid Acrylic. Then paint the Beetle with Metallique Acrylic in Emerald Green--the perfect hue for a shimmery blue-green beetle!

Use a black acrylic paint or Finn's Heavy Black Gesso to paint the beetles eyes, to add detail to the beetle's shell, and to pain the flower centers.

Once your moulds are painted, add a bit of Metallique Wax to them to create an ethereal shimmer! I used Cobalt over the blue, Emerald over the green and Celestial on the flower centers and the very top part of the beetle's shell.

Take a mica tile big enough to fill the opening of the Grungy Frame Mould and bend it in various directions to cause cracking. Don't bend it so far that you break pieces off--just enough to see the lines like cracked glass in a framed mirror. Using liquid adhesive, glue the mica tile to the back of the frame.

Using Finn's Heavy Body Gel, glue a chipboard sentiment sticker to the label Mould. Then add the fern fronds to either side of the frame. Pop the large anemone flower onto the bottom center of the frame, covering the ends of the fern fronds. Add the small anemone flower onto the top center of the frame, then add the beetle onto the mica.

Add some blue and green flowers from Nature Academia and A Mermaid's Tale to your canvas to float your frame element. I used both Heavy Body Gel and a dab of hot glue to attach these flowers. The Gel provides long-lasting hold while the hot glue keeps the flowers in place so you can add the frame on top. Again, use both hot glue and Heavy Body Gel to add the frame on top of the flowers. Then use some heavy body gel to add a few smaller flowers to your project.

The finishing touch is popping a few crystals from A Mermaid's Tale and Nature Academia onto your project! I hope you enjoyed learning how this canvas all came together and that you give some of these techniques a try in your next mixed media project. Until next time, happy crafting!
Adrienne
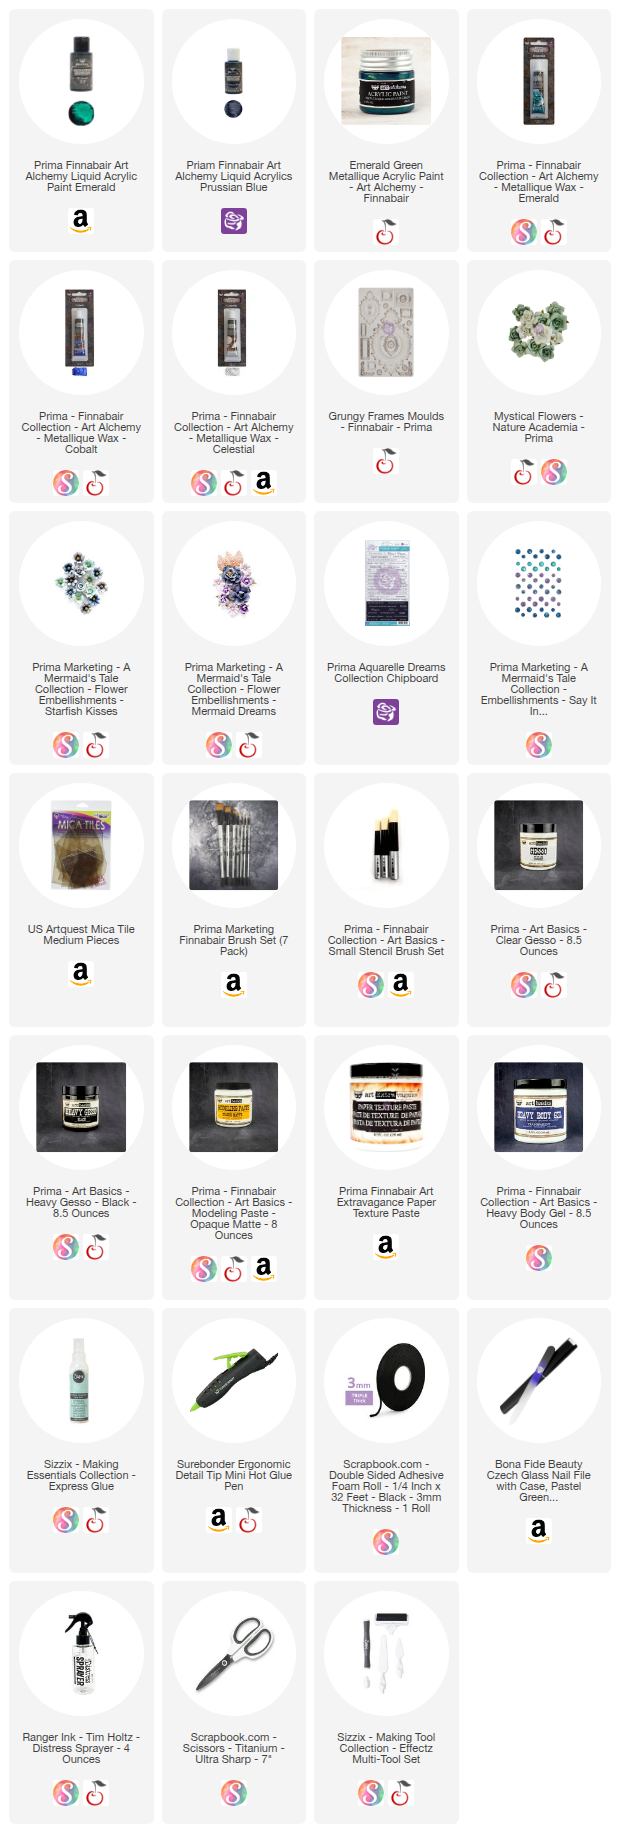
Shop the Supplies:
Scrapbook.com, A Cherry On Top, Spellbinders, Sizzix, Etsy & Amazon
I am an affiliate with multiple companies. When you shop the links below, I receive a small commission from the affiliate, at no additional cost to you. This helps me balance the costs of the time and love I put into my projects and blog so I can continue to share my ideas with you for FREE. If you shop the links, thank you! I greatly appreciate it.
You can also use the code adrienne15 for 15% off your order on the Prima Marketing Retail site.
Below are products that I used for this project.


0 comments
I'd love to hear your thoughts!