
How to Stencil onFabric for an Embroidery Hoop
We’ve all stenciled on paper, maybe even framed canvas, but what about fabric? I’m showing you how to create a stenciled and embroidered project using one of the newest Stacey Park stencils and some Sizzix floral dies. Plus, I have a free guide to color matched embroidery floss that you can download!

Hi, crafty friend! I’ve really been getting into stitching dies, but I’m ready to take my floss obsession to fabric. I’ve been watching videos on basic stitches and perusing sites that offer embroidery kits. But I thought I’d try combining this and my mixed media/stitching die obsession together on my own first.

And I have to say I am utterly hooked! Does a girl need more hobbies? No. But do I want to now embroidery everything? Yes! Did I create a free download for you for this project? Yes! (Keep reading for it!)

So let’s talk about how I created this super cute floral embroidery hoop. I bought this white cotton fabric from my local craft store’s quilting section. A lot of people stencil on those linen drawstring bags, so I thought, why not on cotton quilting fabric! (A full list of supplies is linked below!)

I cut my fabric down to fit on my Stencil and Stamp platform, making sure it was slightly wider than my embroidery hoop. (I used a 5 inch hoop for this project). Then I used the Stacey Park Cosmopolitan Petals Adornment Stencil and Catherine Pooler Inks.

Stenciling on fabric is a lot like stenciling on cardstock. I made sure to keep my pressure light on the blending tool, however, so that I didn’t smoosh too much ink on the fabric, causing bleeding.
This is a two layer stencil and I did three ink colors, so I just used a bit of Mint Tape to mask off the areas I didn’t want ink going through when using a particular ink color.

After I was done stenciling, I pulled the fabric up from the Stencil and Stamp Tool and set it aside to let the ink dry. In the meantime, I worked on die cutting out some florals. When I do stitching, I like to cut two layers of the die, one that will be stitched, and one to be the backing, ensuring the stitches aren’t accidentally pulled from the backside, especially on a project like this where the back of the die may be visible. I've got a video tutorial over on my YouTube channel for a previous non-stitching die project using the Fabulous Bold Flora die.

I then poked holes in one set of the flowers and leaves. I use an awl and a foam mat for this. And because I’m just doing a bunch of French knots, it didn’t matter the number of holes I poked or where! Just make sure you give yourself enough room that you don’t poke through the edge and have a gaping hole in your die cut.

Once all of the holes were poked, I worked on making French Knots in the dies. I used 3 strands of floss for this project—embroidery floss often comes 6 stranded, so just separate 3 strands. Then I glued the layers of the dies together with some foam adhesive. Then I loaded the fabric into the embroidery hoop, cut the excess fabric off with some pinking shears, and then did some French knots on the fabric as well.

All that was left was to attach the dies to the embroidery hoop with some hot glue! And now I bet you are wondering about that freebie download!

I spent hours in my local craft store color matching DMC embroidery floss to my Sizzix cardstock! And rather than making you do the same, I’ve got a pdf you can download of all the Essential Surfacez cardstock and the coordinating DMC embroidery floss. To download, fill out this questionnaire (it has a few questions about the type of projects you'd like to see from me in the future so I can create better project tutorials for you) and then you'll be given a link to download your free guide!
And that’s it! I hope that you enjoyed this slightly unconventional project. Let me know if you want to see more projects like this in the comments below, and until next time, happy crafting!
Adrienne
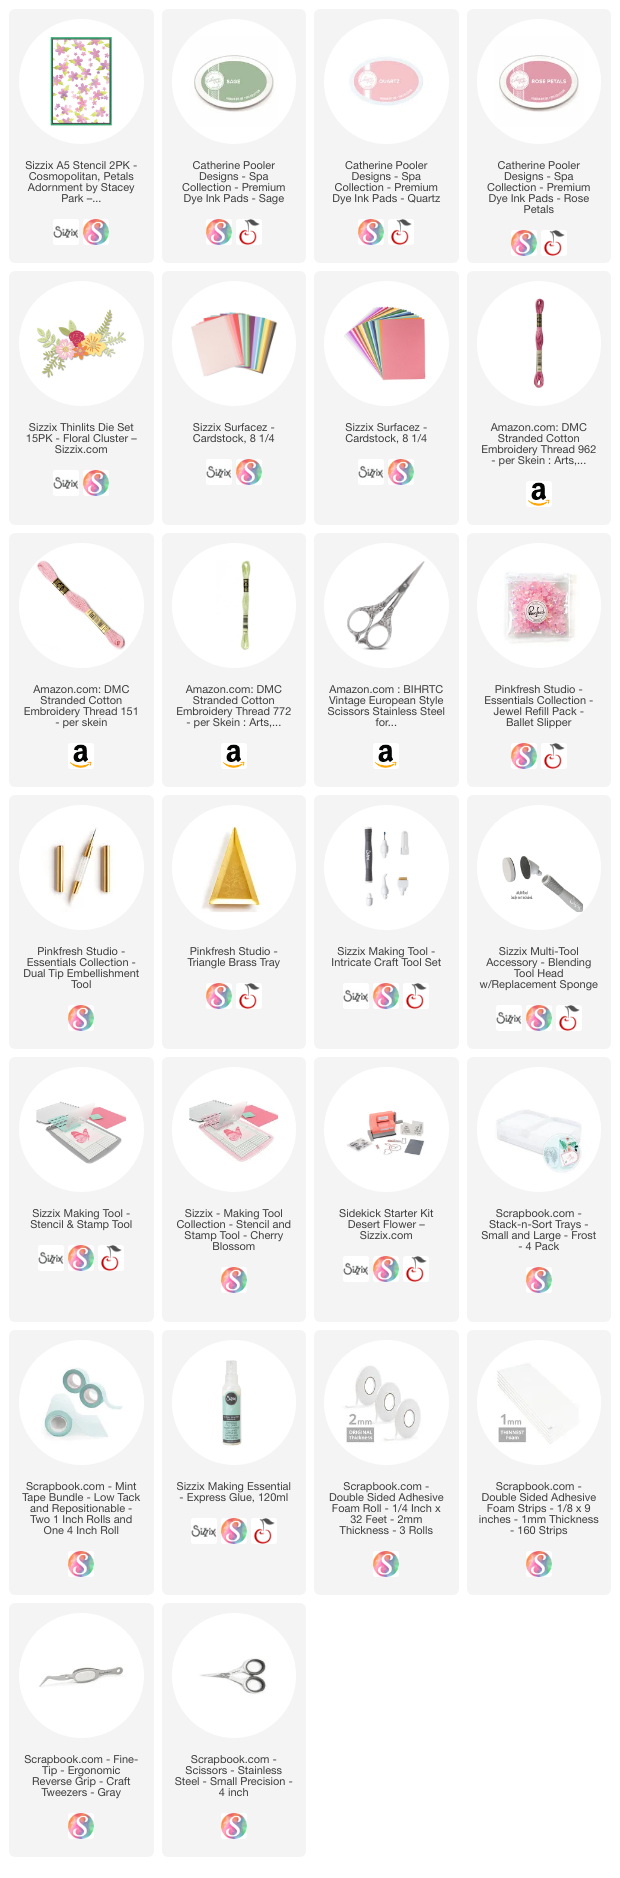
Shop the Supplies:
Scrapbook.com, A Cherry On Top, Spellbinders, Sizzix & Amazon
I am an affiliate with multiple companies. When you shop the links below, I receive a small commission from the affiliate, at no additional cost to you. This helps me balance the costs of the time and love I put into my projects and blog so I can continue to share my ideas with you for FREE. If you shop the links, thank you! I greatly appreciate it.
Below are products that I used for this project.


0 comments
I'd love to hear your thoughts!