DIY Halloween Tags and Candy Bags
Looking to give a special treat to your little ones this Halloween? I have the perfect DIY candy bags and tags for you!
Hi, crafty friend! Prima Marketing tasked their Design Team to create some fun Halloween tags for candy bags, but you know I couldn’t just stop at making a tag—I had to go all out and make a mini bag too! So let’s get right into the tutorial.
Cut a piece of patterned paper from the Magic Spell 8x8 paper pad to 7 inches tall by 7.5 inches wide. (I've got a full linked supply list at the bottom of this post for you!) Place your paper on your scoring board so the 7.5 inch side is the width. Then score your bag at these markings:
- 1/2 inch
- 1 inch
- 1 1/2 inches
- 4 inches
- 4.5 inches
- 5 inches
Then turn your paper 90 degrees and score the top in at 3/4 inches and the bottom in at 1 inches (so at the 6 inch mark). Using a small circle die, cut a circle from one of the wider panels—this will create the little window on the front.
After running your bag through your die cut machine, you may need to go over your score lines again. Then fold at the score lines and trim off the lower left corner (you won’t need this tab), and cut slits up the very bottom section so you can fold the bottom of your bag up (cut at the 1 1/2, 4 and 4 1/2 inch scores).
Die cut a circle frame to go around your circle window and glue it down with liquid adhesive. Then cut some rectangles from the Magic Spell acetate sheets to go inside the window, gluing to the inside of the bag.
Then glue the half inch tab in and the bottom together to create your bag. At the top, fold down the 3/4 inch section toward the back of the bag. Using a hole punch, punch two holes through this folded section. This is what we’ll string the tulle through to tie these bags closed.
I added some Luna mould resin casts that I painted with Art Philosophy watercolors and Pitch Black Impasto paint (black is for the cauldron). (If you cast with resin like I do, then add a layer of Clear Gesso to your cast first.) I highlighted the texture with the Pearl White Wax then hot glued one onto the bottom of each bag.
To create the tags, I used one of the tags from the Tag pad as the base. I added some black lace trim to the bottom of each tag with my sewing machine then added stitching to some of the ephemera I chose from the Magic Spell collection.
I layered on the ephemera onto the bottom of each tag using foam adhesive and a mini stapler. I popped one of the Magical Spells flowers on and then added a puffy sticker to each flower. Then I popped on some crystals. I looped some bakers twine and one of the Haberdashery charms onto each tag and tied the twine into a bow.
I pulled the tulle through the holes in the bag and strung on one of the tags. Add some candy to your bags (mini size or individual Rolos are perfect for this size bag). Then tie the tulle into a little bow. Hope you love this fun little Halloween tutorial for the bag and the tag. Until next time, happy crafting!
Adrienne
Shop the Supplies:
Scrapbook.com, A Cherry On Top, Spellbinders, Sizzix & Amazon
I am an affiliate with multiple companies. When you shop the links below, I receive a small commission from the affiliate, at no additional cost to you. This helps me balance the costs of the time and love I put into my projects and blog so I can continue to share my ideas with you for FREE. If you shop the links, thank you! I greatly appreciate it.
You can also use the code adrienne15 for 15% off your order on the Prima Marketing Retail site.
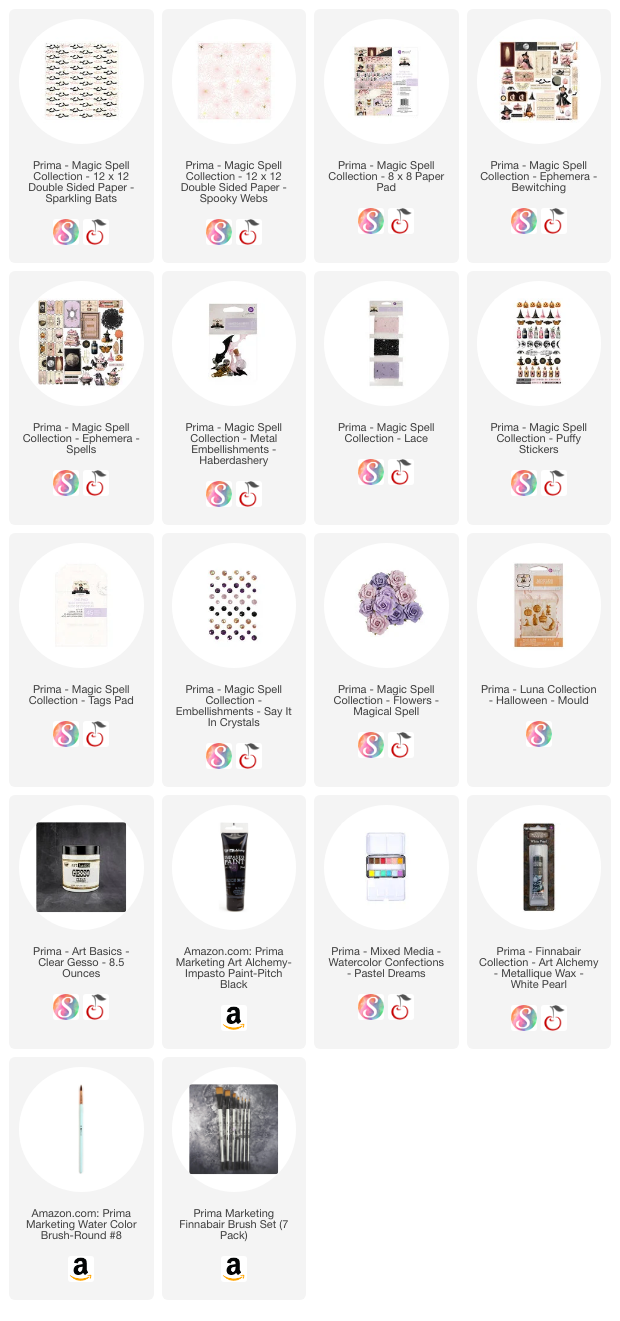
Below are products that I used for this project.


0 comments
I'd love to hear your thoughts!