
Broomtastic: DIY Altered Halloween Witch Brooms with Prima Marketing
Let’s alter some mini brooms to create fun Halloween tags with the Prima Marketing Frank Garcia Magic Spell collection!

Hey, crafty friends! Prima Marketing is holding a “Broomtastic” challenge, where Design Team members—and you—can create or alter a broom!

The challenge has these requirements:
- Use Magic Spell or any other Frank Garcia Halloween collection
- Use glitter
- Include Memory Hardware Pearls
- Uses a mould
- And includes a found object
I used mainly Magic Spell (and some charms from Luna), the “Twilight” Memory Hardware Pearls, some Redesign with Prima Moulds, pink and purple Finnabair glitters, and my found object were some crystal point beads that have been in my beading stash. I've got a full list of the products that I used at the bottom of this blog post!

Let’s get into the tutorial!
I found these mini spindle brooms on Etsy. They are approximately 9 inches long, including the burlap bristles. I started out by adding a crystal point bead to a piece of copper wire, centering it on the wire. I then twisted the point on the wire around the bottom of the spindle, so the crystal overlaid the burlap bristles a bit.

I then continued to twist the copper wire up around the broomstick, adding some Memory Hardware Pearls as I went. Once I got near the top, I added a Luna charm and a lobster claw to the wire then created a loop with the wire and twisted it closed.

I painted some of the Delicate Flora and Astrid Moulds using the Dusty Pink and Wild Iris Impasto paints and highlighted the texture with some of Finn’s wax.

I then added one of the Delicate Flora Moulds to the top of the broom handle and one of the smaller circle Astrid frames to the bottom of the broom just above the crystal point.

I cut a small piece of tulle for each of the brooms, folded it in half, and wrapped one of the stemmed 31 Night flowers around the center fold. I cut into the edges of the tulle and created a bit of a spooky frayed look by twisting the tulle in my fingers. I glued this little flower and tulle bundle to the inside bottom of the circle frame.

On the bottom of the frame mould to cover where I attached the tule and stem flower, I added a flower—either pink or purple (you can see I went with a bit of a monochromatic look in matching the main flower with the color of the moulds). Then I tucked a piece of ephemera under the main flower. I used the cat in a witch hat, a witch, and a bat ephemera piece.

Next I added some color coordinating glitter to each of the main flowers using Soft Matte Gel. Then I popped a puffy sticker onto the main flower. I also added a pearl to each of the main flowers and some Say It In Crystals.

I then used the tag pad and some of the ephemera to create some layered tags. I distressed the edges of the paper with a blade and also turned some of the ephemera into notched flags. Then I punched a hole through the larger ephemera to match the tag from the tag pad, glued the layers together with foam adhesive, then added twine and hooked it onto the lobster claw.
These little mini brooms are perfect for adding onto a larger candy bag, a gift bag, or onto the front of a mini album! What would you add these on to? Drop a comment below, and until next time, happy crafting!
Adrienne
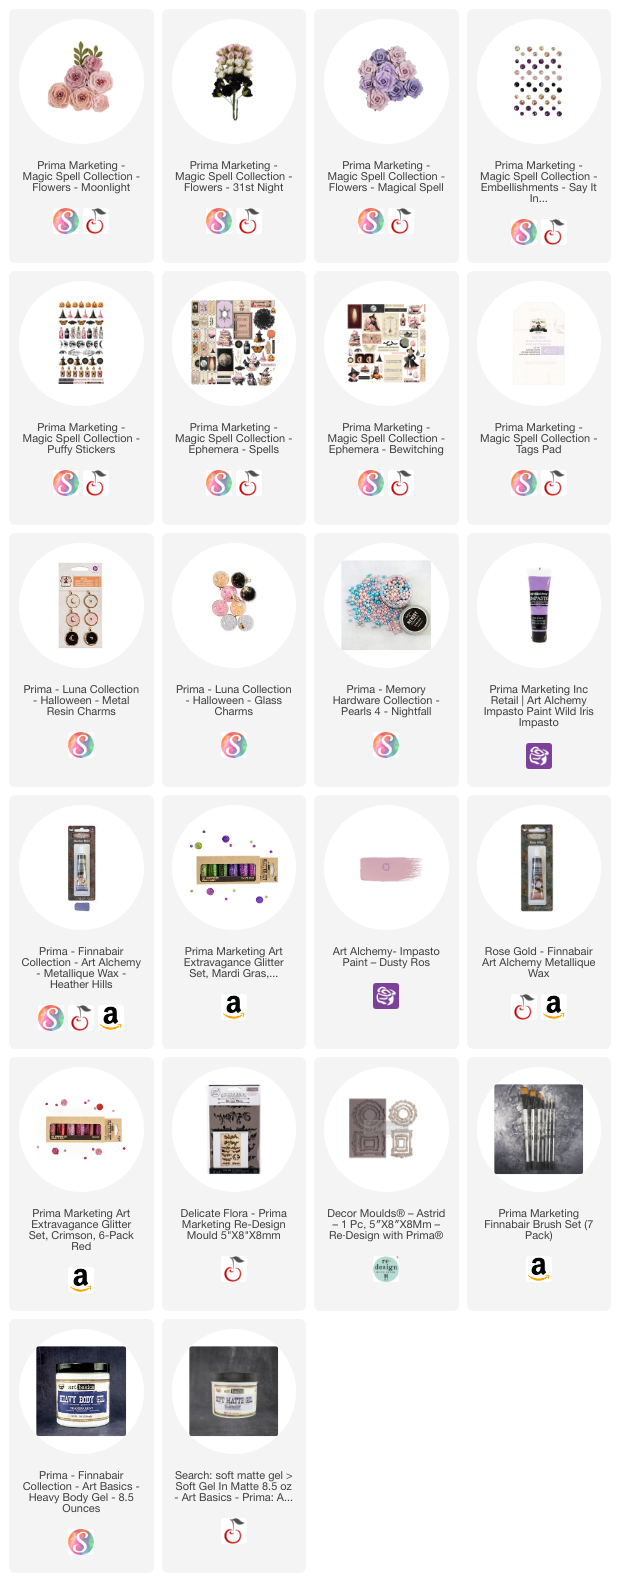
Shop the Supplies:
Scrapbook.com, A Cherry On Top, Spellbinders, Sizzix & Amazon
I am an affiliate with multiple companies. When you shop the links below, I receive a small commission from the affiliate, at no additional cost to you. This helps me balance the costs of the time and love I put into my projects and blog so I can continue to share my ideas with you for FREE. If you shop the links, thank you! I greatly appreciate it.
You can also use the code adrienne15 for 15% off your order on the Prima Marketing Retail site.
Below are products that I used for this project.


0 comments
I'd love to hear your thoughts!