
Buttons & Keepsakes Couture Dressform Tag Tutorial
In this tutorial, we combine rub on transfers, moulds, die cuts and letter pressed cardstock with a singular theme to create a layered mixed media tag.

Hi, crafty friend! I love a repeated motif and so for this tag, I focused on the dressform from the Buttons & Keepsakes collection. And since this collection is all about textiles, I also added lots of ribbons and trims to this sweet little tag.

I've got all of the essential supplies listed for you below, so let's get right into this tutorial!
Start by trimming a tag from the Buttons & Keepsakes 8x8 paper pad. I cut mine to 4 by 8 inches. Then trim a second pattern to 3 7/8 by 7 7/8 inches. Distress all the edges of paper, glue the two layers together and punch a hole in the top. Sew or hot glue on some pom pom and tassel trims or any trim you love.

Next, cast the dressform from the Buttons & Keepsakes Mould using either resin or Redesign with Prima's Casting Mix. If you use resin, prime your mould with gesso before painting it. We'll set this aside until it fully sets up and is ready.
Now, let's work with all the Spellbinders coordinates for this collection! First, start with the Vintage Atelier Press & Foil Plate. Place it on the BetterPress platform and ink it up with Distress Oxide in Tattered Rose. Be sure to dab the ink on, don't swipe it across the plate!
New to die cutting with metal dies, embossing, hot foiling or letter pressing? I've been doing these techniques for years and I've collected all of my pro tips into one place! Just visit my blog post for the Buttons & Keepsakes Altered Embroidery Hoop to find them all!

Attach a piece of Spellbinders Chiffon Cardstock to the clear plate of the BetterPress with some low tack craft tape, place this on the magnets of the platform, and run this through your die cut machine. Set this aside, we'll working on layering later.
Next, let's create some embossed cardstock. Mist a piece of Spellbinders Alabaster Cardstock with water and place it into the Haberdashery Buttons 3D Embossing Folder. Run this through your die cut machine with the proper sandwich for a 3D embossing folder. Set this aside as well.

Once your mould is set and ready, paint it using the Vintage Pastels Watercolor Confections set. I kept it simple with pink and cream. Once the watercolor is dry, apply a bit of Finn's Old White Wax to the highlights to show off all that texture.
Then cut the dressform from the A4 Rub-on Transfers from Buttons & Keepsakes and apply it to the left side of the tag. Peel off the backing paper, and then use the stick included in the transfers set to rub the transfer on the paper. Peel off the transfer paper.

Tear the letter pressed paper with the Vintage Atelier pattern down to fit and layer onto your tag. Attach a piece of ephemera from the Buttons & Keepsakes Stitched Clippings Ephemera pack with roller adhesive and then glue the letter pressed and torn paper on top.
Next, tear the embossed cardstock down and attach it to the bottom of the tag with 1 millimeter thick foam adhesive. Glue the dressform mould on with hot glue.

Die cut the Couture Dressform Etched Metal Die from Spellbinders using cardstock and the Buttons & Keepsakes 6x6 Paper Pad. I even created a pearl necklace choker for the dressform using the waist ribbon die cut layer. Glue your layers together with liquid adhesive. Then attach this dressform die cut with foam adhesive. All of the iterations of this dressform should now be overlapping each other a bit.
Add some of the Buttons & Keepsakes flowers with hot glue as well as a sweet little bear ephemera. Dry brush a little of Finn's White Gesso onto the flowers. Then splatter your tag with Spellbinders' White Splatter Opaque Watercolor. Let this dry before moving on.

Then add a ribbon to the top of the tag, a fancy button to one of the flowers and some Spellbinders Fashion Pearls--be sure to add a small one to the choker necklace! Then sew one of the My Sweet metal scissors charms onto the center of your ribbon at the top of your tag.
Finally use the Spellbinders Glimmer system to hot foil the Heirloom Words to create a sentiment for this tag. I used Blush Glimmer Foil and Classic White Cardstock. (Be sure to check out my tips for hot foiling like a pro to cut down on over-foiling.) Then die cut the sentiments out with the coordinating die from this Press & Foil Plate set. Add your sentiment with which ever adhesive is appropriate for where you place your sentiment. And now this pretty little tag is ready for gifting; until next time, happy crafting!
Adrienne
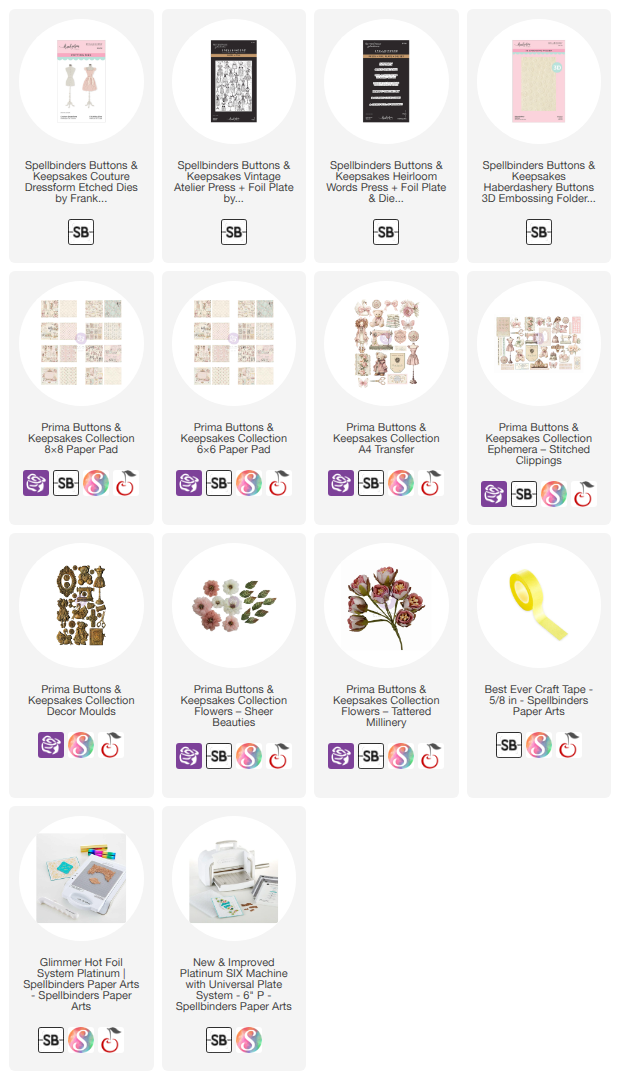
Shop the Supplies:
Scrapbook.com, A Cherry On Top, Sizzix, Prima Marketing, Spellbinders, Scrap Diva Designs, Etsy & Amazon
I am an affiliate/associate with multiple companies. When you shop the links below, I receive a small commission from the affiliate on qualifying purchases, at no additional cost to you. This helps me balance the costs of the time and love I put into my projects and blog so I can continue to share my ideas with you for FREE. If you shop the links, thank you! I greatly appreciate it.
Below are products that I used for this project.


0 comments
I'd love to hear your thoughts!