
Easy Layered Scrapbook Layout for Beginners (and Pros)!
You don't need specialized tools of this paper and embellishment based layout. But the small touches still give this scrapbook page wow factor.
!")
Hi, crafty friend! Today I wanted to share a pretty layered scrapbook page created using the Spellbinders Jubilee collection. You don't need specialized tools for this layout, just scissors and a paper trimmer.
!")
I did add some sewing to mine, which brings this page up a notch, but it's totally optional. I'll have all of the supplies used listed below, so let's get right into this tutorial that is perfect for beginners and pros alike.
**As of writing this blog, the 12x12 paper pad wasn't added to the Spellbinders website yet, but I will add it as soon as I see it available!**
!")
Start by selecting 3 of the 12x12 patterned papers. Trim the one you want at the top to 5 inches tall. Adhere it to a piece of 12x12 white cardstock using roller adhesive.
!")
Then trim the other 2 papers to 6 inches tall. Tear the top edge of each of these papers and then glue them on so the bottom paper is layered on the top. Make sure you leave adhesive away from the top 1 inch of each paper.
!")
Use the handle of a paintbrush or other round-handled tool to help you roll the torn edges back on the paper.
!")
If you want to add some stitching, do that now. I added 3 lines of stitching on each patterned paper, doing one straight and 2 in wavy lines.
!")
!")
Add a die cut cardstock sentiment next to your photos, layering it on with foam adhesive. Then tuck some floral ephemera next to the photo and at the top left, letting the bottom of the ephemera be hidden just under the rolled edge of the paper.
Add one of the sentiment puffy stickers to the bottom right of your layout then add a banner sentiment ephemera piece with foam adhesive. Pro Tip: Shape the banner with your fingers to give it dimension!
!")
Add some additional small ephemera, chipboard stickers, and stickers from the sticker book to each of your embellishment clusters. Add one of the dimensional bow stickers next to your photo(s). Pro Tip: put some foam adhesive on the back then brush cornstarch on the rest of the back to "remove" the sticky on the sticker. This will allow you to pop it up from the background paper.
!")
Add some gems to your layout in a coordinating color. And that's it! No die cutting necessary to create this sweet yet dimensional scrapbook page. Want another easy no-die cutting scrapbook layout idea? Check out my guest blog over on Spellbinders.
Until next time, happy crafting!
Adrienne
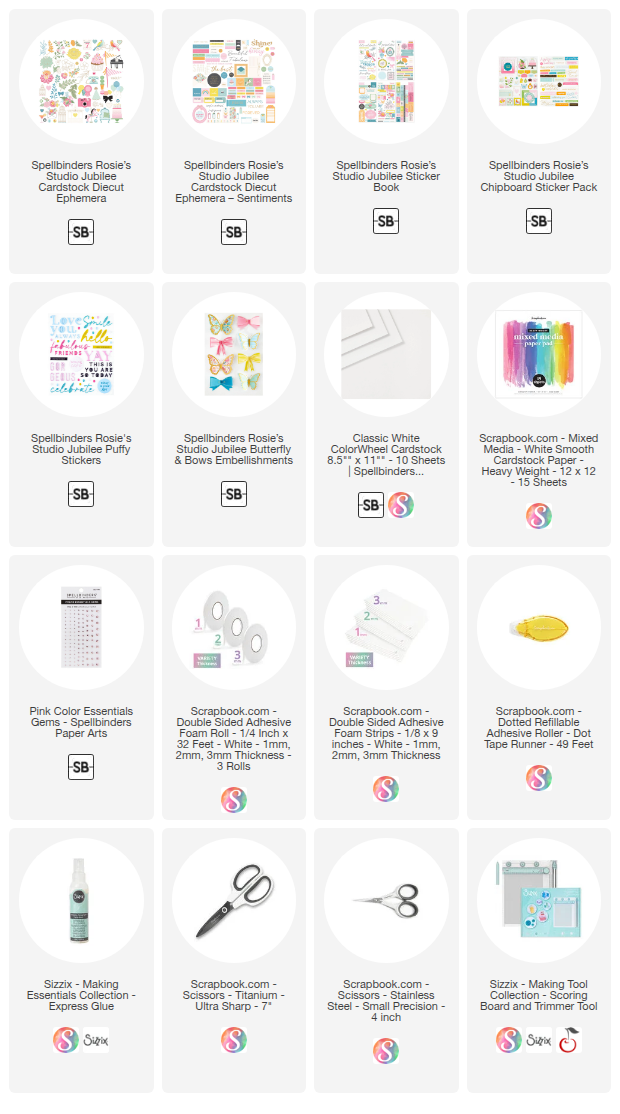
Shop the Supplies:
Scrapbook.com, A Cherry On Top, Sizzix, Prima Marketing, Spellbinders, Scrap Diva Designs, Etsy & Amazon
I am an affiliate with multiple companies. When you shop the links below, I receive a small commission from the affiliate, at no additional cost to you. This helps me balance the costs of the time and love I put into my projects and blog so I can continue to share my ideas with you for FREE. If you shop the links, thank you! I greatly appreciate it.
Below are products that I used for this project.


0 comments
I'd love to hear your thoughts!