
Easy DIY Home Decor Tray with Prima Decoupage Papers!
Just a few paints and mediums along with Prima's Decoupage Papers can help you create a lovely home decor piece in one afternoon.

Hi, crafty friend! I always love easy home decor projects and Prima's Decoupage Papers make home decor projects simple to whip up.

I've got a full supply list for you below, so let's get right into this quick and easy tutorial.

Remove hardware from the unfinished wood tray and paint the inside of it with either white gesso or white chalk paint.

While that dries, use quick cure resin to cast these moulds:
- Among the Wildflowers Garden Friends: 2x bees with outspread wings
- Kacha Imperial Intricacy: 2x thinner flourish
- Timeless Ties: 2x larger bow with ties that point to the sides, rather than down

After the moulds are fully cured, prime them with white gesso. Once the gesso is dry, attach the flourishes to the long sides and the bows to the short sides of the tray using Finnabair's Heavy Body Gel. Using some clips might help you hold the moulds in place, tightly against the wood.

Tape the tray off with Mint Tape or painter's tape to paint the outsides with clean lines. Once the Gel is dry and the moulds are firmly attached, paint the outsider of the tray with pink chalk paint (I used Folk Art's Vintage Victorian). After the pink is dry, dry brush the outside of the tray with the white gesso or chalk paint.

Sponge or paint Finnabair's Gliding Glue onto the two bee moulds. Once the Gliding Glue is dry (it will still be tacky), lay the Gold Metallic Flakes over the moulds and press the flakes into the glue. Brush any excess flakes off.

After the paint on the tray is dry, affix the Decoupage Paper. First, dry fit it and cut any excess off. Apply Redesign with Prima's Matte Decoupage Gel to the bottom inside of the tray. Lay the Decoupage Paper inside and then apply another coat of the Decoupage Gel over the top of the Decoupage Paper.
Pro Tip: Prima's Decoupage Paper is double-sided. I placed mine in the tray backwards so the text would fade more into the background. The eye focuses a little less on what it says when it’s backwards, and the text becomes more textural.

Reattach the hardware on your tray. Then use a small dollop of Heavy Body Gel to attach the gilded bees to the center of the flourish moulds. Use some clips if needed to hold them in place. Once affixed, you can remove the clips and your tray is ready for display or use.
Until next time, happy crafting!
Adrienne
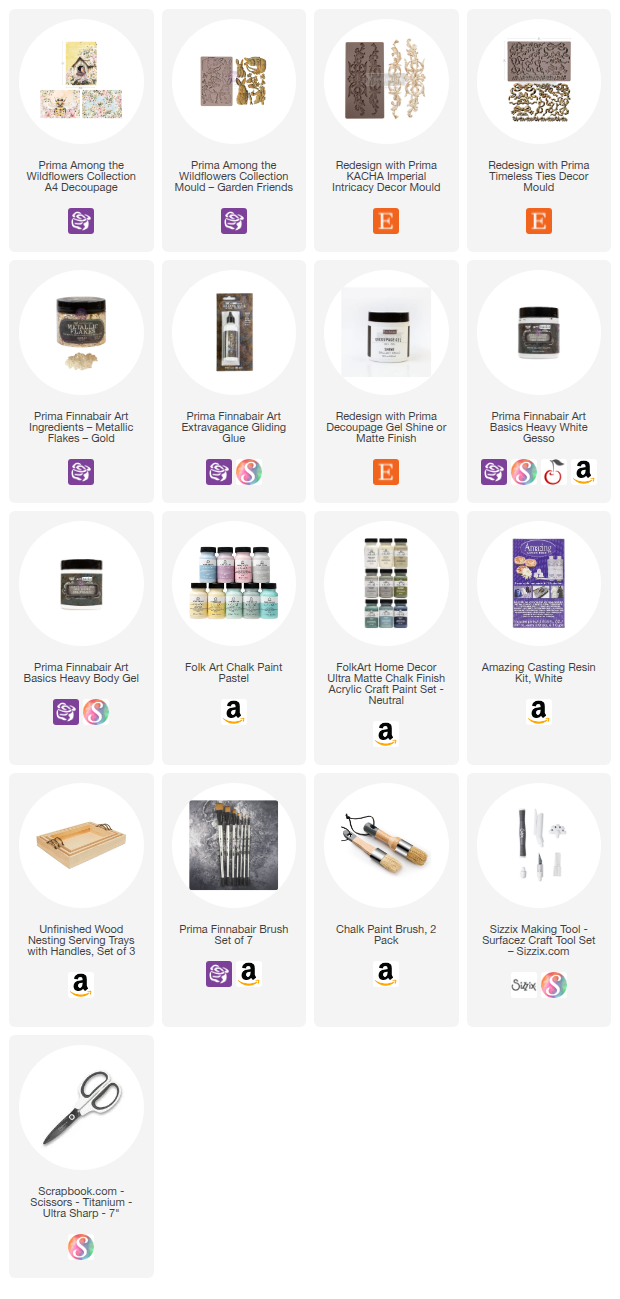
Shop the Supplies:
Scrapbook.com, A Cherry On Top, Sizzix, Prima Marketing, Spellbinders, Scrap Diva Designs, Etsy & Amazon
I am an affiliate with multiple companies. When you shop the links below, I receive a small commission from the affiliate, at no additional cost to you. This helps me balance the costs of the time and love I put into my projects and blog so I can continue to share my ideas with you for FREE. If you shop the links, thank you! I greatly appreciate it.
Below are products that I used for this project.


0 comments
I'd love to hear your thoughts!