
These two easy handmade Christmas cards use only 3 new Sizzix supplies and you can get them both done in a single afternoon!

Hey, crafty friend! I've got 2 easy Christmas card ideas for you that only require 3 new Sizzix Stacey Park supplies--and a bunch of inks and gems that you probably already have in your craft stash!
I think these 3 new Sizzix Stacey Park products are perfect for year-round and seasonal makes. A Wreath In Time can be done in other colors to create wreaths for different seasons (think browns and orange for autumn, green and pink for spring, or green and yellow for summer)! The Wish Sentiment Thinlits set doesn't just have holiday sentiments, but one for birthdays too. And the Holiday Bits and Bobs is perfect for wintery crafts and the star can be used for birthday cards; plus it coordinates with the Star Dimensional Diffuser accessory.

But just in case you don't have something I used and you want to recreate this exact cards, I've got the full supply list below for you! Because you'll definitely want the Stamp and Spin accessory for your Stencil and Stamp tool for this if you don't already have it!
Jump to a Section

All is Calm Snowflake Wreath Christmas Card
So let's get right into these 2 easy cards--up first, the snowflake wreath card:

- Trim a piece of light aqua cardstock to an A2 card size (4.25 x 5.5 inches)
- Trim a piece of smooth white cardstock to 4 x 5.25 inches
- Place the smooth white cardstock centered onto your Stencil and Stamp tool, pressing it into the Sticky Grid.
- Remove the regular hinged lid on your Stencil and Stamp tool and replace it with the Stamp and Spin accessory.
- Place one of the larger snowflake stamps from the Holiday Bits and Bobs stamp set onto the Stamp and Spin accessory. You want it centered in one of the pie sections and the second section up from the center of the wheel.

- Using a light blue ink (you want to choose permanent inks for this card--I used Catherine Pooler Inks), stamp the snowflake. Spin your wheel on the Stamp and Spin accessory 2 clicks and stamp again. Repeat this two more times to get 4 large snowflakes and remove the stamp.
- Place one of the medium sized snowflake stamps on your card near one of the large snowflake impressions. Press the Stamp and Spin accessory onto the stamp to pick it up.
- Ink up your medium snowflake with a light aqua ink and stamp it. Then spin your wheel on the Stamp and Spin accessory 2 clicks and stamp again. Repeat this process to get a total of 4 snowflakes then remove the stamp.
- Repeat this process of stamping and spinning with two of the smallest snowflake stamps, using the aqua ink with one and the light blue ink with the other. These smaller stamps will finish filing in your wreath--don't be afraid to let your impressions overlap a bit for a more organic look.

- When your wreath is complete, place the "All is calm, all is bright" stamp in the center of your wreath. Press the Stamp and Spin accessory into it to pick up the stamp. Ink it with purple ink and press it onto your card.
- Remove your stamped card from the Stencil and Stamp tool's Sticky Grid and place onto your workspace or in a splatter box.
- Shake up a clear glitter brush and then splatter it onto your card by tapping the glitter brush over a handle of a paintbrush. Hit the card with a heat tool to help the glitter splatters dry a little faster.

- Cover up your sentiment in the center with a scrap of paper or cardstock. Shake up a white ink brush and then splatter it onto your card. Then remove the scrap covering the sentiment and hit the card again with your heat tool.
- Add drops of a dimensional clear glitter medium to the center of some of the stamped snowflakes. Then set your card aside to dry.
- Once dry, adhere the stamped card front to your aqua cardstock and a card base. Then apply a few iridescent gems to the card using Express Glue.
Joy Wreath Christmas Card
Now, let's jump into the stenciled wreath card!

- Trim a piece of black cardstock to an A2 card size (4.25 x 5.5 inches)
- Remove the hinged lid on your Stencil and Stamp tool and replace it with the stencil adapter by placing one of the sets of open holes over the hinges on the base of the Stencil and Stamp tool.
- Place stencil #1 from the A Wreath in Time stencil set onto the stencil adapter by pushing the holes in the top of the stencil over the nubs on the end of the stencil adapter. (This adapter will help line up each of the layers of the stencil perfectly!)

- Place a piece of smooth white cardstock into the Sticky Grid of the Stencil and Stamp tool so that it is under the stencil. You want to use a piece of cardstock that is larger than an A2 card size--we'll trim it down later.
- Mask off the sentiment on the first stencil layer using low tack tape, such as Mint Tape.
- Attach the Blending Head to your Multi-Tool handle and put a foam round onto the Blending Head.
- Blend into the openings of the stencil using Bundled Sage Distress Oxide then remove stencil #1.
- Replace it with stencil #2 in the set, and again mask off the sentiments on the stencil.
- Replace the foam on your blending tool then lightly blend into the openings of the stencil using Rustic Wilderness Distress Oxide. You don't want it to be a heavy blend for this layer as we will be layering this same color over this area again using the next stencil layer.
- Remove stencil #2 and replace it with stencil #3 in the set. Mask off the sentiment and the lines at the top that are for the bow.
- Again using Rustic Wilderness, blend a darker layer of the ink into the openings of the stencil to create the center veins on all of the leaves of the wreath.
- Remove the mask over the pieces of the bow and mask off the leaf veins near the bow parts.
- Replace your blending foam and use Fired Brick Distress Ride to ink through the stencil to create the bow shadow layer.
- Remove the stencil and replace it with stencil #4 from the set. Mask off the sentiments on the stencil.

- Replace your blending foam and using Festive Berries Distress Oxide, blend ink into the stencil cutouts for the bow and berries.
- Remove the stencil from the Stencil and Stamp Tool. Remove the tape from all of your stencils and clean the ink off your stencils.
- Trim down your stenciled card to 4 x 5.25 inches--you'll cut off a small bit of the wreath on each side. Then adhere the stenciled card front to the black cardstock and then to a card base.
- Using your Sidekick, die cut the word "joy" from the Wish Sentiment Thinlits set from the same black cardstock 3 times. Then glue the layers together with express glue to create a dimensional and sturdy sentiment. Glue this sentiment to your card front.

- Again using your Sidekick, die cut 3 small holiday flowers and some leaves using 2 red cardstocks, a yellow cardstock and a green cardstock.
- Glue the layers of the flowers together. Using the rubber tip on the Intricate Multi-Tool set will help you place the flower center into your dot of glue easily!
- Give the leaves a little shape with your fingers and then glue the leaves and flowers to your card using both liquid and foam adhesives.
- Pop on a few glittery red gems for a bit of sparkle!
And that's it! I managed to get both of these cards done in an afternoon and both of these will easily ship without any extra postage needed. I hope you enjoyed learning how both of these cards came together. Until next time, happy crafting!
Adrienne Boese
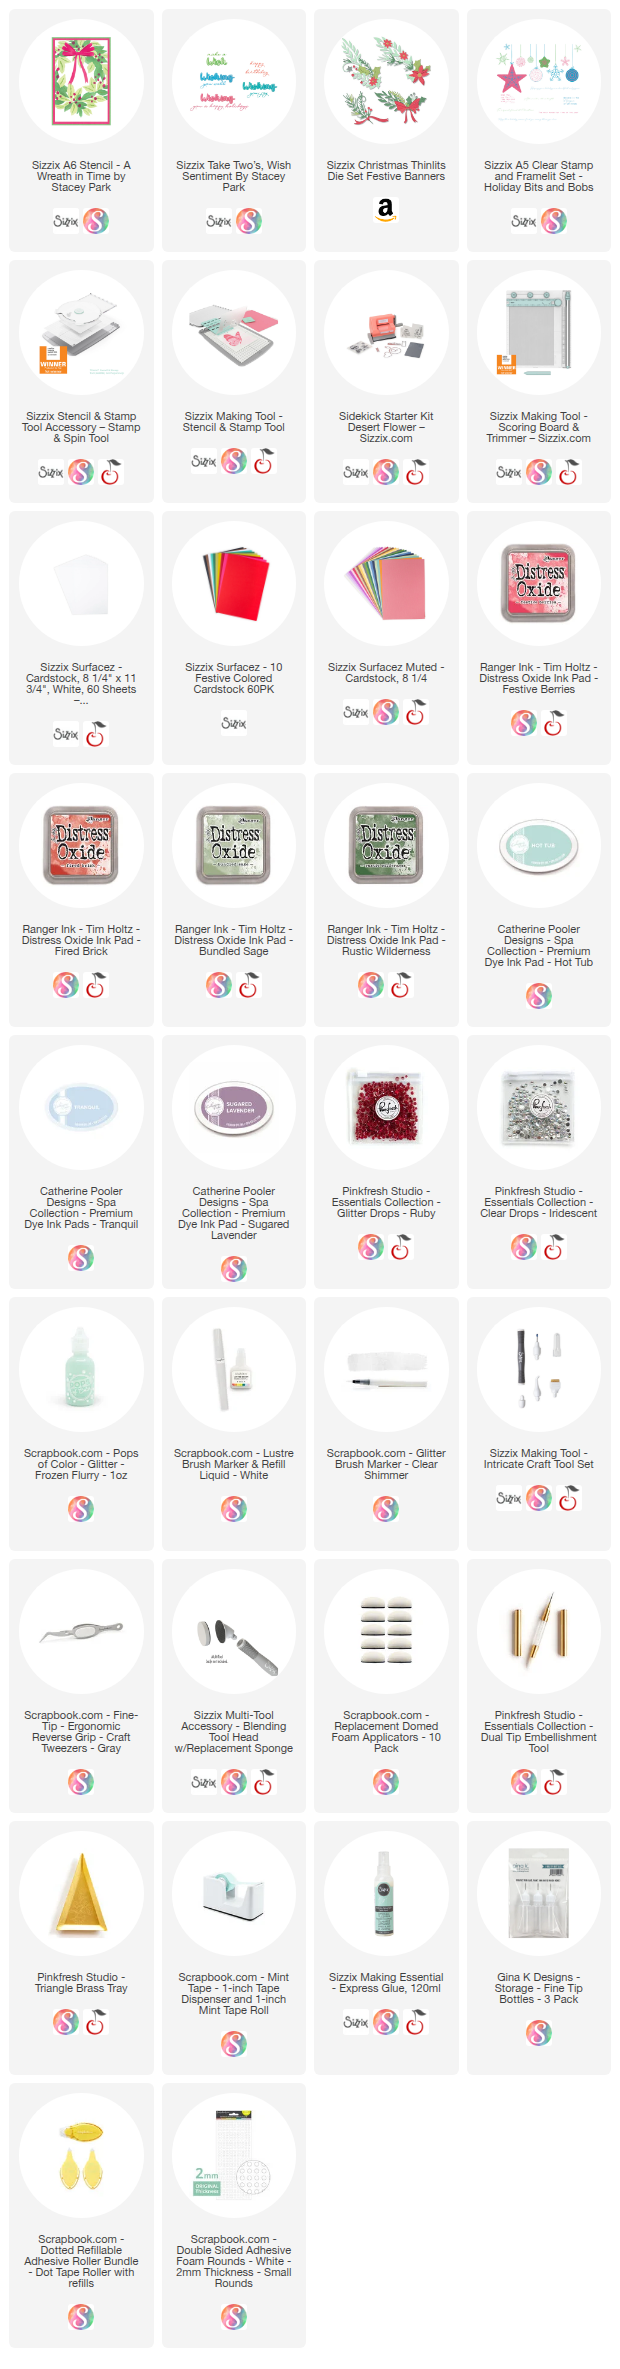
Shop the Supplies:
Scrapbook.com, A Cherry On Top, Spellbinders, Sizzix, Etsy & Amazon
I am an affiliate with multiple companies. When you shop the links below, I receive a small commission from the affiliate, at no additional cost to you. This helps me balance the costs of the time and love I put into my projects and blog so I can continue to share my ideas with you for FREE. If you shop the links, thank you! I greatly appreciate it.
Below are products that I used for this project.


0 comments
I'd love to hear your thoughts!