
DIY Decorated Recipe Box + New Home Baker Decoupage Paper!
Keep your favorite dessert recipes in a custom decorated recipe box! I've got the perfect tutorial using Prima Marketing's The Home Baker Collection, including their new 6x8 Paper Pad and Decoupage Paper!

Hey, crafty friend! If you missed out on Prima's The Home Baker collection, then don't worry because they just re-released the collection and included 2 brand new products in the release!! They've added a 6x8 paper pad (perfect for 6x8 pocket page albums for your recipes) and decoupage paper!

For this tutorial, I'm using a lot of the products you know and love from this collection, plus the two brand new items. So let's get right into it!
@alicescrapswonderland 🧁 Recipe Cards 🧁 Say hello to The Home Baker Decoupage Paper and 6x8 Paper Pad! I used both of these new items to create some recipe card dividers for this altered recipe box. 🧁 To apply @Prima Marketing decoupage paper to cardstock, simply cut your decoupage paper down to the size you need. Then apply Finn’s Soft Matte Gel to the cardstock. Place the decoupage paper onto the cardstock and use a brayer to help smooth out air bubbles and wrinkles. Then apply another coat of Soft Matte Gel over the top and allow to dry! 🧁 Get the full tutorial over on my blog (🔗 in bio)! . . . #primadt #primadtproject #primamarketinginc #primamarketing #prima #createwithprima #primaflowers #primaflowersaddict #primapapercollection #primahomebaker #primamixedmedia #finnabair #finnabairproducts #primamoulds #mixedmedia #alteredart #handmade #makersgonnamake #maker #crafting #papercrafting #papercraftersoftiktok #craftingcommunity #mixedmediatutorial ♬ Cafe / video cute lofi ♪ Chill(885831) - ImoKenpi-Dou
First, we are going to start with the recipe cards and dividers so we can give the Decoupage Paper and Soft Matte Gel time to dry. The recipe box I purchased came with dividers and recipe cards. I traced the dividers onto some white mixed media cardstock, which is super heavy weight cardstock that will stand up to multiple layers of Soft Matte Gel. Once you've traced out the number of dividers you want, cut those out with scissors.
You can shop the full supply list at the bottom of this post!

For two of the dividers, we'll be adding Decoupage paper on the front and patterned paper on the back. But first, trace your dividers onto some of the 6x6 and 6x8 patterned papers from The Home Baker and cut those out with scissors. Glue all of your papers on (minus the two that will go on the backs of the ones with Decoupage paper--the less layers the faster the dry time for the gel, so just set those 2 aside for now). I used a repositionable adhesive to glue these patterned papers on as it gives me time to adjust if I don't line it up just right. This adhesive becomes permanent after a few hours.
 |
| One of the decoupaged dividers! |
Cut down your Decoupage Paper to a rectangle that will fit on your divider. Then apply a thin layer of Finn's Soft Matte Gel with a paintbrush onto the white cardstock divider. Place your Decoupage Paper onto the divider and use a brayer to smooth out any wrinkles and air bubbles. Then brush another thin layer of the Soft Matte Gel on top of the Decoupage Paper.
@alicescrapswonderland 🧁 Recipe Box 🧁 Recipe boxes are so nostalgic! With all the baking my family does, I wanted to create a sweet little recipe box just for baking recipes using the rereleased @Prima Marketing The Home Baker Collection! 🧁 To get the full supply list and a more in-depth tutorial, visit my blog (🔗 in bio). . . . #primadt #primadtproject #primamarketinginc #primamarketing #prima #createwithprima #primaflowers #primaflowersaddict #primapapercollection #primahomebaker #primamixedmedia #finnabair #finnabairproducts #primamoulds #mixedmedia #alteredart mixedmediatutorial #handmade #makersgonnamake #maker #crafting #papercrafting #papercraftersoftiktok #craftingcommunity ♬ My Coffee - Megan Yagami
Set these aside to dry. You'll see your cardstock curl as it dries, but don't worry--paper doesn't have a memory and you can use a heat tool or craft iron to straighten it out if needed after it's dry.
 |
| A divider covered with a sheet from the new 6x8 Paper Pad. |
While all of that dries, let's work on the altering and personalizing the recipe box itself. First, wipe the box with a soft cloth to remove any dust or skin oils. Then cut a bunch of the flowers from the Sticker Roll. I used some washi tap to hold them in place with the backing to plan placement on the box.
Once I was happy with how a section looked, I removed stickers one at a time, peeled the backing off, and applied the sticker. Use your fingers to smooth it into place first. Once you have all of the stickers around the sides of the box adhered, use the Redesign with Prima Transfer Tool to push any air bubbles out. I left the lid of the box free of stickers until I planned out the other embellishments.

I always do my resin casts in advance of starting my projects so they have several hours to fully cure and harden. I chose to use the spoon and tray of cupcakes from the Baker's Delight Mould and the cupcake seal from the Sweet Seal Mould. I painted these using the Art Philosophy Pastel Dreams and Essence watercolor palettes plus the Finnabair Liquid Acrylic Titanium White Paint. After these moulds were dry, I added some of the Old White Matte Wax to highlight the texture of the moulds.

Before working on the lid, let's add the cupcake seal Mould to the side. Take a bit of the lighter green twine from the Spools of Yarn. Tack one end in place with a bit of washi tape, centered just below the label. Then wrap your twine around the box several times. Trim the twine so that the other end meets the start of the twine being held in place with wash tape. Then use a touch of hot glue to adhere the two ends of twine in place.

Using Finn's Heavy Body Gel and a touch of hot glue to adhere the cupcake seal Mould over the ends of twine, centering it just below the label. The Heavy Body Gel will give longevity of hold, while the hot glue will help tack it into place and keep it from moving around or falling off while we continuing working.

Next, use Finn's Heavy Body Gel and a small touch of hot glue to adhere the spoon Mould to the lid. Then glue down one of the Caramel Delight flowers using Heavy Body Gel. Then stack on some Mint Chip Roses, one of the smaller Whisked Garden flowers, and two of the Sugar Sprinkles flowers using the same Heavy Body Gel. Once your flowers are in place, add another flower Sticker to one corner of your lid.

Next, glue down the tray of cupcakes Mould using a mix of Heavy Body Gel and Hot Glue. Then add some of the Say it In Crystals. I live in a super dry climate and the backing on these dries out after about a year, so for longevity of hold, I use a dot of liquid glue to help hold these in place long-term.

Now let's get back to the dividers and recipe cards! Once the decoupaged dividers are dry and flat, you can glue the patterned papers to the backs of these dividers. I also trimmed some patterned paper to fit the top tabs on the decoupaged dividers and adhered it in place with glue.
 |
| One of the decoupaged dividers! |
Then I created labels for all of my dividers. You can hand write and cut these, but I had a mini label die that was the perfect size for this and is small enough to go through the Sidekick! So I typed up my label names then die cut them out with the label die and Sidekick. I glued these onto the front tab of each divider.

Then I decorated each of the dividers with ephemera and stickers. I even fussy cut one of the round labels from the new 6x8 Paper Pad to add to one of the cards (above). I used 1 and 2 mm thick foam to pop up some of the embellishments on my dividers.

Finally, I chose at least two of each recipe card design from the 4x6 Journaling Notecards and placed them and the dividers inside the recipe box. You could add the entire set of 4x6 cards if you want, or even add in some of the recipe cards that come with your recipe box.

And that's it! I hope you enjoyed this tutorial. Don't wait to grab your Home Baker products as this will probably fly off store shelves again. And wouldn't the decoupage paper be perfect on a little tray? I can't wait to see all of the beautiful makes you create with this collection and the two new products, and until next time, happy crafting!
Adrienne
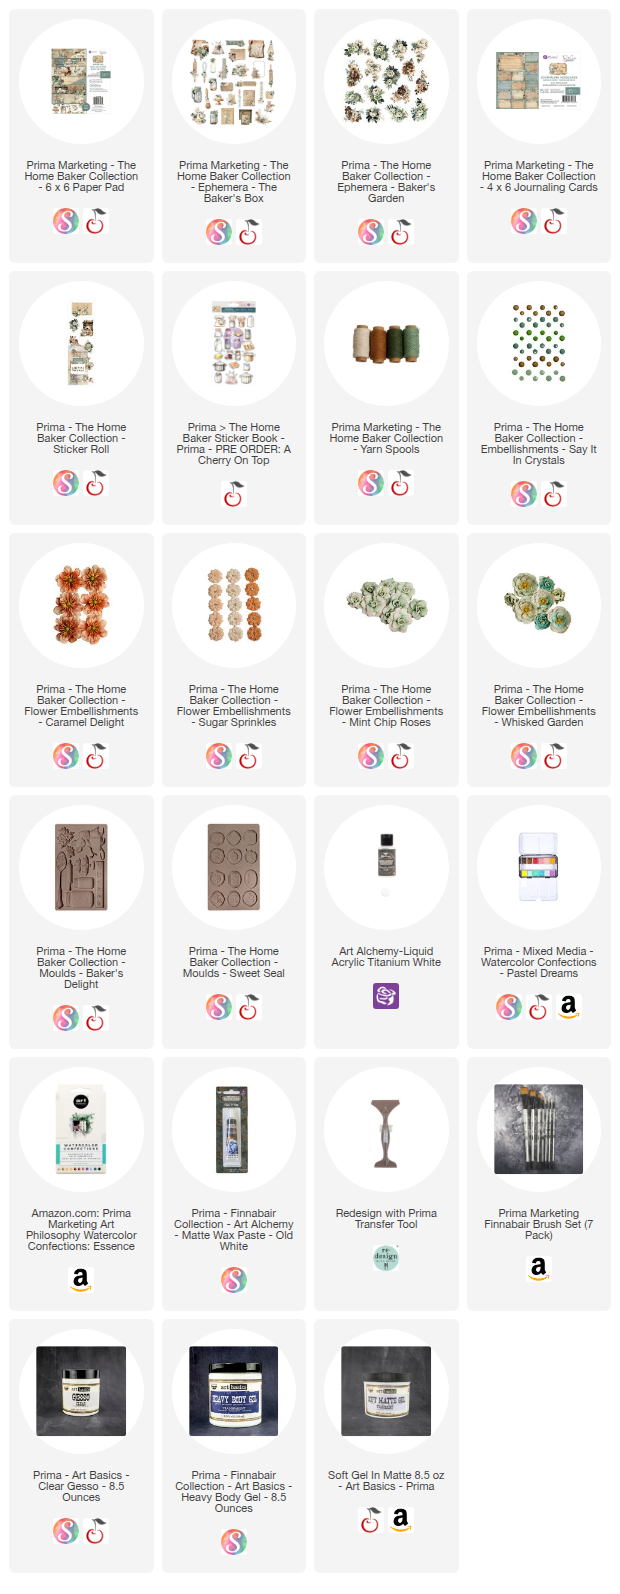
Shop the Supplies:
Scrapbook.com, A Cherry On Top, Spellbinders, Sizzix, Etsy & Amazon
I am an affiliate with multiple companies. When you shop the links below, I receive a small commission from the affiliate, at no additional cost to you. This helps me balance the costs of the time and love I put into my projects and blog so I can continue to share my ideas with you for FREE. If you shop the links, thank you! I greatly appreciate it.
You can also use the code adrienne15 for 15% off your order on the Prima Marketing Retail site.
Below are products that I used for this project.


0 comments
I'd love to hear your thoughts!