
Snail Mail Birthday Card Idea
Celebrate snail mail with this fun card idea! It's the perfect blank canvas for any sentiment you want.

Hi, crafty friend! I have a fun birthday card idea using past Spellbinders Club dies (which you can get a la cart now, whether you are a member or not), plus their German BetterPress sentiments! As always, I have links to all the products used at the bottom of this post!

Now of course you can use whatever language you want for your sentiment--Spellbinders has Spanish, French and Italian sentiments as well, plus of course all of their English sentiments to choose from. But my family speaks German, so that's what I went with for this particular card.

Let's not waste any more time and get right into this quick and easy tutorial!
- Die cut the mailbox from the Lock and Key Mailbox Large Die of the Month from Oceanside and Malibu cardstocks and the pearlescent silver from the Treasured Silver cardstock pack. Glue the layers together with liquid glue and a bit of foam adhesive to raise up the bottom edge of the top flap of the mailbox.
- Die cut the little envelope and wax seal from Classic White and Carrot cardstocks and glue the layers together with liquid glue.

- Die cut some of the Club Blooms Large Die of the Month from Carrot, Terra Cotta, Rainforest and Fern cardstocks. Glue the flower centers on with liquid glue.
- Use your BetterPress to letterpress your sentiment in the Tiger ink from the Tropical BetterPress Ink Set, and die cut the sentiment with the coordinating die.

- Create a card front in white that is 5x7 inches, then using dotted adhesive, attach a matte of the green floral pattern in the Cozy 6x8 Patterned Paper Pad from Scrapbook.com.
- Slide the letter into the slot of the mailbox and attach it to the back side with a bit of liquid glue or dotted adhesive. Then, attach the mailbox to the card front with dotted adhesive.
- Layer on the flowers and leaves with foam adhesive and liquid glue for a dimensional look--don't forget to tuck some of the petals under the mailbox!
- Attach your sentiment with a bit of foam adhesive.
- Pop on some Pinkfresh Butterscotch Glitter Drops using liquid glue.

And that's it! This card is the perfect blank canvas for any sentiment that you want (in any language)! If you decide to recreate this card, don't forget to tag me so I can "ooooh" and "ahhhh" over it! I can't wait to see if you decide to try a different color combo, and until next time, happy crafting!
Adrienne
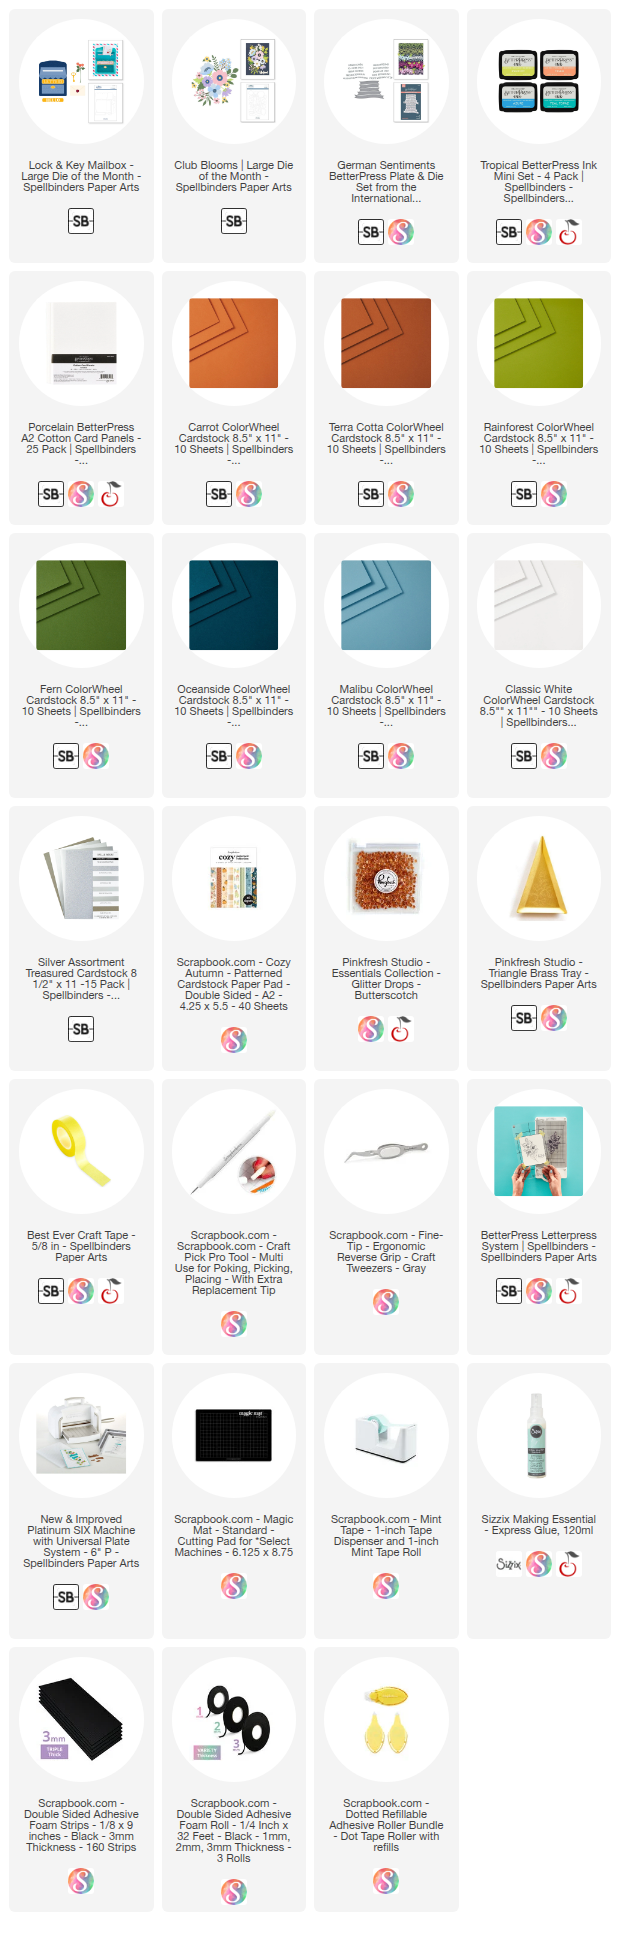
Shop the Supplies:
Scrapbook.com, A Cherry On Top, Spellbinders, Sizzix & Amazon
I am an affiliate with multiple companies. When you shop the links below, I receive a small commission from the affiliate, at no additional cost to you. This helps me balance the costs of the time and love I put into my projects and blog so I can continue to share my ideas with you for FREE. If you shop the links, thank you! I greatly appreciate it.
Below are products that I used for this project.


0 comments
I'd love to hear your thoughts!