
How to Have a Maximalist Style in Scrapbooking Without It Being Too Busy
Simple and sweet minimalist scrapbooking has been the style for quite some time, but have you thought about challenging yourself? Let's try maximalism scrapbooking together!

Hey, crafty friend! I love to put all the embellishments onto my mixed media projects, but I don't always do it on my scrapbook layouts, so I thought I would purposefully challenge myself and put out a challenge to you too!

So what is maximalism? It's a design philosophy that is the complete opposite of minimalism. It embraces the "more is more" approach. It often features bold colors, mixed patterns, and/or rich textures.

If you are wanting to just dip your toes into the maximalism style, but you don't want a layout that feels too busy, I suggest opting for a monochromatic color scheme. For this particular layout, I chose icy blues and blue-greens, using a marbled green-blue patterned paper as the background.
I also chose some additional patterned papers to matte the photo, opting for a monochromatic blue floral and a green and white stripe. This checks off the mixed patterns without it being too "in your face." These papers are from the 12x12 and 6x6 paper pads from Spellbinders Rosie's Studio Hello It's Me! collection.

Want to see more layouts in the maximalism style? Check out my guest blog post for Spellbinders--below is a little preview of just 1 of the layouts I created for their blog!

The sheer amount of die cuts and embellishments from the Hello It's Me! collection checks off the "more is more" approach. But I also chose to make some of these die cuts stitching dies, which also adds the rich texture. With everything being blue-green with hints of cream, it creates a softer side of maximalism that is perfect for those who want to challenge themselves just a bit.
So let's get right into the tutorial! I've got all of the products I used listed and linked below at the bottom of this blog post so that you can recreate this layout!
- Trim a 3x4 photo down just a little to matte it onto a piece of 3x4 inch Color Wheel Cardstock in Raven. Attach the photo to the matte with a dotted adhesive roller.
- Die cut a piece of Malibu cardstock using the largest stitching frame from the Stitched Scalloped Card Front and Tag Club die. (You can currently get all of the Club dies I used for this project a la cart!)
- Using the next embossed frame down in the set, cut a piece of the 6x6 marbled green-blue paper and attach it to the scalloped frame with dotted adhesive.
- Trim a piece of the green and white striped 6x6 paper to fit just behind the scalloped frame and a piece of the 12x12 blue monochromatic floral paper to fit behind the striped paper. I made this blue floral paper slightly wider, so I could offset my scalloped frame and striped paper to one side of the blue floral paper for a bit of interest.
- Use a distressing tool to distress the edges of the blue floral and green and white stripe paper mattes. Set these mattes aside.

- Using Seaside, Waterfall and Breeze Color Wheel Cardstocks, cut the larger flower center from the Stitched Petal Bloom die--cut one without the stitching holes and one with the stitching holes insert to get two layers for each color, and 1 flower of each of the 3 colors.
- Then cut the small round center from the Stitched Petal Bloom die from the Alabaster cardstock, again once with the stitching holes and once without. Cut 3 sets--one for each flower you just cut.
- Set these die cuts aside in some Scrapbook.com Stack-n-Sort Trays for later. I like to put the ones with stitching holes in one tray, and the non-stitching cuts in another.
- Die cut your title using the Stitched Alphabet set. I used Mint cardstock for the lower layer and the stitching top layer from Breeze cardstock. Set these die cuts aside, adding your stitching dies to the same tray.

- Next, die cut the two largest flowers from the Club Blooms die set from the Alabaster, Seaside, Waterfall and Breeze cardstocks. Then cut some of the leaves from Mint cardstock.
- Adhere your Club Bloom flower centers to the flower base then set these and the leaves aside in a tray.
- Stitch your scalloped frame with the DMC Color Variations embroidery floss #4030.
- Stitch your Alabaster flower centers with DMC embroidery floss Ecru (from the Spellbinders Neutral Floss Bundle).
- Stitch your Seaside flower with DMC embroidery floss #964 (from the Spellbinders Cool Floss Bundle).
- Stitch your Waterfall flower with DMC embroidery floss #958 (also from the Spellbinders Cool Floss Bundle).
- Stitch your Breeze flower and letters with DMC embroidery floss #162 (also from the Spellbinders Cool Floss Bundle).
- Once all of your stitching dies are stitched up, add some 1mm thick foam adhesive to the backs of each stitching die. Then adhere the flowers and flower centers to their corresponding non-stitching layer and the stitched letters to the shadow base die you cut from the Mint cardstock.
- Add your black matted photo to the center of the scalloped frame, placing it on a diagonal.
- Add foam adhesive to the back of the scalloped frame and adhere it to the green and white stripe paper.
- Using dotted adhesive, adhere the striped paper to the blue floral paper and then add the whole matted stack to your green-blue marbled background paper at an angle.
- Arrange your stitched flowers into clusters, placing the Breeze and Seaside flowers on the top left corner of your matted photo, and the Waterfall one on the bottom right of your photo. Don't glue anything down yet--give yourself a chance to play with placement first!
- Add in your Club Bloom flowers and leaves, ruffling up the flower centers and curving a few of the petals and the leaves (you can use some shaping tools, or just your fingers, to shape your leaves and petals).
- Add in some of the ephemera using pieces from both of the Hello It's Me! ephemera packs. (I cut off some of the extra white halo using a self-healing craft mat and swivel craft knife, but this is optional.)
- Place your title in the bottom left corner of your layout.
- Use liquid adhesive and foam adhesive to adhere all of your ephemera, your title and the flowers to your layout.
- Add some chipboard and puffy stickers from the Hello It's Me! collection.
- Add some of the Fashion Pearls in Oyster to your layout. I added a large pearl to the center of each stitched flower center and to the body of the butterfly ephemera. The other pearls are scattered throughout the negative spaces of the layout.
I hope that you enjoyed this tutorial and a challenge to try out some maximalist scrapbooking! It can be fun to add tons of stitching and embellishments to your layout. My final 2 tips for trying out this style, is first to just allow yourself space to play and try things out without worry. Giving yourself grace to try new things is so important! Second, is to group your embellishments into little clusters throughout your layout and to shape those clusters into a natural line--this is especially easy to do with flowers! In other words, don't be too boxy with your clusters.
Good luck with this challenge and don't forget to tag me on Instagram (@alicescrapswonderland) if you share your maximalist layout or other project there so I can gush over it; and until next time, happy crafting!
Adrienne
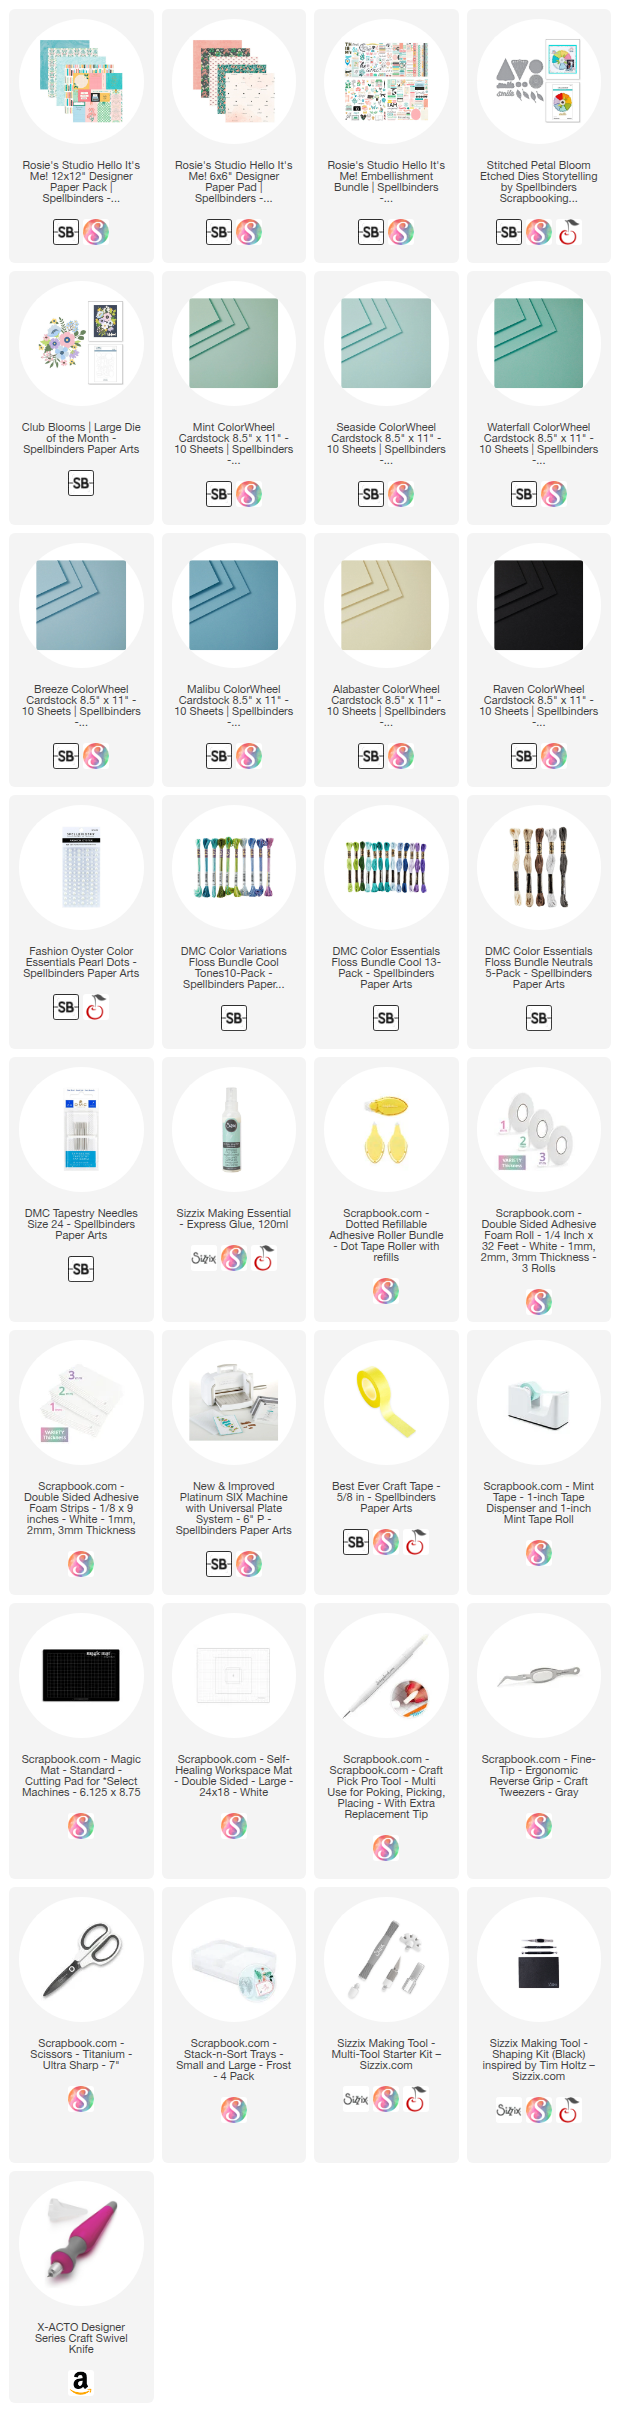
Shop the Supplies:
Scrapbook.com, A Cherry On Top, Spellbinders, Sizzix & Amazon
I am an affiliate with multiple companies. When you shop the links below, I receive a small commission from the affiliate, at no additional cost to you. This helps me balance the costs of the time and love I put into my projects and blog so I can continue to share my ideas with you for FREE. If you shop the links, thank you! I greatly appreciate it.
You can also use the code adrienne15 for 15% off your order on the Prima Marketing Retail site.
Below are products that I used for this project.


2 comments
Bravo! What an absolutely stunning piece of work. I'm a long time maximalist but have never attemped monochrome - you've inspired me. Thank you.
ReplyDeleteThank you so much! Monochromatic is definitely one of my favorite color schemes to create with and I hope you enjoy trying it out!
DeleteI'd love to hear your thoughts!