Autumn Inspiration with the New Pete Hughes for Sizzix Infinite Doodles Collection
You have infinite creativity with this set of dies from Sizzix!
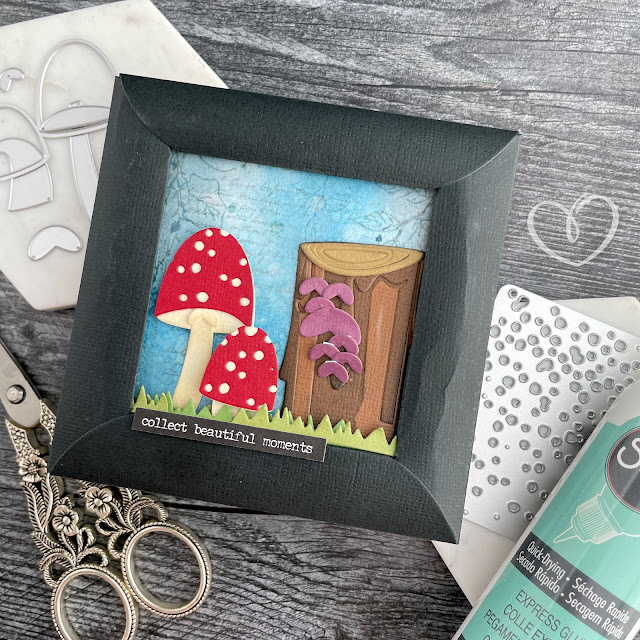
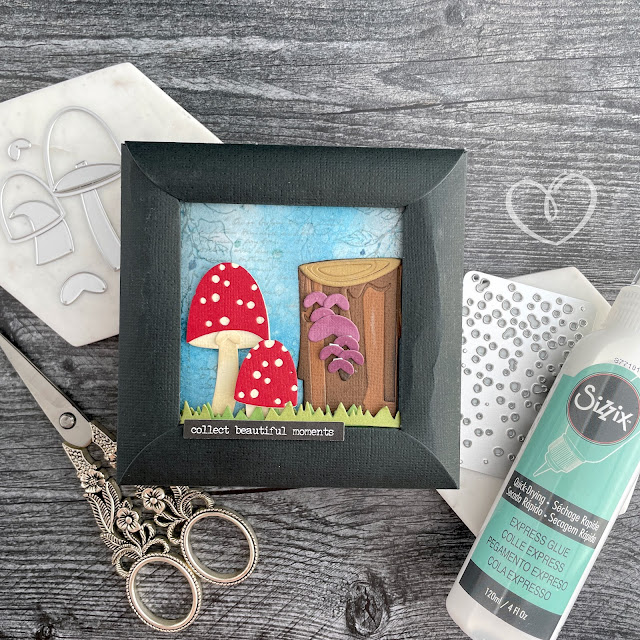
Infinite Doodles, designed by Pete Hughes for Sizzix, was released earlier this month and it is the perfect set of dies that allow you complete and full creativity! For this project, I wanted to show you that you can make something as simple as some little mushrooms with these two die sets, but that you can also combine it with other sizzix dies that are used in a different way than intended. It's sort of a way to ease you into this type of make if you've never done it before.
We'll get to that other die in a moment, but first, let's focus on the mushrooms. This is a pretty easy shape and I bet you can already identify the shapes used to make them. I wanted to start out with a more simple project to ease those of you who haven't done this kind of make yet into this world of full creative control. I'm focusing solely on using these two die sets for Sizzix this month, so I'll get into more complicated builds later on.
These mushrooms don't require much subtraction, which is when you use another die to alter a cut from a different die. This is mostly just addition, with one exception. I'll show you in the videos below how to make the red mushrooms and the tree stump. For cardstock, I used Sizzix Classic Assorted, Muted, Festive and White.
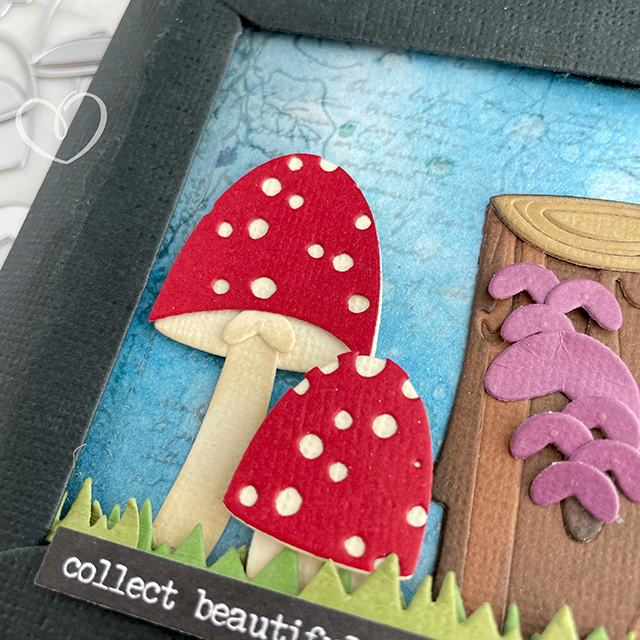
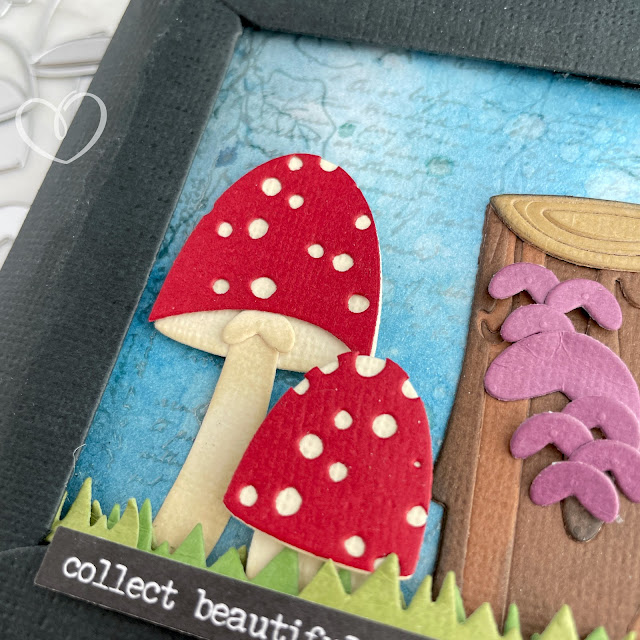
For the short red mushroom, you'll need 2 dies from the Infinite Doodles #1 to create the cap and stem, and the dots die from Infinite Doodles #2 to create the toadstool spots. Watch the video below to see how I cut the pieces for the short mushroom and assemble them.
For the tall red mushroom, you'll need 4 dies from Infinite Doodles #1 to create the cap, stem and frill on the stems, plus the dots die from Infinite Doodles #2 to create the toadstool spots. Watch the video below to see how I cut the pieces for the tall mushroom and assemble them.
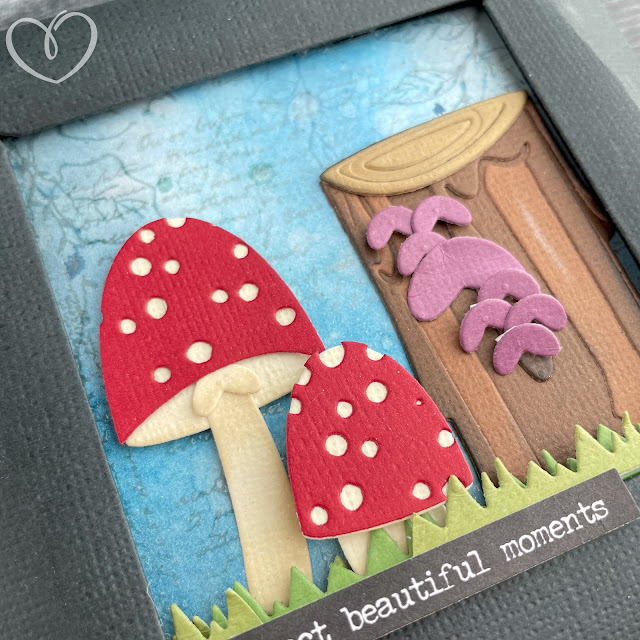
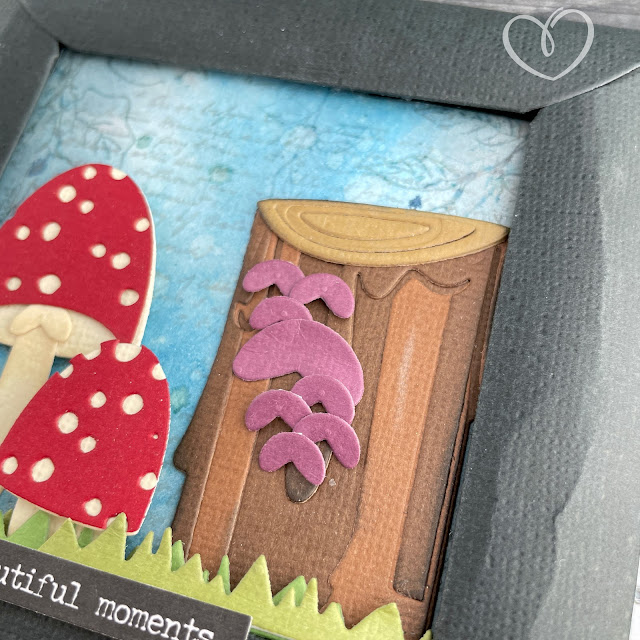
Now here is where the other die comes in. For the tree stump, you'll need the Tim Holtz Candle Shop Colorize die and 3 dies from Infinite Doodles #1. Watch the video below to see how I cut the pieces from the 2 die sets and assemble them to create the tree stump.
Now the the tree stump and mushrooms are assembled, I cut some grass from two greens using the little triangle strip in Infinite Doodles #1. For the little purple mushrooms going up the side of the tree stump, just die cut a bunch of the small wonky heart shapes--I used two sizes. If you want to add a little shading to all your dies, you can use some Tim Holtz Distress Oxide, either on each cut before assembling, or after assembling. I used Black Soot and Antique Linen. Set all of these pieces aside and let's work on the frame that holds this little vignette.
For this, you'll need the Dimensional Multi-Frames die. Cut 4 of the second to smallest size frame piece from some cardstock. Check out how Pete assembles these in the Sizzix video below--he shows you exactly where to put the adhesive to create that rounded shape and how to assemble the 4 pieces together.
Once your frame is assembled, cut a piece of chipboard and smooth white cardstock to fit the frame (4 3/4 inches square). I place the white cardstock behind the frame and with light pencil marks, mark off the top two corners. This helps me with placing my stamps in the right spot. I use the Tim Holtz Floral Elements stamp to add some leaves to the top two corners of the white cardstock, stamping in Archival Distress Ink in Hickory Smoke.
After stamping, I spray on some Distress Spray Stain in Speckled Egg and Stormy Sky plus a little bit of Distress Mica Stain in Juniper Berry to create a Distress background that looks like a blue sky. Spritz with water and splatter with the sprays until you are happy with how it looks, drying in between each of your layers.
Make sure that your Distress background is completely dry before moving on to the next step, which is stamping and embossing with a Distress Glaze. Pro Tip: If you need to flatten out your background, run it through a Minc machine or other laminating machine. Stamp the script stamp from the Tim Holtz Entomology set onto the background in embossing ink. Then apply Distress Glaze in Lost Shadow and heat it to emboss.
Once your background is cooled and the Glaze is set, glue the white cardstock background onto your chipboard. I use Sizzix Express Glue for this, and let it sit for a minute under some large stamping blocks to ensure good adhesion. Then glue the frame onto the background.
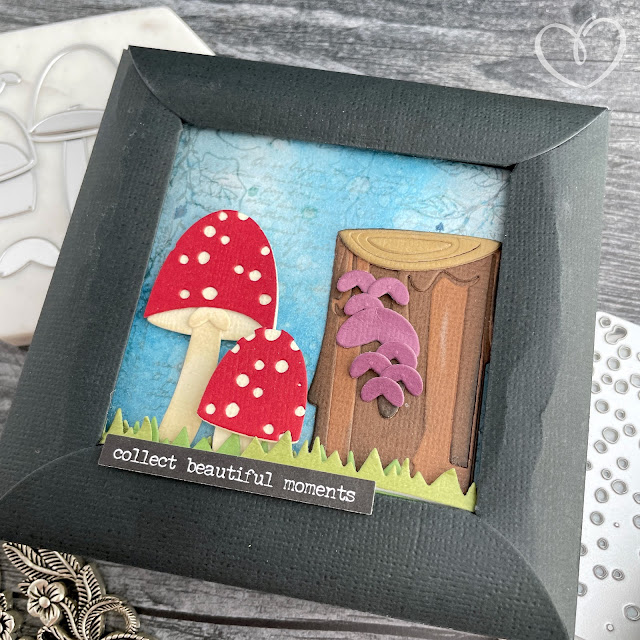
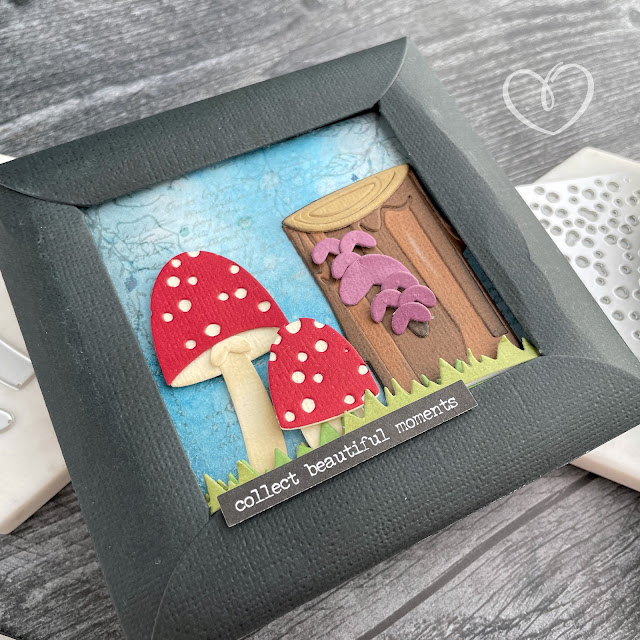
Now all that is left is to arrange your little scene of mushrooms and the tree stump. Add the grass behind and in front of your different elements using foam adhesive and liquid glue. If you want, add a little sticker sentiment to your project. And now you have a cute little mushroom vignette perfect for a Dark Academia or Autumn vignette. Until next time, happy crafting!
Adrienne
Shop the Supplies:
Scrapbook.com & Sizzix
I am an affiliate with Scrapbook.com and Sizzix. When you shop the links below, I receive a small commission from the affiliate, at no additional cost to you. This helps me balance the costs of the time and love I put into my projects and blog so I can continue to share my ideas with you for FREE. If you shop the links, thank you! I greatly appreciate it.
Below are the main products that I used for this project.






0 comments
I'd love to hear your thoughts!