The New Tool that Every Paper Crafter Needs

by - 6:00:00 AM

Creating banners/bunting, gift tags, custom boxes, plus bespoke cards and envelopes has never been easier! 

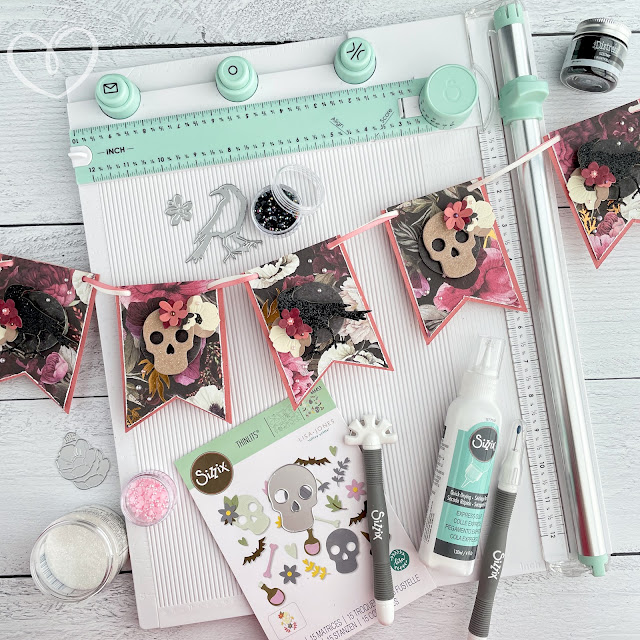
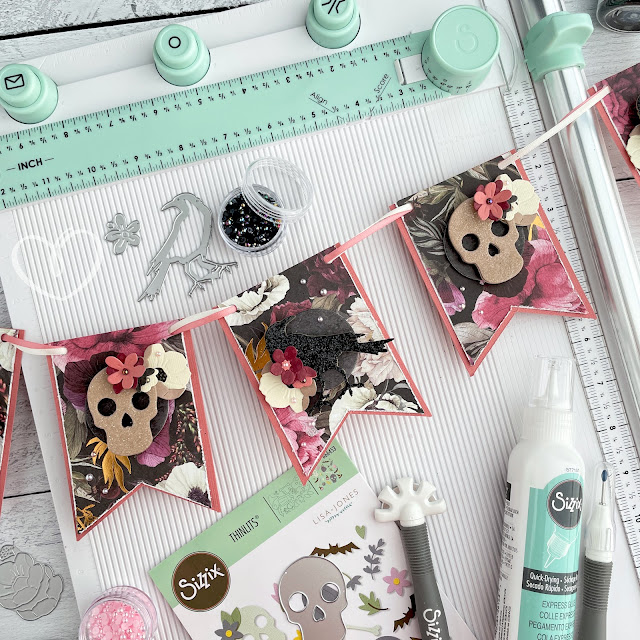
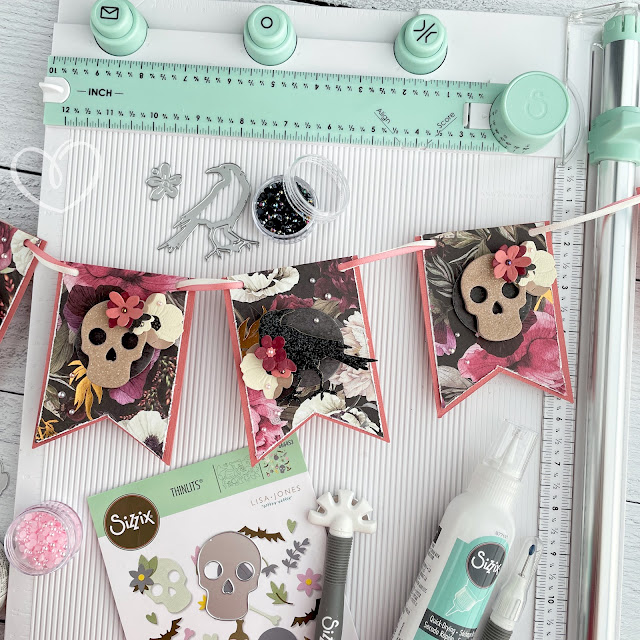
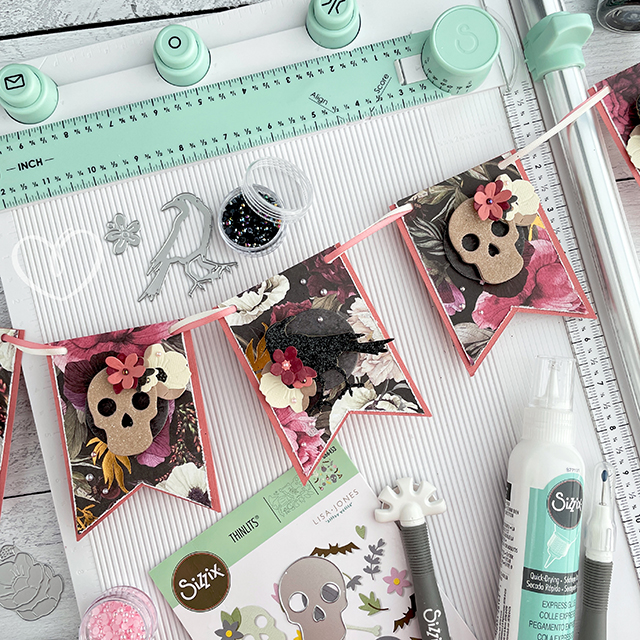
Sizzix Scoring Board and Trimmer Tool and a notched flag banner bunting with Halloween glittered die cuts and flower die cuts.

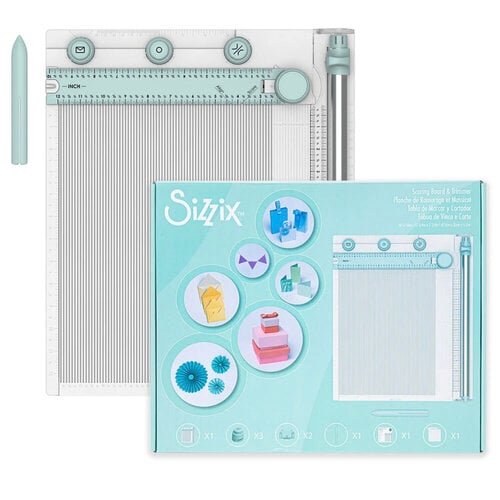
Today I'm sharing the new Sizzix Scoring Board and Trimmer tool that can make all of those items and so much more. 

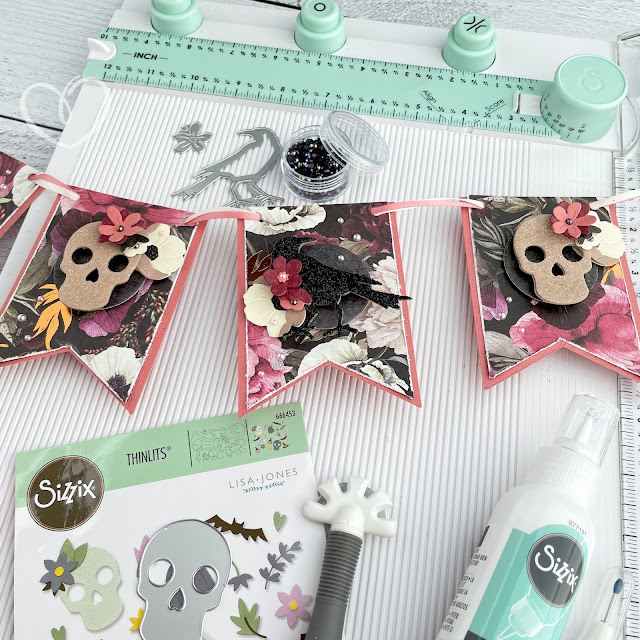
Sizzix Scoring Board and Trimmer Tool and a notched flag banner bunting with Halloween glittered die cuts and flower die cuts.

While there is so much that this tool can do, the first tutorial I'm sharing with you is how to create a notched banner flag. I love notched flags because they are such a cute shape. 

Sizzix Scoring Board and Trimmer Tool and a notched flag banner bunting with Halloween glittered die cuts and flower die cuts.

And they are so simple and easy to make with the new Sizzix Scoring Board and Trimmer tool! I've got a YouTube tutorial showing you just how easy it truly is. If you'd rather read the tutorial or just want to shop some of the supplies, keep scrolling for my tutorial and supply list!


Start by taking a piece of Sizzix cardstock and cut it lengthwise, creating two strips that are both 11 and 3/4 inches long by 4 and 1/8 inches high. Then cut 5 rectangles from these strips measuring 4/18 inches tall by 3 inches wide. When cutting, be sure to apply light pressure to the blade to get the best results. 

Sizzix Scoring Board and Trimmer Tool and a notched flag banner bunting with Halloween glittered die cuts and flower die cuts.

Lift up on the hub and rotate your ruler to the 30 degree mark. Push back on the ruler to lock it into place so you get a true 30 degree cut. Line up one corner of your rectangle with the center of the cut channel and cut from the corner down to about the 1 inch mark on the plastic ruler guard. Flip your rectangle over and do the same, cutting down to about the 1 inch mark. This creates the notch. Do this with all of your rectangles. 

Sizzix Scoring Board and Trimmer Tool and a notched flag banner bunting with Halloween glittered die cuts and flower die cuts.

Lift up on the hub and swing your ruler back to the 0 degree mark. Take a piece of patterned paper and cut it to 12 inches long by 2 and 3/4 inches wide. Lift up on the hub again and swing the ruler back to the 30 degree mark. Again, line up one corner of your rectangle with the center of the cut channel. Cut down from the corner to the 3/4 inch mark. Flip your rectangle over and cut the other side and then follow the same steps to cut the other 4 patterned paper rectangles.

Sizzix Scoring Board and Trimmer Tool and a notched flag banner bunting with Halloween glittered die cuts and flower die cuts.

Using the distressing tool on the Sizzix Surfacez Multi-Tool, distress the sides and bottom of each patterned paper flag. Then check that all of your patterned paper flags fit will onto your cardstock flags. You may need to adjust the height on some of your patterned paper flags by trimming a little excess off the top. Start by trimming off just a little at a time. Remember, you can always trim off more, but you can't add to your paper once you've cut it too much. 

Sizzix Scoring Board and Trimmer Tool and a notched flag banner bunting with Halloween glittered die cuts and flower die cuts.

Adhere the patterned layer to the cardstock layers with some permanent adhesive. Avoid putting any adhesive in the top two corners of your flags. Then use the hole punch tool on the Sizzix Scoring Board and Trimmer to add holes to each top corner of your banner. There are measurement markings on the cream portion of the board to help you line up your flags and cut in the same spot each time. How far in you punch your holes is personal preference.

Sizzix Scoring Board and Trimmer Tool and a notched flag banner bunting with Halloween glittered die cuts and flower die cuts.

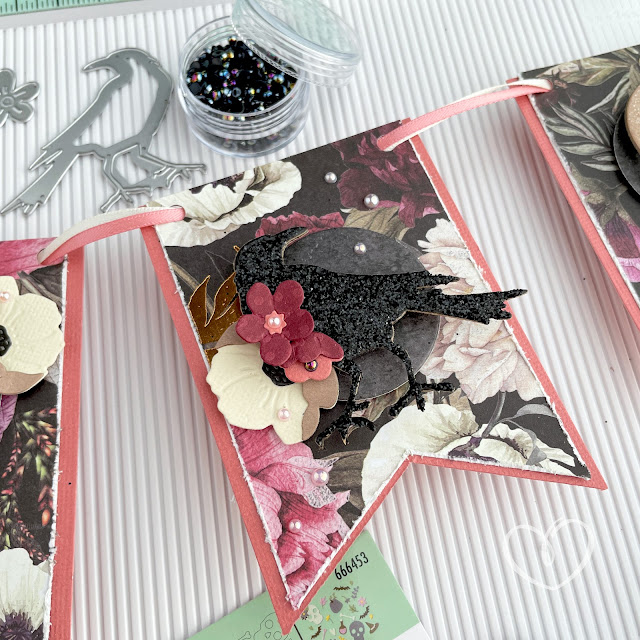
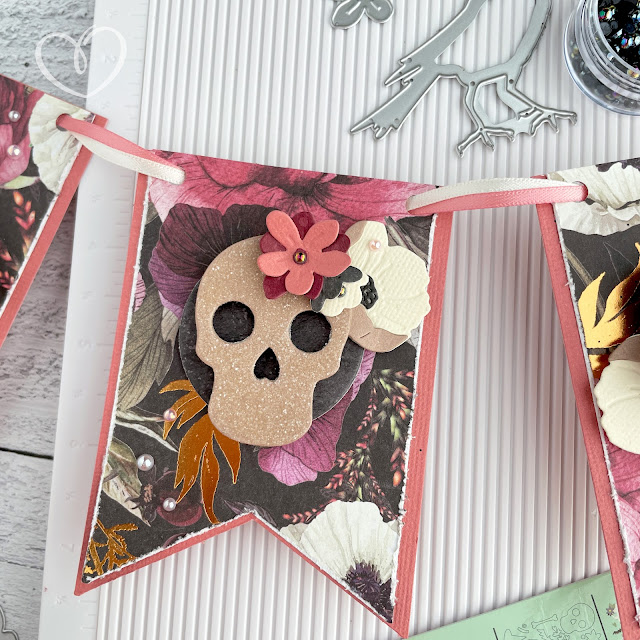
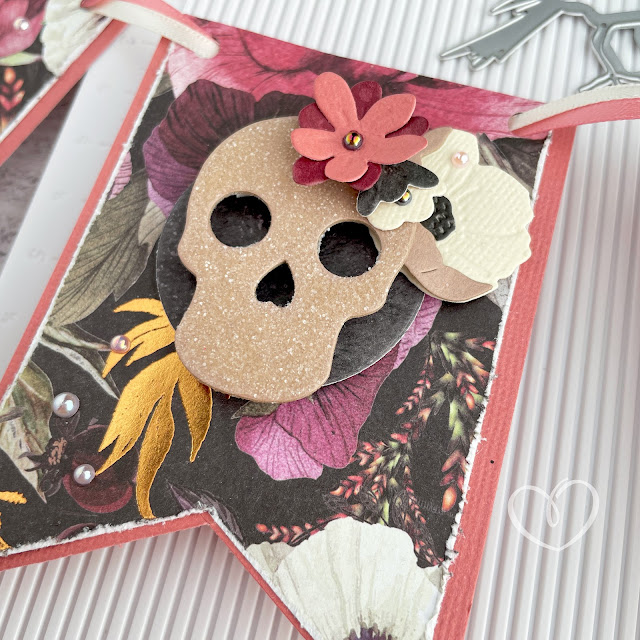
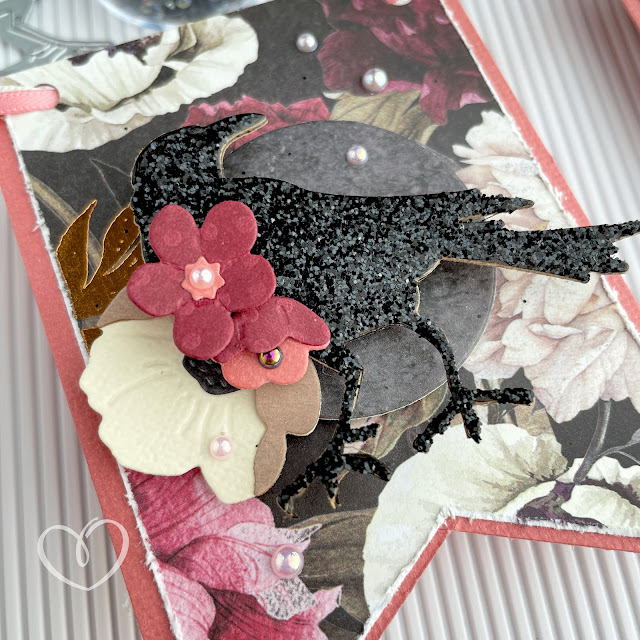
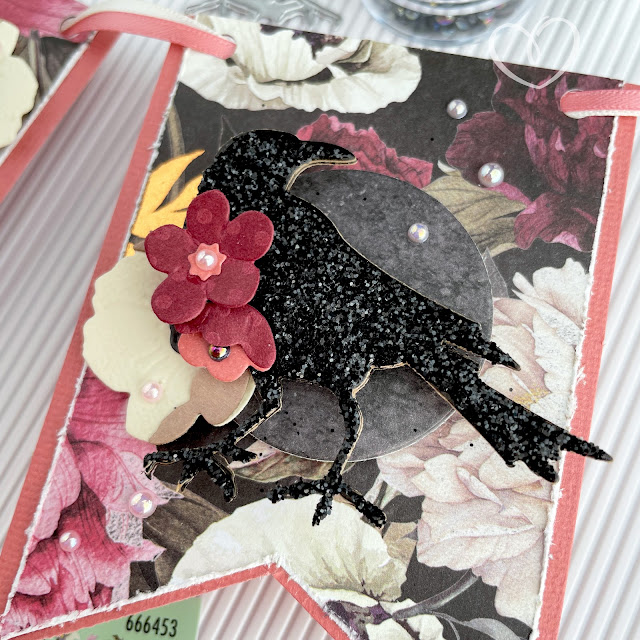
Now you notched flags are ready for decorating! I used the skull from the Sizzix Spooky Icons die set and the standing raven from the Tim Holtz Feather and Ravens die (you can still nab this same die from Tim's Halloween Vault die set on Amazon). Die cut three of each for each flag banner and glue those layers together using Sizzix Express Glue. These layers will help create stability for glittering your die cuts. I used the Tim Holtz Neutrals Kraft Cardstock (black and cream) to cut these dies out. 

Sizzix Scoring Board and Trimmer Tool and a notched flag banner bunting with Halloween glittered die cuts and flower die cuts.

To glitter your die cuts, add a thin layer of Ranger's Glossy Accents to the entire die cut. Then generously sprinkle on your glitter. I used Clear Rock Candy for the skull and Nightfall (limited Halloween collection) for the raven. If you don't have the Nightfall glitter, try tinting your Clear Rock Candy with black alcohol ink or you can use Sizzix Earl Grey Glitter, which is biodegradable and oh so sparkly! 

Sizzix Scoring Board and Trimmer Tool and a notched flag banner bunting with Halloween glittered die cuts and flower die cuts.

Set your glittered cuts aside to dry and cut out several flowers from the Sizzix In the Meadow die set. I used a combination of Bazzill's Blissful cardstock, Sizzix Muted Cardstock, Tim Holtz Neutrals cardstock, and Prima's Midnight Garden patterned paper to cut the pieces out. Then use Express Glue and Foam Adhesive to glue the layers together. Add some pearls to the centers of some of your flowers. Also cut out some small circles from a black cardstock or patterned paper (I used a black paper from the Midnight Garden pad).

Sizzix Scoring Board and Trimmer Tool and a notched flag banner bunting with Halloween glittered die cuts and flower die cuts.

All that is left to do is assemble the embellishments on your notched flags! Use some 1 inch foam adhesive to place each circle in the center of the flags. Then add two layers of 1/4 inch foam adhesive to your ravens and skulls, and place them on the circles. Add your flowers, layering them under and over the skulls and ravens, using 1/8 inch foam adhesive, Express Glue and a permanent roller adhesive. Add a few extra pearls to each banner and string it onto some ribbon or twine. 

That's it! It's so easy to create banners in no time at all. Be sure to follow me on all my socials and my YouTube channel because I'll be sharing lots more tutorials using the new Sizzix Scoring Board and Trimmer tool. Let me know in the comments below if there is anything specific you'd like to see me create. Until next time, happy crafting!
Adrienne

Shop the Supplies:


Scrapbook.com & Sizzix

I am an affiliate with Scrapbook.com and Sizzix. When you shop the links below, I receive a small commission from the affiliate, at no additional cost to you. This helps me balance the costs of the time and love I put into my projects and blog so I can continue to share my ideas with you for FREE. If you shop the links, thank you! I greatly appreciate it.


Below are products that I used or similar products.


Amazon

I am an affiliate with Amazon. When you shop the links below, I receive a small commission from the affiliate, at no additional cost to you. This helps me balance the costs of the time and love I put into my projects and blog so I can continue to share my ideas with you for FREE. If you shop the links, thank you! I greatly appreciate it.


Below are products that I used or similar products.


You May Also Like

0 comments

I'd love to hear your thoughts!