Lavender Heart Mixed Media with Reneabouquets, Prima Marketing and Tim Holtz
I don’t have very many people who I wold make a Valentine’s Day card for, but I do like to make some love or heart themed projects.
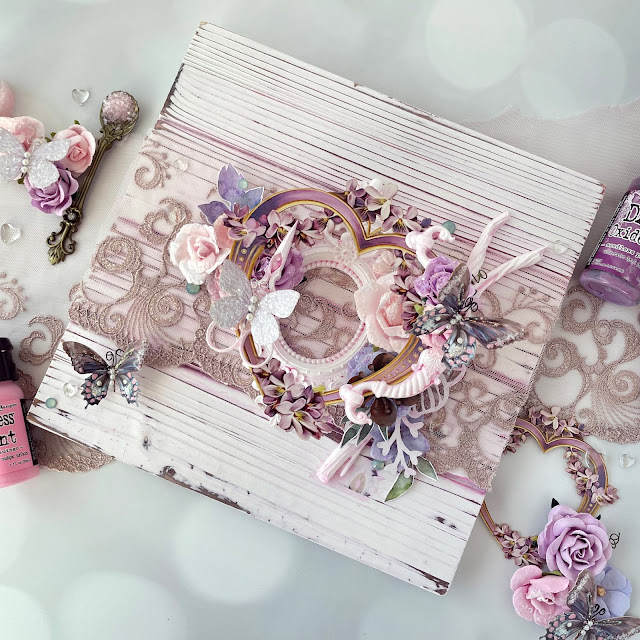
I’ve been waiting for this time of year to roll around so I could make a Valentine’s themed project with one of my printed chipboard heart frames from Reneabouquets. This project ended up not being strictly Valentine’s, but more of a love theme in general (which I think you should celebrate every day).
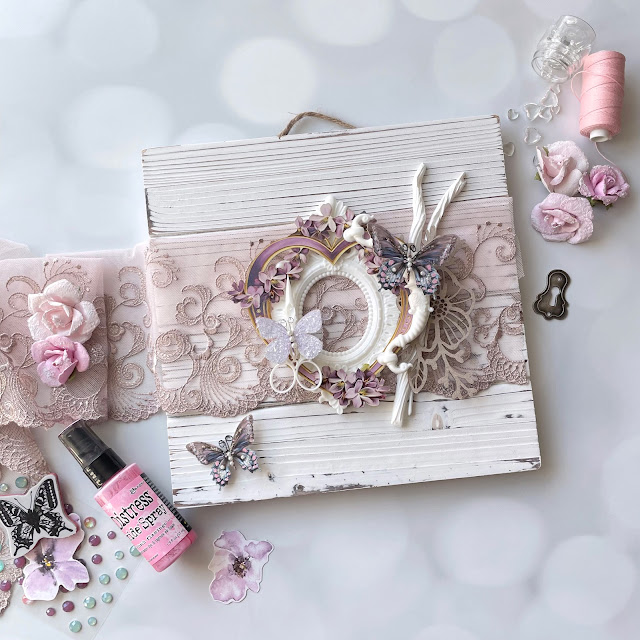
I picked out some supplies that I thought would go well with the lavender colored heart frame and did a rough layout of some of the elements I thought I might use on the whitewashed board I bought from Michael’s. Below is a photo of that process. When I start a mixed media project I always pull out a bunch of stuff that I think I might use. I don’t always use everything, but it’s nice to see it all out so I can choose what I want.
I wanted a little color on the board base, but just a hint of it. I sprayed the board with water and then sprayed it with Distress Oxide in kitsch flamingo and seedless preserves. I tilted the board around to get the colors to mix and run, being sure that it got into the areas between the board slats. I then mopped up the excess with a towel.
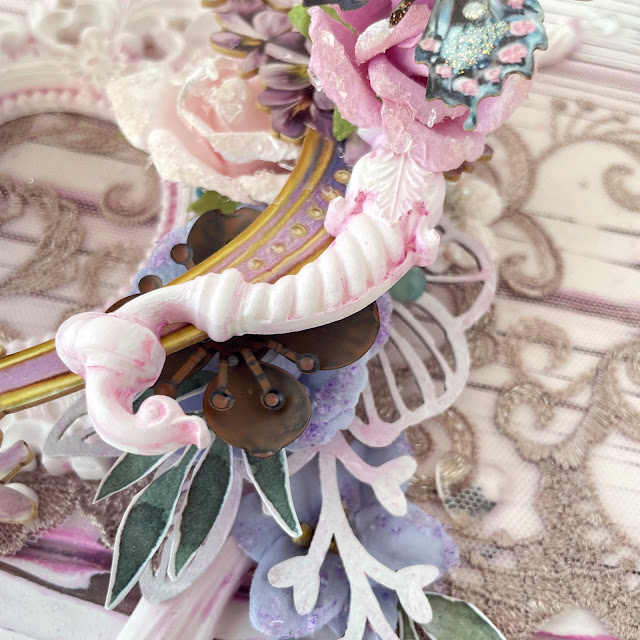
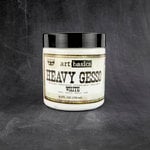
While the board was drying, I painted some resin casts with white gesso. I chose a baroque frame, scissors, a Venetian hardware pull and a twig. Gesso is to prep smooth surfaces for paint and other mediums. Resin is smooth and poreless so it definitely needs gesso if you want to add paint or ink. I also painted a piece of floral chipboard from Prima with the white gesso as well. I then set these aside to dry and went back to the base board.
I cut some purple-pink lace to fit the board, cutting off the excess tulle from the top edge. I placed it in the center of the board. You could use a soft gloss gel to glue the lace down, but I chose to leave it for now, knowing that gluing down the resin frame over the top of it would tack it into place on the board, at least in the center.
Once the resin pieces and the chipboard were dry, I used the same process to add color as I did with the board. I sprayed them with water and then the Distress Oxide Sprays in the same colors. I mopped up the excess and kept layering until I liked the look. Make sure you don’t spray your chipboard too much or it could begin to disintegrate.
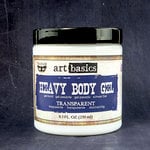
The dry time for the resin pieces after adding some color is no time flat so I set to work assembling my mixed media piece. I began by gluing the baroque frame to the center of the board using heavy body gel. I then added the twig to the right of the frame. I added some paper flowers from Prima’s Watercolor Floral collection with a bit of heavy body gel on top of the twig and frame and then glued down the chipboard on top of the flowers.
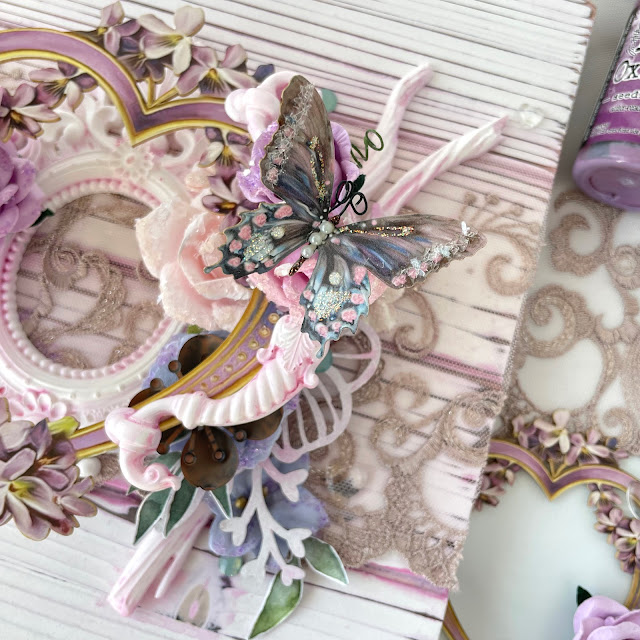
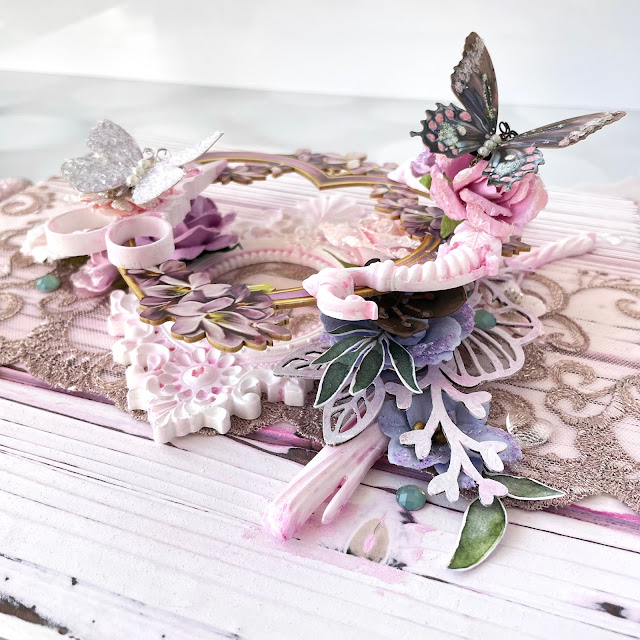
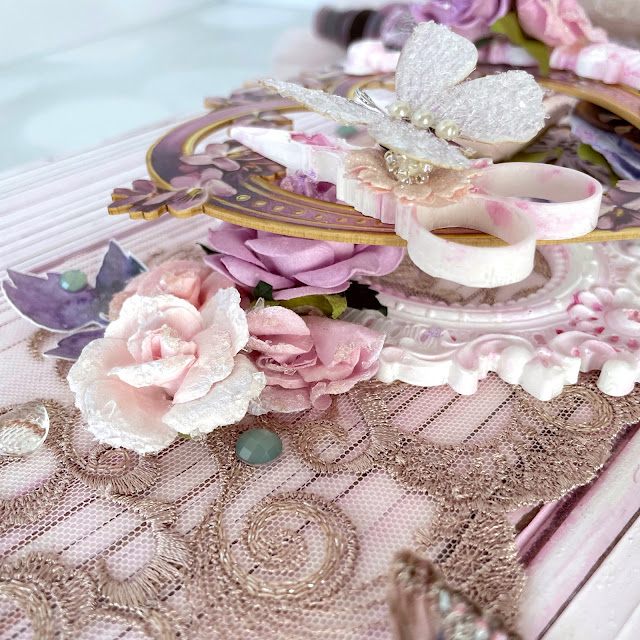
Next I added some thicker paper flowers on top of the chipboard. These are the flowers that really create the height on this project. I also a Finnabair metal succulent on top of the shorter flower and then a bigger flower from Reneabouquets to the other side of the frame.
These are the flowers that hold up the heart shaped frame, so I made sure to hold the frame up while placing the flowers to make sure they were in the right spots. I then used the same heavy body gel to glue the chipboard heart frame in place.
Once I got to this point, I noticed that the heart frame was level so I tucked some other flowers in on the lower layers to level it out. I also let it dry up a little bit here as well to make sure that when attaching the next layers, I wasn’t accidentally moving or sliding anything. It doesn’t take heavy body gel too long to set up enough. And my niece faced timed me at the perfect moment, so it gave me something to to while letting this dry a bit!
When I came back, I added the Venetian hardware pull and scissors resin pieces to the heart using heavy body gel. I then added a Prima flower to the scissors and one Prima and one Reneabouquets flower to the hardware pull. I let these set up before adding anything on top of them.
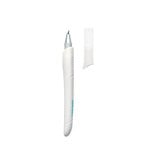
Next chose a few pieces of ephemera form Prima’s Watercolor Floral Line. Some of the pieces of a pretty large white halo around them so it trimmed off the excess with a pair of small scissors and a swivel craft knife. I added these to the mix using a little bit of Distress collage medium. I also tacked down the lace in strategic spots with a little bit of collage medium too.
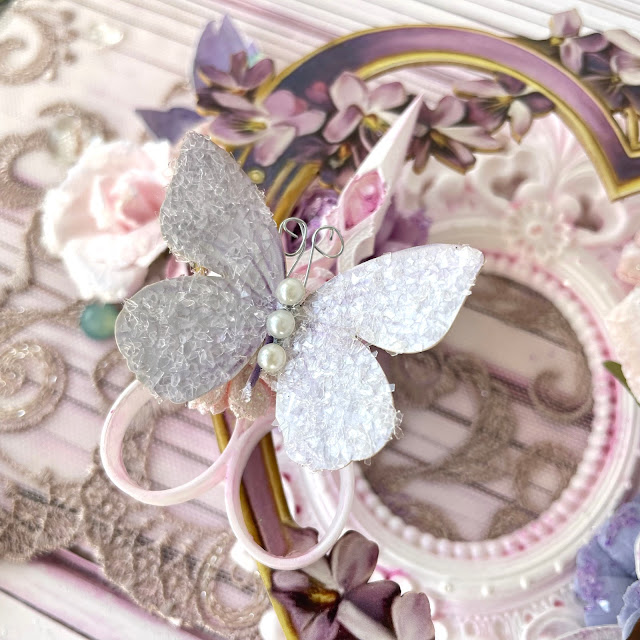
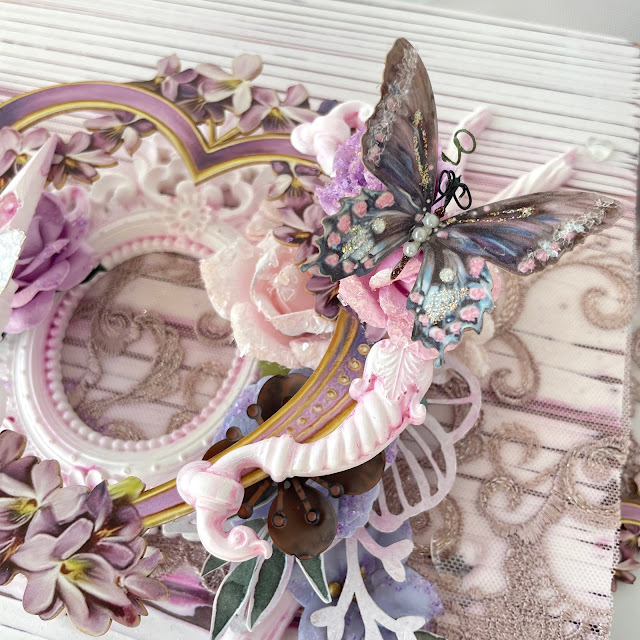
Now it’s time for the finishing touches! I added two Shabby Chic butterflies and one Tiny Treasures Sweet Pea Lavender butterfly from Reneabouquets to the project with a small dab of heavy body gel. I added a bit of purple and pink glitter glass to the flowers, sprinkling it over a bit of Glossy Accents. I added each color one at a time so that I could tap off the excess and put it back in the jar.
I added a few hearts of glass and some gems from Prima’s Watercolor Floral collection. And that’s it! I hope you love this little project as much as I do. I just love the soft purples and pink in the project and kitsch flamingo and seedless preserves were the perfect match to the heart frame! Until next time, happy crafting!
Adrienne
Shop the Supplies:
Reneabouquets
Printed Beautiful Board Lavender Lilac Heart Frames
Tiny Treasures Sweet Pea Lavender Butterflies
Beautiful Beads Hearts of Glass
Gawdie Girl Dark Purple Glitter Glass
Gawdie Girl Pale Pink Glitter Glass
Scrapbook.com
I am an affiliate with Scrapbook.com. When you shop the links below, I receive a small commission from the affiliate, at no additional cost to you. This helps me balance the costs of the time and love I put into my projects and blog so I can continue to share my ideas with you for FREE. If you shop the links, thank you! I greatly appreciate it.
Below are some of the products that I used.












2 comments
This is one gorgeous Canvas Adrienne!! I love everything about it! Thank you so much for your wonderful inspiration~ Renea
ReplyDeleteThank you, Renea!
DeleteI'd love to hear your thoughts!