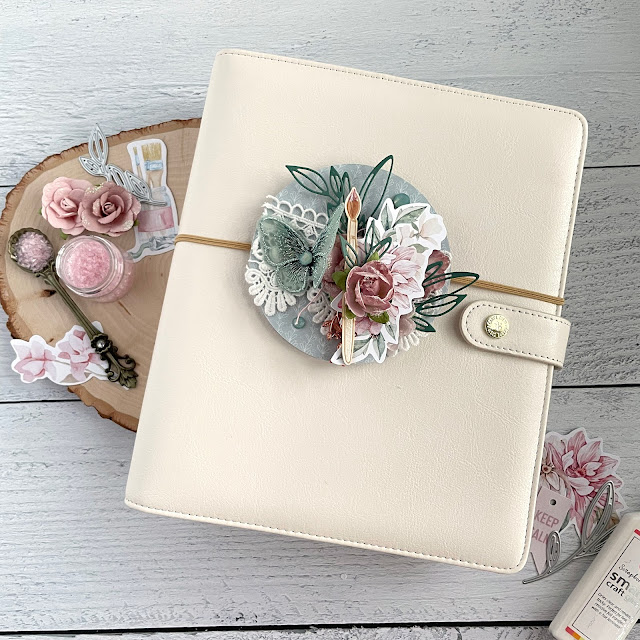
DIY Planner Embellishment with P13, Prima Marketing and Reneabouquets

by - 3:21:00 PM

I tried to jump on the paper planner bandwagon. I mean I really tried.

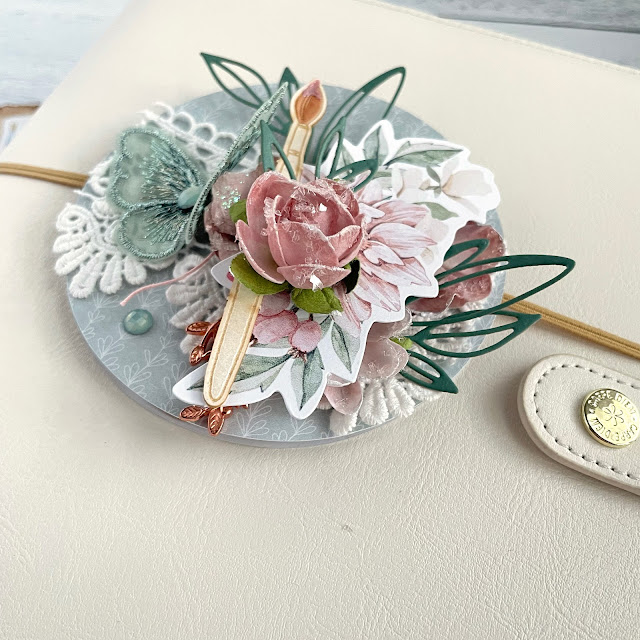
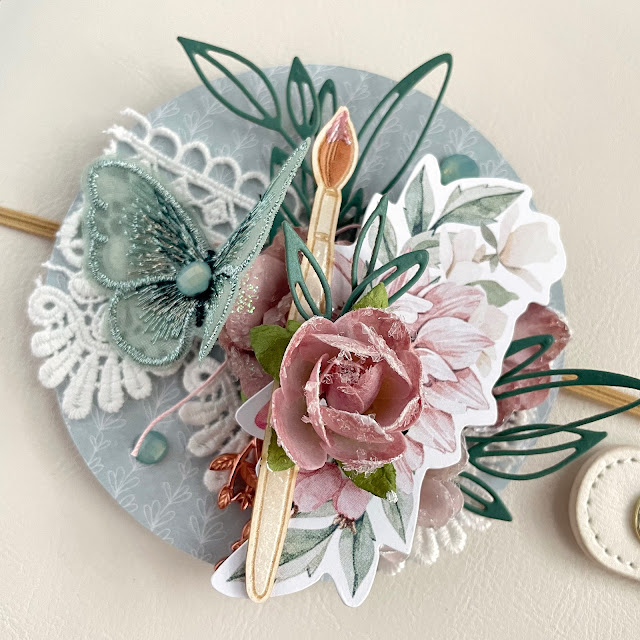
Mixed Media Planner Embellishment made with: P13 Let Your Creativity Bloom 6x6 paper, ephemera, light chipboard; Prima Marketing Sharon Ziv flowers, my sweet butterfly embellishment; Scrapbook.com smart glue, floral sprigs die cut; Tim Holtz kraftstock, distress ink; Reneabouqeuts lace, pale pink glitter glass

My life is pretty boring so using it to document daily memories seemed like a waste. It would have been photos of what I ate for lunch or a million photos of my dogs. So scheduling out my to-do list seemed like the next best thing. 

The problem is, I need to be flexible in my daily work schedule and what I do each day. That meant I was constantly crossing things out--and I hate having messy, scratchy bits all over my pretty planners. Like, I really hate it. The though of it being full of messy bits and potentially not being able to read it due to all the changes just makes me cringe.
 
Mixed Media Planner Embellishment made with: P13 Let Your Creativity Bloom 6x6 paper, ephemera, light chipboard; Prima Marketing Sharon Ziv flowers, my sweet butterfly embellishment; Scrapbook.com smart glue, floral sprigs die cut; Tim Holtz kraftstock, distress ink; Reneabouqeuts lace, pale pink glitter glass

So I tried that for a year and a half before coming to the conclusion that digital calendars are just better for me. And there is no shame in that.

Mixed Media Planner Embellishment made with: P13 Let Your Creativity Bloom 6x6 paper, ephemera, light chipboard; Prima Marketing Sharon Ziv flowers, my sweet butterfly embellishment; Scrapbook.com smart glue, floral sprigs die cut; Tim Holtz kraftstock, distress ink; Reneabouqeuts lace, pale pink glitter glass

So why the planner embellishment project? There is no way I'm letting my 3 gorgeous planners just collect dust on a shelf somewhere in my craft room. I decided that there are a lot of things that you can contain in a planner and there was one bookish thing I was currently in need of. A journal where I could sketch or write out ideas, write poetry and even story ideas. 

Mixed Media Planner Embellishment made with: P13 Let Your Creativity Bloom 6x6 paper, ephemera, light chipboard; Prima Marketing Sharon Ziv flowers, my sweet butterfly embellishment; Scrapbook.com smart glue, floral sprigs die cut; Tim Holtz kraftstock, distress ink; Reneabouqeuts lace, pale pink glitter glass

But my firm opinion is that the outside of your journal should help inspire you for what you create on the inside, especially if it is a journal of ideas! So I decided to make a planner embellishment--or I guess in this case, a journal embellishment. 

Tutorial: Mixed Media Planner Embellishment made with: P13 Let Your Creativity Bloom 6x6 paper, ephemera, light chipboard; Prima Marketing Sharon Ziv flowers, my sweet butterfly embellishment; Scrapbook.com smart glue, floral sprigs die cut; Tim Holtz kraftstock, distress ink; Reneabouqeuts lace, pale pink glitter glass

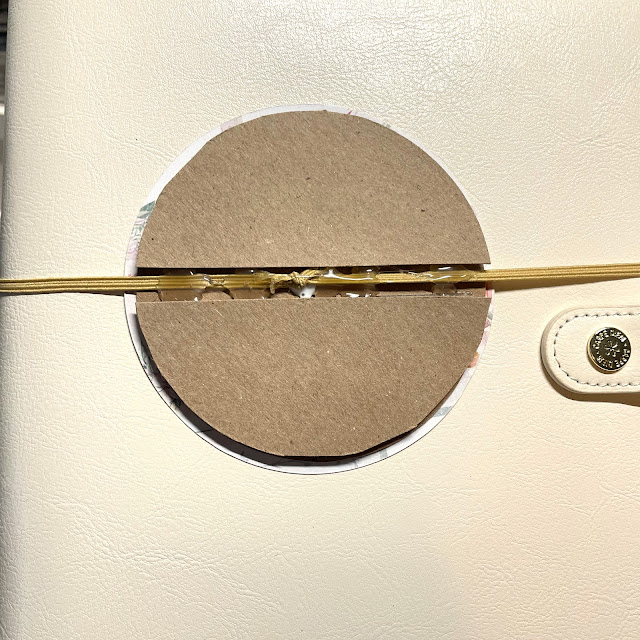
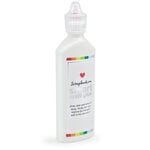
I decided to start with my ivory Carpe Diem planner. I didn't want the planner embellishment to be overly huge, so I decided to build the embellishment on a circle base of chipboard that measures 4 inches across. I actually cut two full chipboard circles at just slightly less than 4 inches. I then cut several more circles that I trimmed the center section out so that the elastic would fit inside. I tied the elastic into a loop, trimmed off the excess, stretched it around the planner, fit it inside my circle base and glued the elastic in with a combination of hot glue and smart glue (see the photo above for the inner workings). I then covered the top of the circle with some patterned paper from the P13's Let Your Creativity Bloom 6x6 pad and the back with some iridescent white cardstock.

Mixed Media Planner Embellishment made with: P13 Let Your Creativity Bloom 6x6 paper, ephemera, light chipboard; Prima Marketing Sharon Ziv flowers, my sweet butterfly embellishment; Scrapbook.com smart glue, floral sprigs die cut; Tim Holtz kraftstock, distress ink; Reneabouqeuts lace, pale pink glitter glass

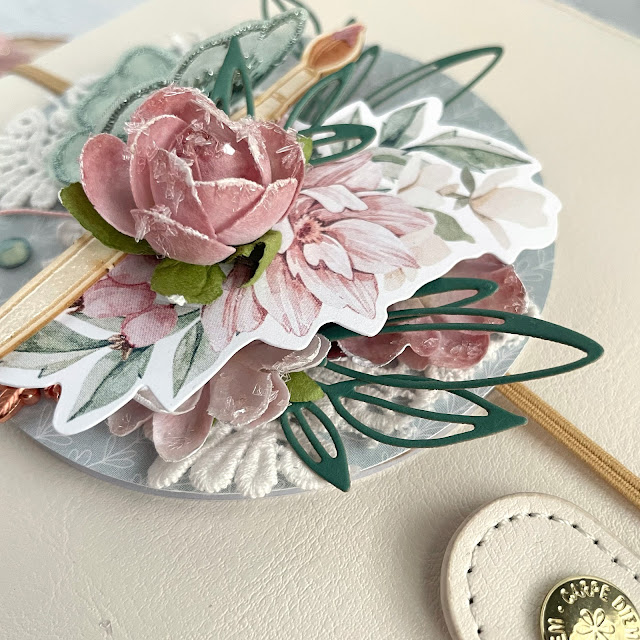
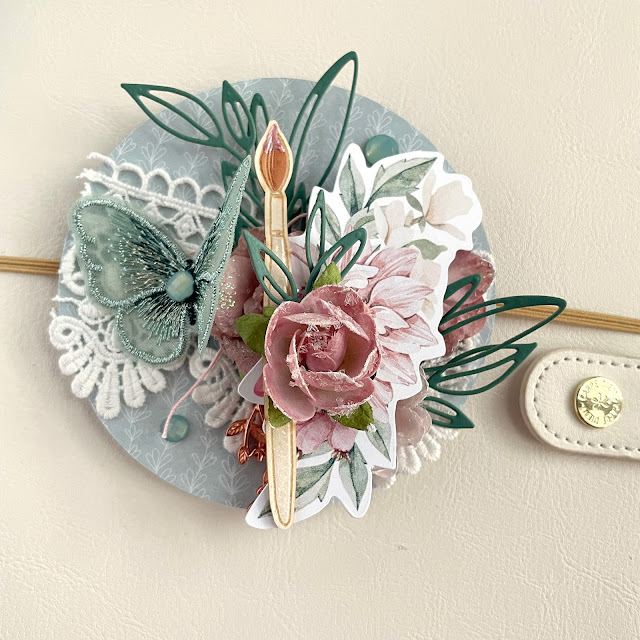
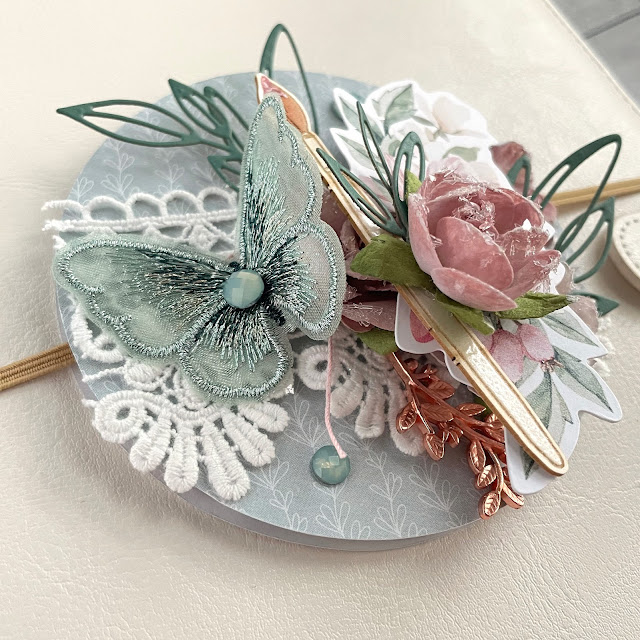
Next I used a few strategic dots of glue to adhere a bit of leftover lace from my Reneabouquets guest design last year. I then added a metal charm and a couple of small flowers from Prima's Sharon Ziv collection, then layered a piece of P13 ephemera over the top. I then added another Prima flower on top. 

Mixed Media Planner Embellishment made with: P13 Let Your Creativity Bloom 6x6 paper, ephemera, light chipboard; Prima Marketing Sharon Ziv flowers, my sweet butterfly embellishment; Scrapbook.com smart glue, floral sprigs die cut; Tim Holtz kraftstock, distress ink; Reneabouqeuts lace, pale pink glitter glass

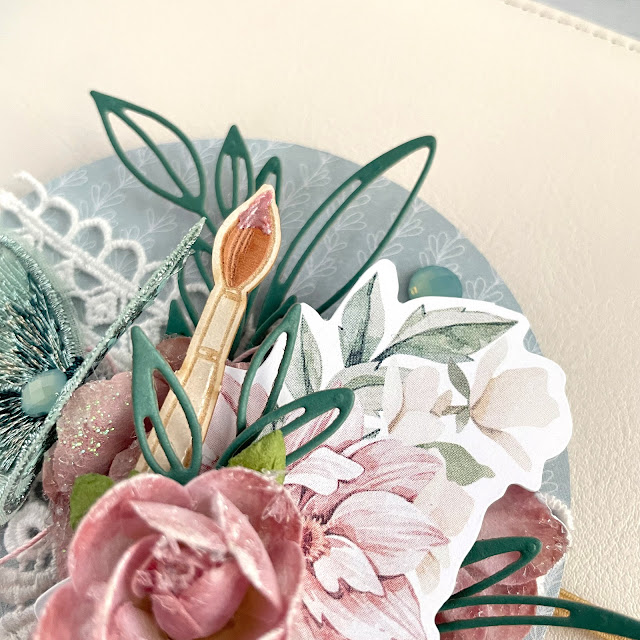
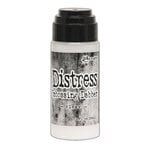
I then decorated a piece of P13 chipboard. I painted the bristles of the chipboard brush brown with Distress Ink Reinker in tea dye. I then embossed the handle with a pearlescent powder from Lindy's. To make it look like the paintbrush was being used, I added a little bit of Pops of Color in rose gold to the tip of the paintbrush. Once it was dry, I tucked It in next to the flower.

Mixed Media Planner Embellishment made with: P13 Let Your Creativity Bloom 6x6 paper, ephemera, light chipboard; Prima Marketing Sharon Ziv flowers, my sweet butterfly embellishment; Scrapbook.com smart glue, floral sprigs die cut; Tim Holtz kraftstock, distress ink; Reneabouqeuts lace, pale pink glitter glass

Next I die cut some floral sprigs from some matching green cardstock and tucked them in here and there. I added a butterfly and some gems. To finish it off and add a little more sparkle, I added glossy accents and pale pink glitter glass to the flowers. 

Mixed Media Planner Embellishment made with: P13 Let Your Creativity Bloom 6x6 paper, ephemera, light chipboard; Prima Marketing Sharon Ziv flowers, my sweet butterfly embellishment; Scrapbook.com smart glue, floral sprigs die cut; Tim Holtz kraftstock, distress ink; Reneabouqeuts lace, pale pink glitter glass

So cute and simple to make! Now I can't wait to make a fun first page in my journal to further inspire me! Until next time, happy crafting!
Adrienne

ReplicaSurfaces

Love the background I shot my photos on? It's from Replica Surfaces, a company that makes rigid photo-realistic backgrounds. This surface is called Shiplap. You can pick up your own with a 15% discount by shopping this link. When you do, I get a small commission from the sale at no extra cost to you, which helps me continue to provide you amazing tutorials and information, just like this blog post!


Reneabouquets

Sweet Daisy Lace in White

Gawdie Girl Pale Pink Glitter Glass


Scrapbook.com

I am an affiliate with Scrapbook.com. When you shop the links below, I receive a small commission from the affiliate, at no additional cost to you. This helps me balance the costs of the time and love I put into my projects and blog so I can continue to share my ideas with you for FREE. If you shop the links, thank you! I greatly appreciate it.


Below are products that I used or similar products.


You May Also Like

0 comments

I'd love to hear your thoughts!