Dead & Breakfast: Scrapbook.com Little Halloween Houses Hop - Tutorial (Part 1)
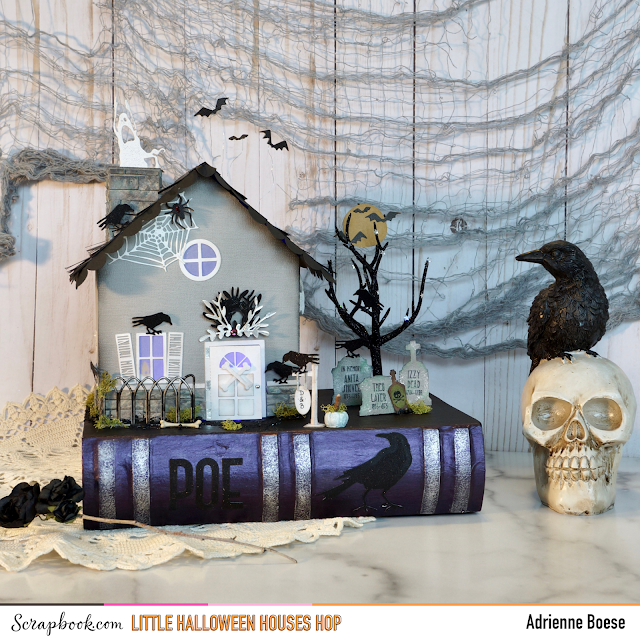
Welcome to The Raven Talon Dead & Breakfast, we are ready to serve you!
I am so excited to be a part of the Little Halloween Houses Hop hosted by Scrapbook.com! My house was created using their Little Houses Digital Cut File and I have absolutely adored creating this project! This cut file bundle is perfect for creating tiny little Halloween houses or even a Christmas village. And once all the files are cut, it's so easy to assemble that you can do it with your kids.
However, I'm a classic over-achiever, so I just can't help myself! I had a vision in mind and that was to create a whole little scene. I'll be breaking this whole project down into 2 separate tutorials. [Be sure to check out Part 2!]
So on today's blog post, I will be sharing how I assembled my spooky little dead and breakfast house, including some of my cut settings for the smallest cut files and how I added personality to this tiny house. The next blog post will be about creating the rest of the scene to go with the little house.
But before I get into that tutorial, let's start with the story behind why I decided to make this a dead and breakfast tiny house!
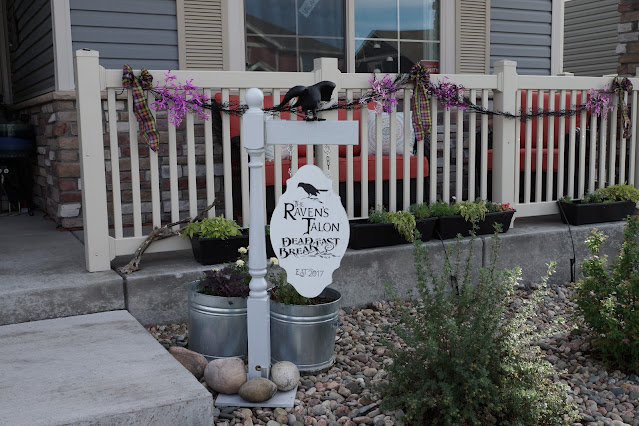
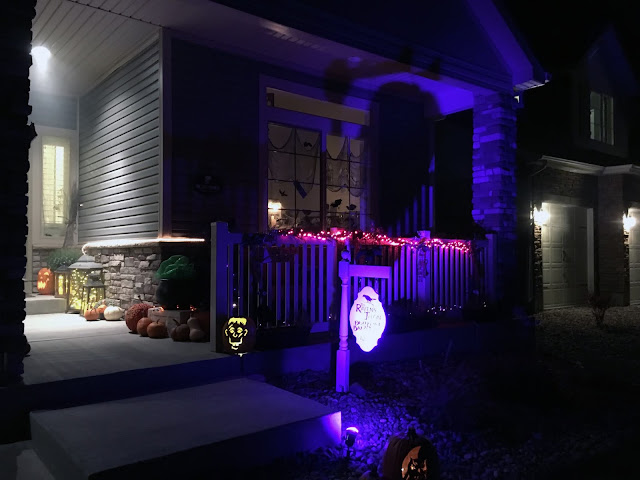
Back when I moved into my new home a few years ago, I decided that I wanted to make my own dead and breakfast sign. I had seen several versions on Pinterest in the past and was just waiting for the right time to make it. Moving into a new home sounded like a good excuse!
Now if you have been following my blog for a while, you know that I am obsessed with ravens and Edgar Allen Poe. I've made many Halloween projects that are Poe inspired and my whole house is covered in faux ravens during the spooky season.
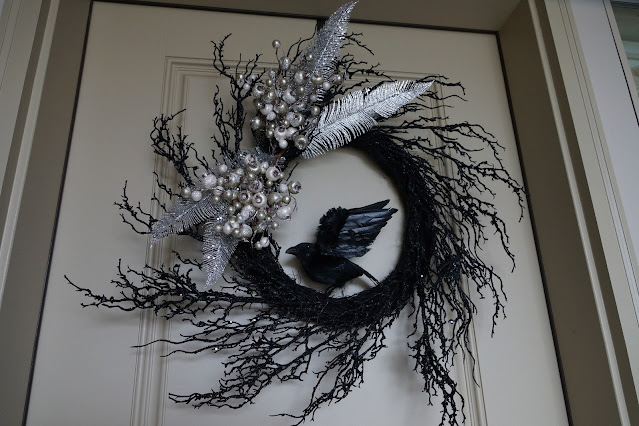
So when I made my sign, I decided to call it "The Raven Talon Dead & Breakfast" and attached a resin raven to the top of the sign. Each Halloween season I set out my sign and light it up with a purple spot light. I also have a wreath for my front door that I altered, adding silver boughs and a raven.
As soon as I was invited to be a part of this Hop, I knew I wanted to model this little house after my own home and add a dead and breakfast sign and wreath that looked like my own in real life and that is exactly what I set out to do!
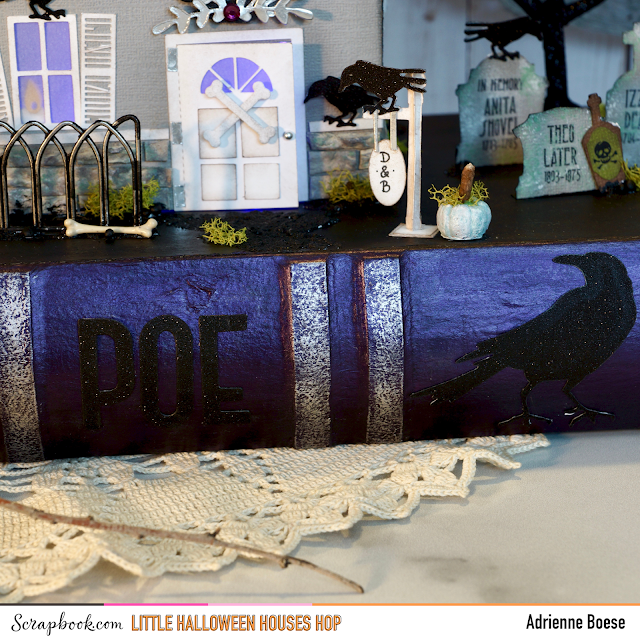
Because I wanted to create a whole little scene and a place to glue down my mini dead and breakfast sign, I wanted a way to glue this little house down onto a paper mâché book box that I had in my stash. To do this, I slightly altered the cut file to create little tabs along the bottom of the house that would allow me to glue the house to the top of the book box.
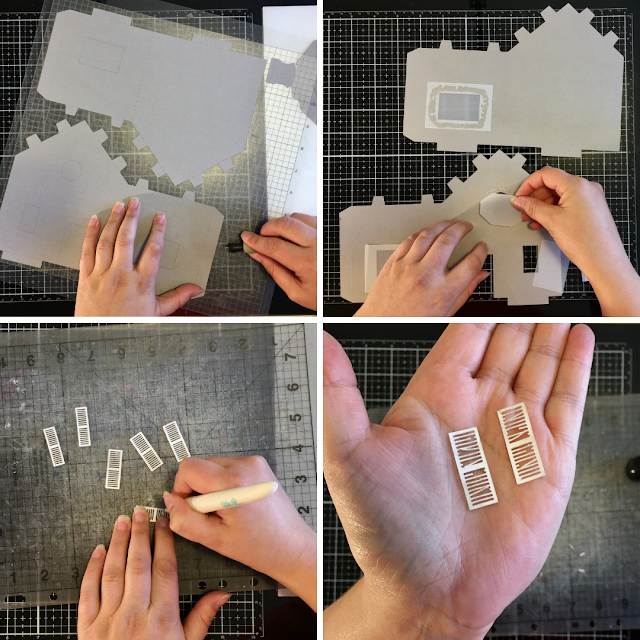
I cut out the main part of the house and the chimney using a light gray Doodlebug cardstock and then used smooth white for the trim and black for the roof. I used a fresh cutting mat because I knew some of these cuts would be tiny and detailed. Below are my cut settings that I used for my Silhouette Cameo:
- Detailed Cuts (shutters, mini dead and breakfast sign): blade = 4, speed = 1, force = 15, passes = 2
- Everything else (house, roof, chimney, windows): blade = 3, speed = 3, force = 30, passes = 1
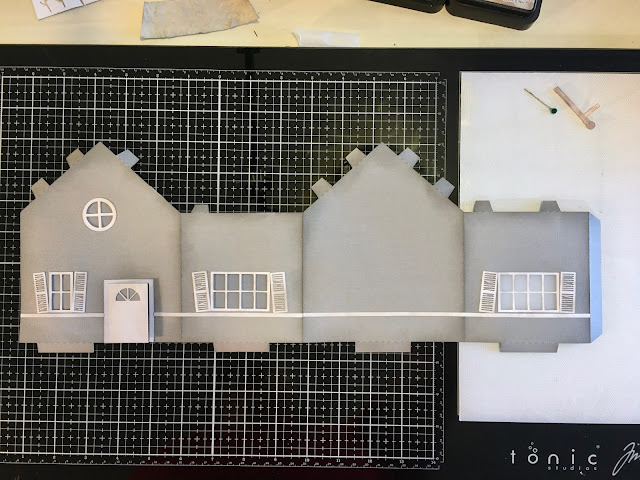
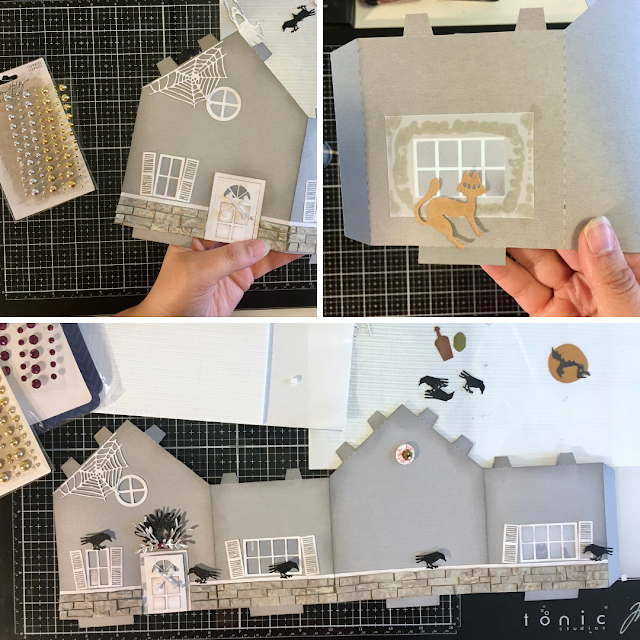
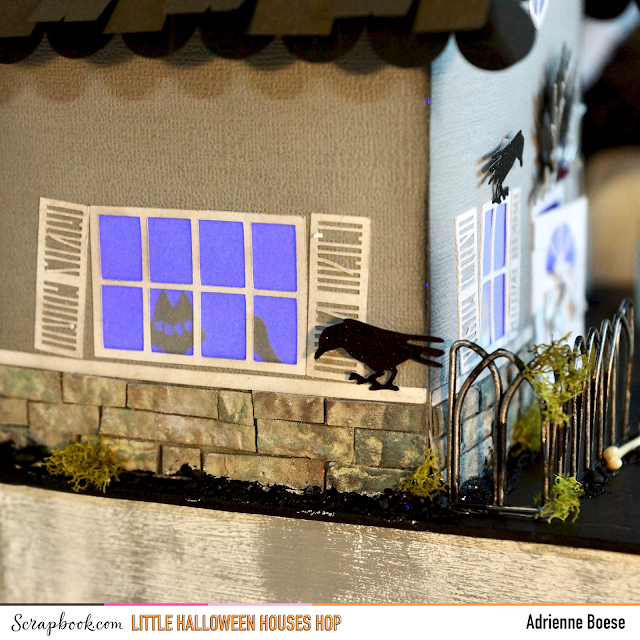
Using a pair of my Tim Holtz scissors, I cut out some vellum to fit over the windows then used Distress Collage Medium to glue the vellum to the inside of the house. Since this is supposed to be a haunted house, I needed to grunge all these pieces up. I started by using a combo of browns, grays and blacks of some of my Distress Inks on all the chimney, the main parts of the house and all the trim pieces. To make it look even more dilapidated, I decided to "break" some of my shutter slats. To do this, I used my WeR swivel craft knife to cut out chunks or to cut a slat on one side and then glue the cut side down to the slat above or below it using Distress Collage Medium.
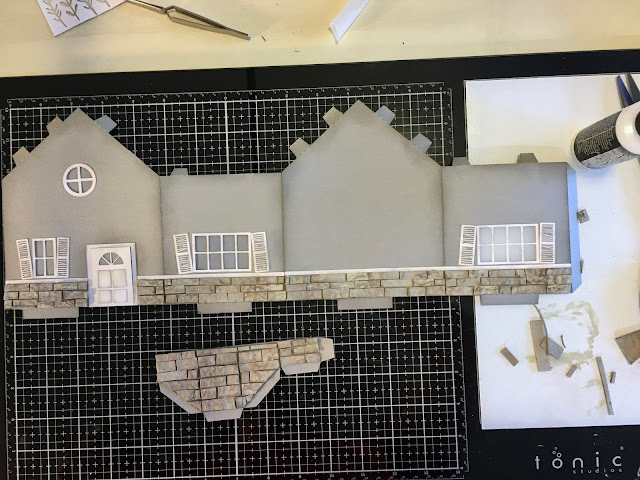
Once I was done "grunging" up all the trim, I glued together the two main pieces of the little house with Distress Collage Medium and then glued down all the trim with Zig Two-Way Glue. I cut out two thin strips of white paper that would serve as the transition between the faux stone I wanted to add to the bottom and the rest of the house (I think of the upper part as stucco--which is what my house now is, thanks to a huge hailstorm with baseball sized hail stones).
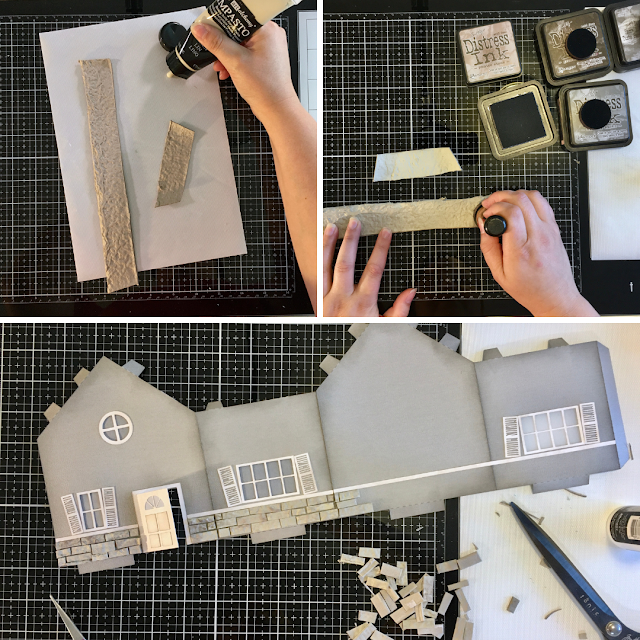
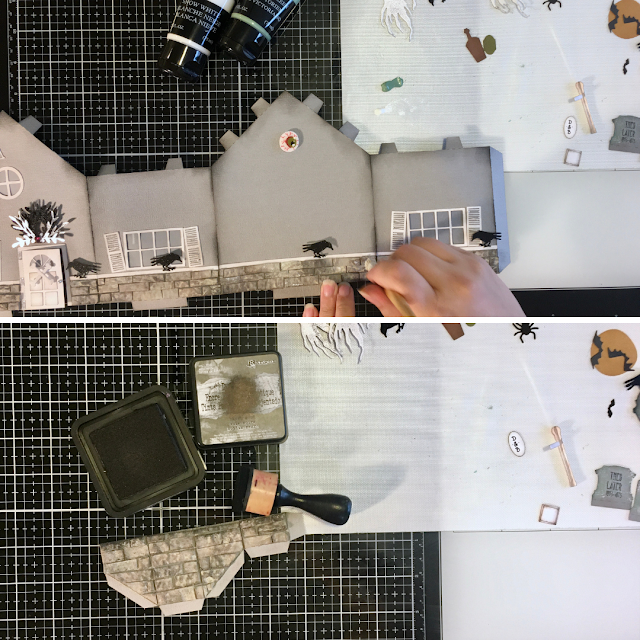
To create the faux stone, I cut out some strips from a cardboard egg carton. The inside of the carton has a bumpier texture, perfect for creating a stone effect. I painted the two strips with Finnabiar's Impasto Paint in linen and after it dried, I grunged it up with the same Distress Inks I used earlier.
Then all you have to do is cut the strips down into little bricks or stones. No need to get out a ruler here--the more imperfect, the more natural or run-down your stone or brick will look. I glued on all the individual stones using Distress Collage Medium--it takes a little bit of time, but trust me, it is well worth the effort!
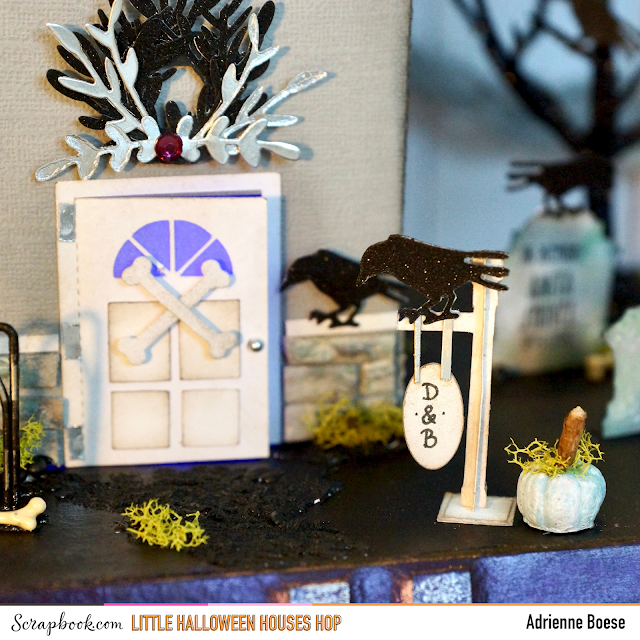
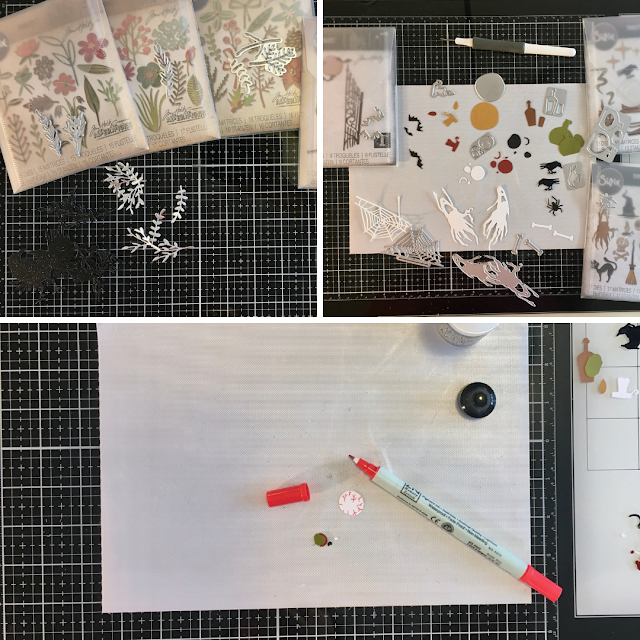
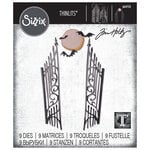
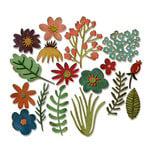
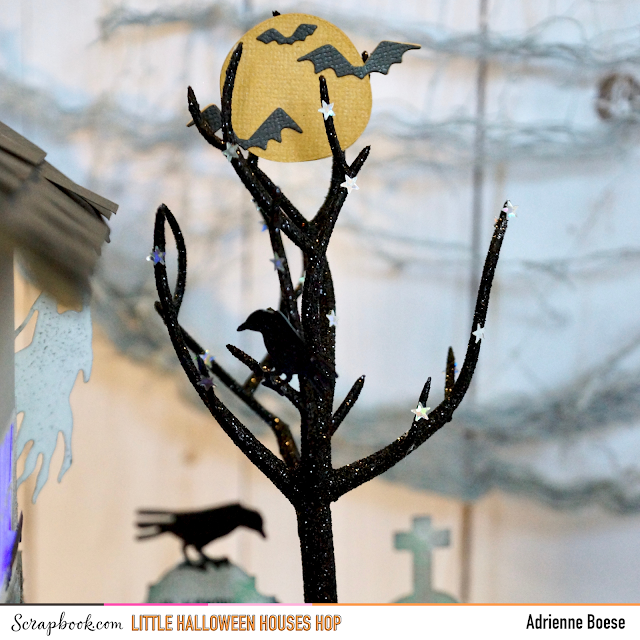
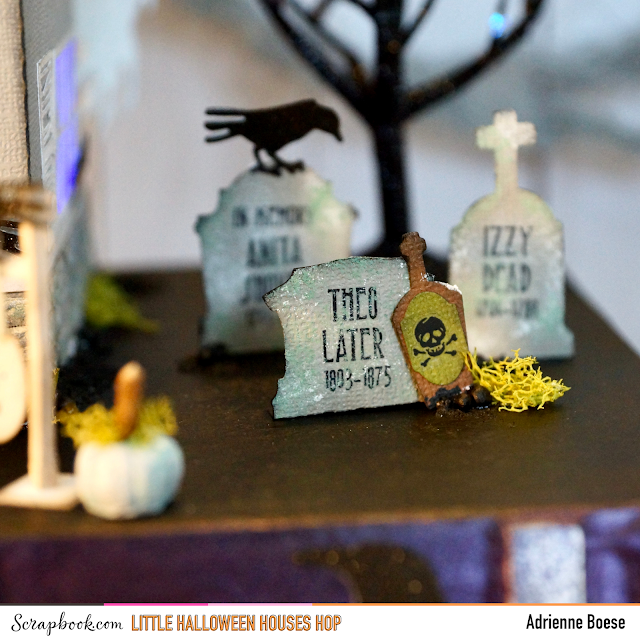
I cut out the wreath shape from the little houses bundle on black paper so that I could use it as a base to alter. I used a bunch of Tim Holtz's Funky Floral die sets to cut out branches from black glitter paper and his metallic silver kraft cardstock. I also cut out a bunch of other Tim Holtz dies to add to the scene, including bats, a moon, a bottle, a creepy little eye, ghosts, spiders and webs and of course a ton of tiny ravens!
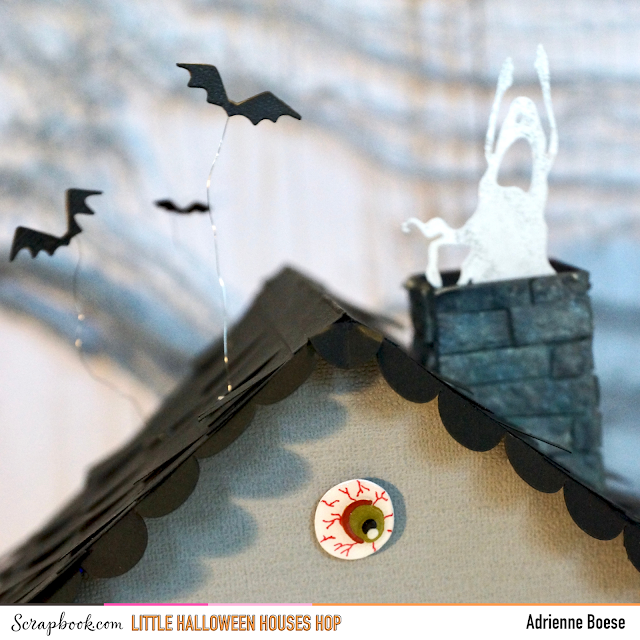
I wanted the creepy little eye die cut to be a bit bloodshot so I used a thin red Zig marker to create the lines. I then glued all the tiny pieces together with Distress Collage Medium and then covered the whole thing in Ranger's Glossy Accents. I also used Distress Ink on the other cuts and then assembled a candle and added a label from one apothecary bottle onto another.
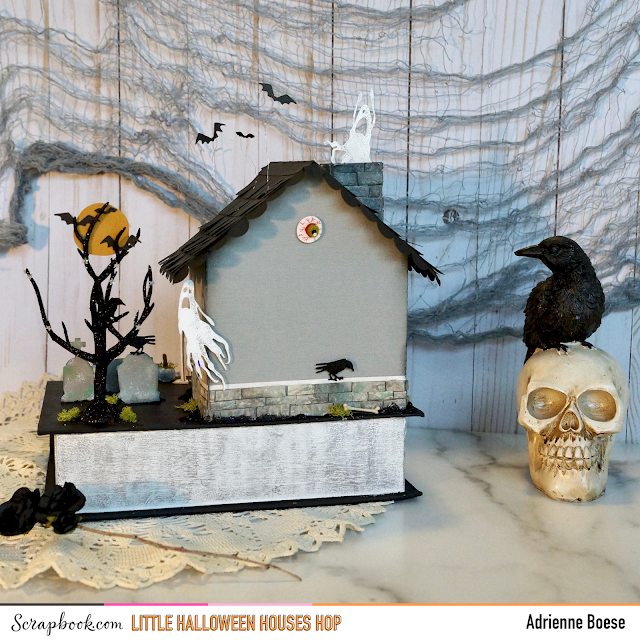
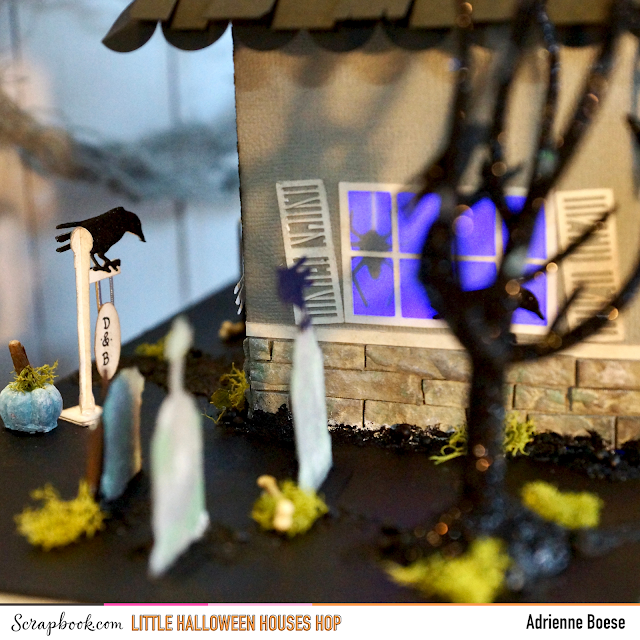
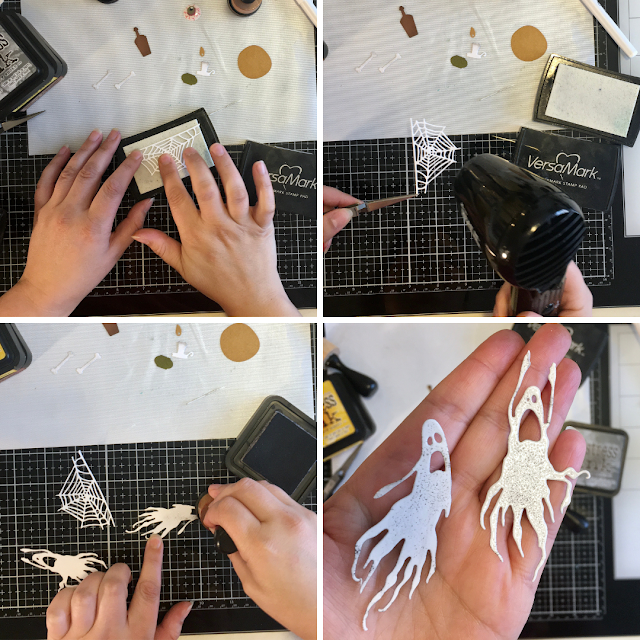
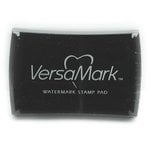
To create a fun effect on the spider web and ghosts, I pressed the die cuts into a clear watermark stamp pad, added clear embossing powder and then did a quick heat pass on the die cuts. Using Distress Ink in hickory smoke and a foam dauber, I pressed the ink into the dimples created by the embossing ink, wiping away the excess with a paper towel. I did this to both sides of the ghosts since this is a double-sided project.
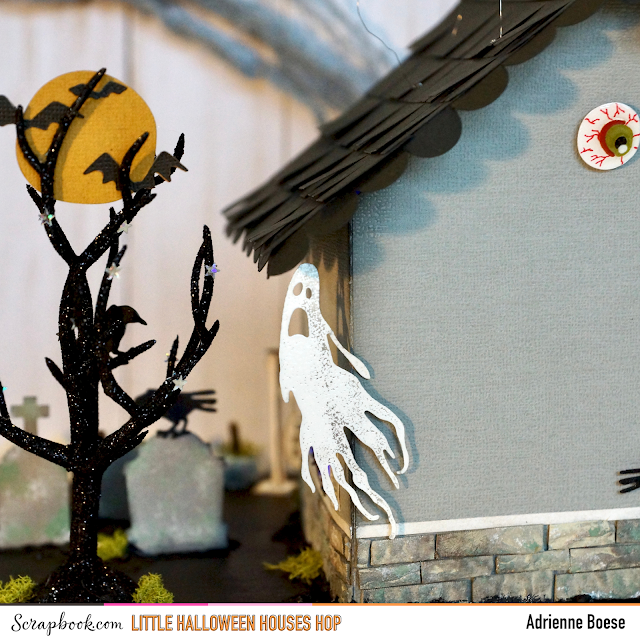
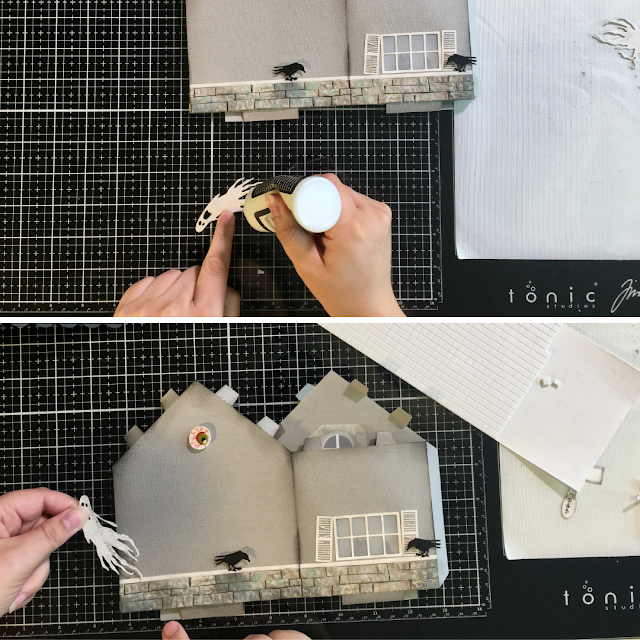
The next step was adding on the small die cut elements to the front of the house and into the windows. I used a combination of Distress Collage Medium and Scrapbook.com's double-sided adhesive foam squares to add on these elements. I made sure to add a lot of the tiny ravens onto the house and then placed my altered wreath above the door. I also added tiny hinges to the door with some metallic kraft cardstock and a doorknob with a small metallic droplet.
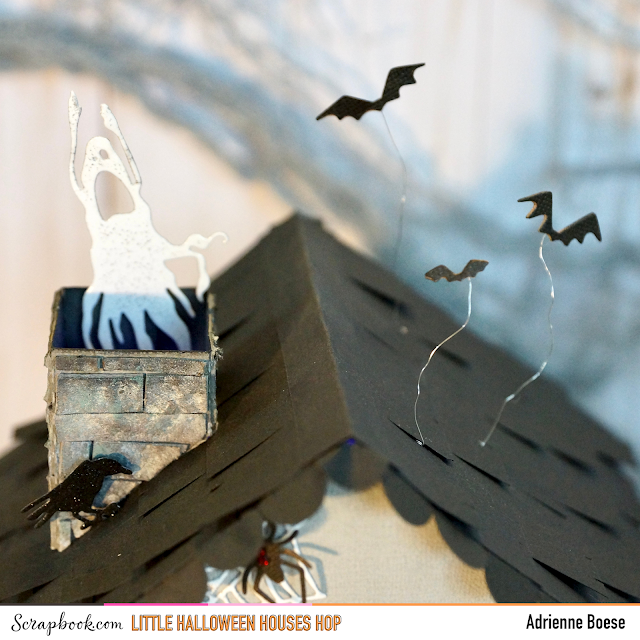
I decided that my stone needed a bit of moldiness so I used Finnabair's Impasto paints in snow white and victorian green to add a bit of moss and mold. I did the same to the chimney then also added quite a bit of Distress Ink in black soot to the top of the chimney to create a sooty effect.
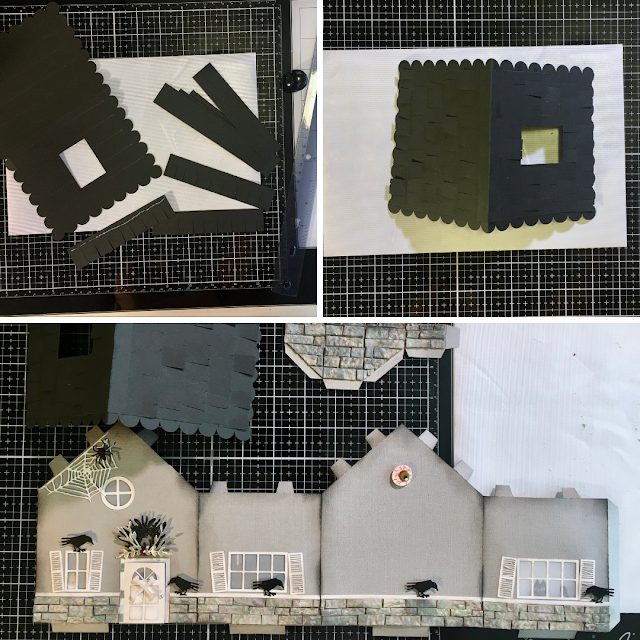
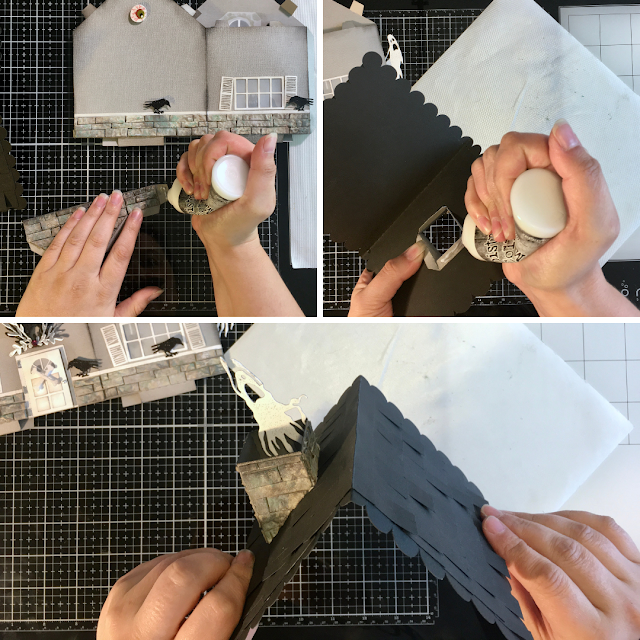
I wanted to add shingles to my roof so I cut out 1 inch wide strips of paper and cut shingles into them by cutting slits three-quarters of the way up. I marked off every 3/4 inches on the roof so that my 1 inch wide strips would overlap 1/4 of an inch. Using my swivel knife, I cut out the excess over the hole for the chimney. Then I gave some of my shingles a "fluff" to make it look more realistic.
To add on the embossed ghosts, but to give them a bit of lift off the house, I used Distress Collage Medium to adhere some foam squares to the embossed ghosts. Once this was dry, I peeled off the backing on the foam squares and pressed them to the house and the chimney.
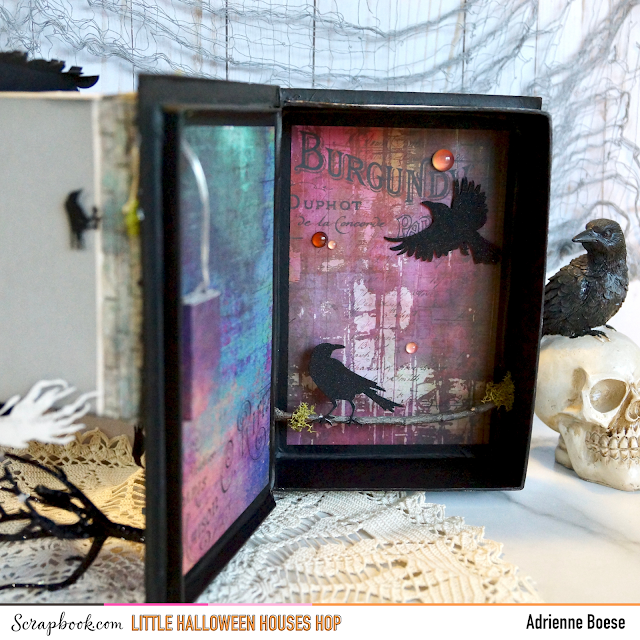
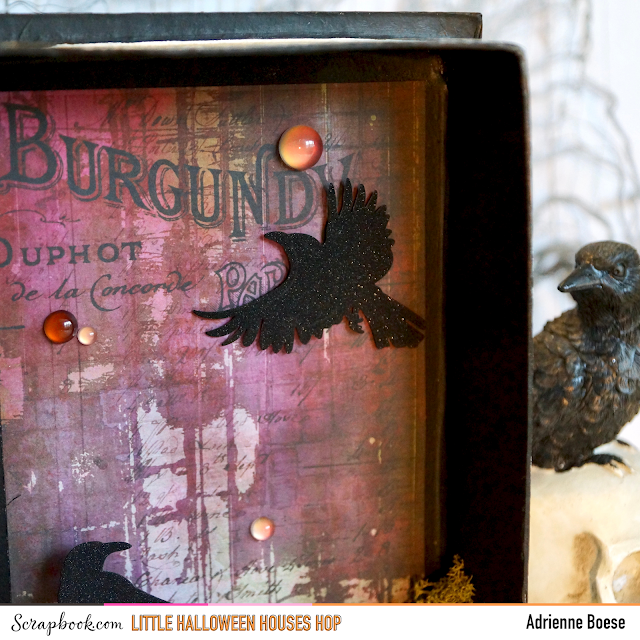
Now it is finally time to add the chimney to the roof! I used Distress Collage Medium (I love this stuff, I'm sure you can tell) to glue the tab on the chimney to create the square and then glued the bottom tabs to the inside of the roof. I'm purposely leaving the roof off the main part of the house until I glue it down on the book box and you'll see why in the second tutorial tomorrow.
And that is how I assembled all the parts on my tiny dead and breakfast house! Tomorrow I look forward to sharing how I created all the other little parts of the scene, including the mini dead and breakfast sign and how I glued my house down onto the book box.
Make sure that you check out Scrapbook.com's Instagram profile for the full details on the Hop so that you don't miss out on any of the other great projects and for a chance to win a $25 gift certificate! I want to give a huge shoutout to them for hosting this fun hop and to all the other crafters who participated!
Happy Crafting!
Adrienne
Adrienne
I am an affiliate with Scrapbook.com. When you shop the links below, I receive a small commission from the affiliate, at no additional cost to you. This helps me balance the costs of the time and love I put into my projects and blog so I can continue to share my ideas with you for FREE. If you shop the links, thank you! I greatly appreciate it.
Below are products that I used or similar products.























0 comments
I'd love to hear your thoughts!