
DIY Festive Christmas Gift Wrapping Ideas
Make it merry and bright this holiday season with custom gift wrap and tags made using Prima products.

Happy holidays, crafty friend! This is obviously a Christmas themed idea, but I just love this idea because you can switch up the theme to make custom gift wrap for any season or occasion! All you need are some stamps, inks, rub on transfers, tags and wax seal moulds along with other little bits and bobs.

I've listed all of the supplies below, so let's just jump right into this tutorial. I've stamped on a cotton drawstring bag, but this will work on kraft or white wrapping paper that doesn't have a film on it. Stamping on paper is easy, so let's discuss stamping on fabric.

You want to make sure that the ink you use is permanent dye, and not water soluble. I used some Catherine Pooler inks but Distress Archival would also work. We don't want the ink to seep through to the other side of our bag, so cut a piece of cardstock to fit inside the bag. This will protect the back side of the bag.

Choose the stamp you want to use. If it's brand new, make sure to rub your finger over it or rub it with an archival ink to get the product oils off. This will keep ink from beading up on the stamp surface. Place your drawstring bag with the cardstock inserted into your stamping platform. I used the Sizzix Stencil and Stamp tool with Sticky Grid--just make sure your stamping tool has a grippy surface that will hold on to the fabric. You can also secure it in place with some low tack tape.

Then place your stamp onto your bag where you want to stamp and bring the lid of your stamp tool down to pick it up. Apply your chosen ink to your stamp and then bring the lid of the tool down and press evenly to stamp your image. You may need to stamp several times to get a good impression and deeper color of ink. With a stamping platform, you won't have to worry about lining up your stamp again as long as you don't remove your bag or your stamp during the process. Repeat this process for different stamp and ink colors.

If you want to add some trim to the bottom of your bag, you can sew or hot glue it on. I sewed on the lace trim then used hot glue to attach the pom pom trim.
To make the tags, apply some rub on transfers to the Redesign Chipboard Tags. I used the From the North Pole transfers. Give your tags a little splatter with paint and glitter brush markers for an extra mixed media or snowy effect and set these aside to dry.

Cast some wax seal moulds--I used the From the North Pole mould and Redesigns Casting Mix. If you use resin, be sure to prime your mould cast first. Then paint the mould cast with some watercolors to match your transfers. I chose classic Christmas red and green hues. Once the watercolor is dry, bring out the texture of the moulds by applying one of Finnabair's waxes with your finger. I used Aged Brass. Add a bit of velvet trim to the back of your mould cast then glue it to the tag, all with hot glue.

Use the string to attach your tags to your gift. Add the included jingle bells and some mini ornaments if it's a Christmas present! I wrapped this string around the drawstring bag and tied it in a little bow. I also created another tag and added it to an ornament filled with hot cocoa mix and marshmallows, which you can use as a gift decoration or a stocking stuffer. I also glued a little red flower to the cocoa ornament for a little extra holiday oomph.
I hope you enjoyed this quick and easy gift wrap idea and that you give it a try. Until next time, happy crafting!
Adrienne
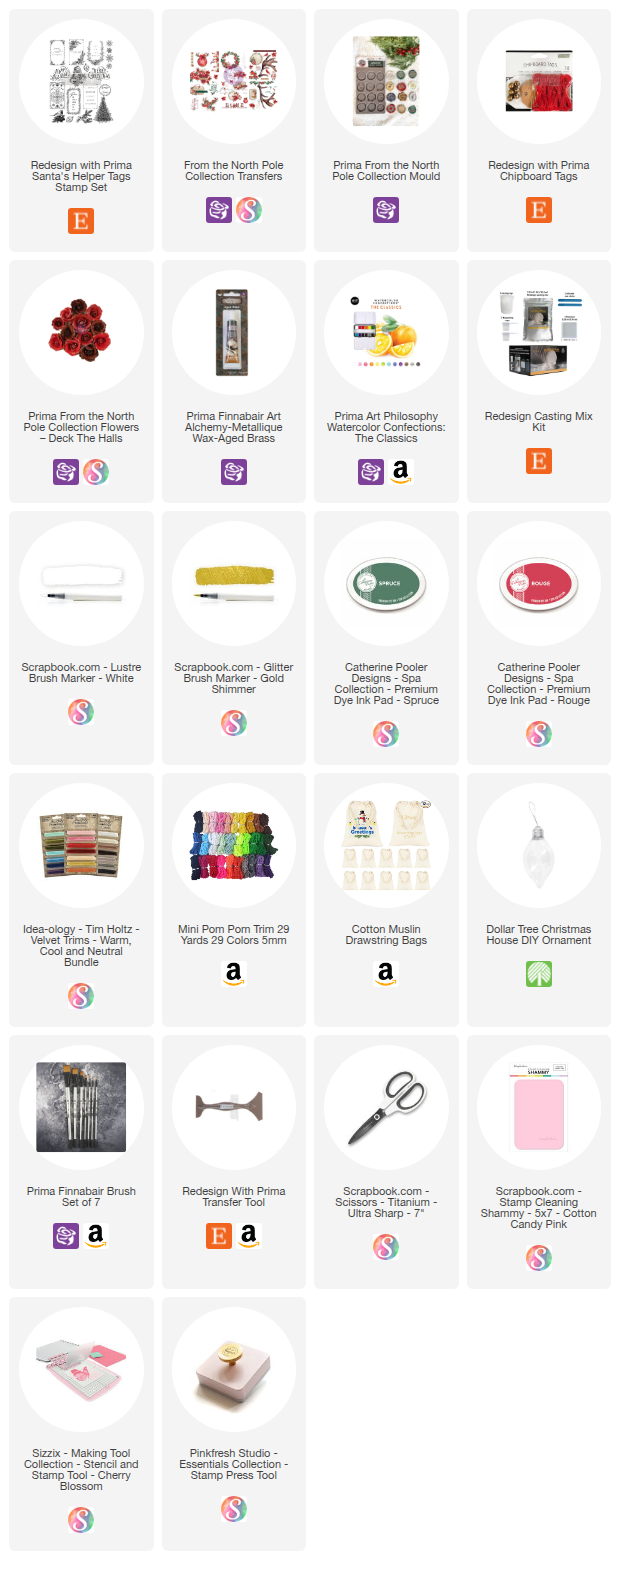
Shop the Supplies:
Scrapbook.com, A Cherry On Top, Sizzix, Prima Marketing, Spellbinders, Etsy & Amazon
I am an affiliate with multiple companies. When you shop the links below, I receive a small commission from the affiliate, at no additional cost to you. This helps me balance the costs of the time and love I put into my projects and blog so I can continue to share my ideas with you for FREE. If you shop the links, thank you! I greatly appreciate it.
Below are products that I used for this project.


0 comments
I'd love to hear your thoughts!