
Quick and Easy Layered Christmas Card Tutorial
This layered Christmas card will "wow" without all the work. Layers of paper, vellum and ephemera make this card quick and easy to put together.

Hi, crafty friend! I've got another fun project for you using the Prima Marketing Christmas Cheer Box kit! This time, it's a quick and easy layered Christmas card tutorial.

I've got all of the supplies you'll need to recreate this card, listed below for you! Now, let's get into the tutorial.

Start by trimming a card front to the size of a slimline card (8 1/2 x 3 1/2 inches). I used a patterned paper with pink dots on it from the Christmas Market 12x12 patterned paper pad in the box kit. Then trim the Christmas Market Speciality Vellum sheet to 8 1/4 x 3 1/4 inches.
Pro Tip: For this card, you'll be adding a lot of layers, so stick to 1mm and 2mm thick foam adhesive to keep your card from becoming too thick, especially if you want to add it to a premade envelope.

Trim some additional cardstock pieces to various sizes--you just want these to be 3 inches wide or less, but length doesn't matter. I used the 8x8 and 6x6 pads for this. Tear the short ends of some of these strips to create texture and so that they fit lengthwise on your card.

Use foam adhesive to layer the torn strips over one another, sticking them to the vellum sheet. Then add some foam adhesive to the back of the vellum sheet (making sure it's under the other strips to hide the adhesive) and stick it to the card front base. Then tear a little bit of the vellum off along the top.

Add the bingo tag from the Christmas Market Tag Pad and a pink tag from the Christmas Market Ephemera pack to the center of your cluster, using more foam adhesive. Pop the Santa on the phone chipboard sticker over the center of the pink ATC card with more foam adhesive. Add the Magical Christmas sentiment from the ephemera to the bottom of the card and layer on the gold 25 ephemera with foam adhesive.

Tuck some of the Santa Sweet Christmas Market flowers amongst the layers of paper and ephemera then tuck in some additional chipboard stickers and puffy stickers. Give the card a snowy effect by tapping a white brush marker and a clear glitter brush marker over your card to add splatters of paint and glitter. Then pop on a few of the Christmas Market Say It In Crystals.
And now you have a beautifully layered card to gift this Christmas! Until next time, happy crafting!
Adrienne
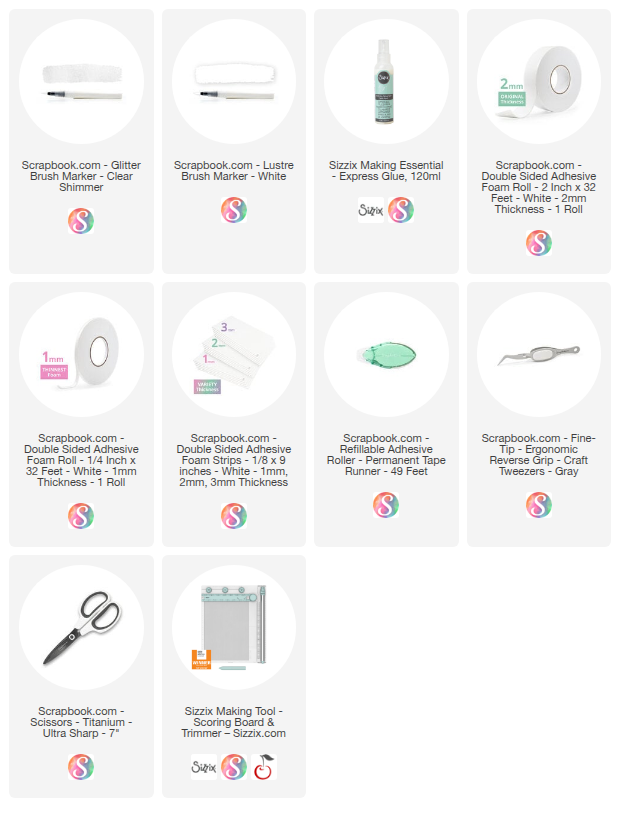
Shop the Supplies:
Scrapbook.com, A Cherry On Top, Sizzix, Prima Marketing, Spellbinders, Etsy & Amazon
I am an affiliate with multiple companies. When you shop the links below, I receive a small commission from the affiliate, at no additional cost to you. This helps me balance the costs of the time and love I put into my projects and blog so I can continue to share my ideas with you for FREE. If you shop the links, thank you! I greatly appreciate it.
Below are products that I used for this project.


0 comments
I'd love to hear your thoughts!