
DIY Sugar Plum Fairy Wands for Christmas!
Make Christmas magical with these DIY sugar plum fairy wands!

Hi, crafty friend! Prima Marketing just released their Christmas Cheer Box kit and it's full of amazing goodies you don't want to miss out on! And you get all the Prima supplies you need to make these adorable sugar plum fairy wands that will make this Christmas season magical!

The box kit is limited edition and when supplies are gone, they are gone. So if you love Christmas and Prima, I wouldn't wait to snag this box. The only other supplies you'll need to make these wands besides the Christmas Cheer Box kit, are some wooden dowels, a snowflake die, plus some string and additional ribbon or trims. All of the supplies I used for this project are listed below for you!
Now, lets' get into this tutorial!
To make 1 wand, cut 2 strips of patterned paper to 12 inches long by 2 1/2 inches wide. I used the Peppermint Sparkle 12x12 Paper Pad for this. Then cut the Peppermint Sparkle Vellum sheet into 2 strips that are 12 inches long by 1 inch wide.Score all 4 of your strips at every half inch and fold them accordion style.

Die cut or punch out 2 small circles from matching patterned cardstock. I used small circles as you won't see these in the end, and they were about 1 1/2 inches wide. I also die cut 1 circle that was about 2 inches wide for the back, that will help hide the top end of the wooden dowel.

While you are die cutting, cut some large snowflakes (about 2 to 3 1/2 inches across) from some sparkly cardstock. I used the pink to white gradient holographic Sizzix Opulent Mystical cardstock and the Scrapbook.com Snowflakes Decorative Die Set.
Next, use a self healing craft mat and craft knife, or a small pair of scissors, to fussy cut out a little banner from one of the patterned papers in the same paper pad. Cut one for each wand you make. I used the banners that say "let it snow," "sweet christmas," and "christmas cheer" for my 3 wands that I made.

Now let's turn our folded paper into a rosette! Heat up your hot glue gun. Then use liquid glue to attach one end of your folded patterned paper strip to the other. I overlap one set of V shaped folds for more stability. Add the vellum over the top, lining up the folds and glue the ends down plus in a few spots in the center. Then glue the other end of the long strip together to create a loop of accordion folded paper.

Pro Tip: You might want to grab a jar of something heavy to have on hand now! I used a jar of Redesign Decoupage Gel because my jars are pretty full, but Finnabair Gesso is also the perfect size for what you need.
Press your looped strip down in the center to create your rosette and bring the center together. This part is a little tricky as it's a "high tension" project, so just be patient and work slowly if you need to. Add hot glue to the very center of your medallion then add a little bit to either the back of one of your smaller circles, or to the top of the medallion around the center. Press your circle onto the rosette. Place a jar of something heavy on top as an "extra set of hands" to hold everything in place while the hot glue cools.

Once one small circle is glued on, glue on your other circle to the opposite side. Add a bit of foam adhesive to the center of your die cut snowflake and stick it down on top of the circle on the front side of your wand.
Add a Peppermint Sparkle flower to the center of the snowflake using hot glue, then glue a peppermint Chipboard Sticker from the Peppermint Sparkle collection to the center of the flower with more hot glue. Put a tiny bit of foam adhesive on the back center of your banner and stick it below your flower.

Trim 2 pieces of the tinsel from the Peppermint Sparkle Trims to about 15 inches long. Trim some additional ribbon and trims to the same length--I cut 4 ivory ribbon that is 1/8 inches wide and 2 spangle (sequin ribbon) trims.
Place a small line of hot glue at one end of your wooden dowel and stick your tinsel trim to it. Working on the same end of the dowel, add another line of hot glue to the opposite of the line you just made and stick your other tinsel trim in it. You should have both trims glued to the same end of the dowel, so that the trims lay on either side of the dowel. Do the same with the other trims, glueing them on one end of the dowel so they lay on either side of the dowel.

Using a plain ribbon (I used the white ribbon), glue it to the top of the dowel and wrap it around the top to create a more finished look and cover up any hot glue squish out. Trim off the excess and glue the end of the ribbon down.
Use hot glue to adhere the top of the dowel (where the ribbons are all glued on) to the center back of your medallion. Then add the larger die cut/punched out circle over the top of the dowel to help create a more finished look on the back.

The finishing touch is adding a crepe paper bow with a jingle bell to it! Cut an 8 inch length of the Ruffle Paper. Use a dot of hot glue to attach the ends together to create a loop. Take some metallic silver embroidery thread (length doesn't matter--you just need enough to work with when tying the jingle bell on).

Thread one of the larger bells on from the Vintage Bell Charms and tie it around the center of the looped Ruffle Paper to create a "bow." I wrapped and tied the thread around several times to make it really secure. Trim the excess thread off and then hot glue the ruffle bow to the front of the dowel rod just below the medallion. Give your little wand a shake and enjoy the jingle and it's ready for gifting to someone who needs a little magic this Christmas!
Don't forget that the Christmas Cheer Box is limited and once it's gone, it's gone. So if you really love this project (and the other 3 I made using this box kit), be sure to grab yours before it sells out. Until next time, happy crafting!
Adrienne
Shop the Supplies:
Scrapbook.com, A Cherry On Top, Sizzix, Prima Marketing, Spellbinders, Etsy & Amazon
I am an affiliate with multiple companies. When you shop the links below, I receive a small commission from the affiliate, at no additional cost to you. This helps me balance the costs of the time and love I put into my projects and blog so I can continue to share my ideas with you for FREE. If you shop the links, thank you! I greatly appreciate it.
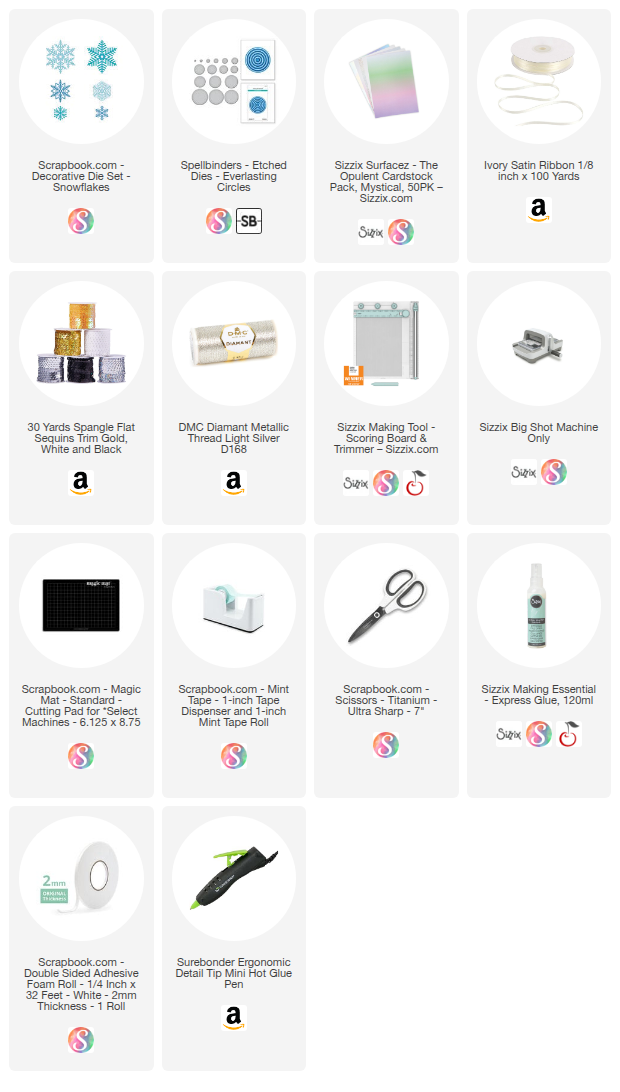
Below are products that I used for this project.


0 comments
I'd love to hear your thoughts!