
DIY Vintage Tinsel Christmas Ornaments Tutorial
If you love vintage Christmas but with a shabby chic twist, you'll adore these handmade vintage style tinsel Christmas ornaments.

Hi, crafty friend! Prima Marketing just released their limited edition Christmas Cheer Box! If you want to get yourself a little present, this box is full of fun Prima Marketing holiday themed goodies including elements from the Christmas Sparkle and Christmas Market collections designed by Frank Garcia.

The tinsel trim in this kit is so fun and sparkly and I knew I needed to feature it in an ornament project. I've been seeing a resurgence of the circular ornaments with the tinsel on the edges and knew this was the perfect thing to create with this kit!
As always, you can find a full list of supplies for this project below! Now let's get into the tutorial.

Use a nested circle die to cut a couple of circles from the 8x8 Christmas Sparkle Paper Pad and some solid color cardstock. You'll want to use 2 circle sizes, cutting the larger circle from a pattern for the inside of the ornament as well as from the solid color cardstock for the back.

Then cut the smaller circle for the back of the ornament as well. You will also want to cut a circle frame for the front of the ornament that you will glue the tinsel to. This should be cut using your larger circle and a smaller one, creating a frame that is at least 1/8 inches wide.

Trim some strips of patterned paper from the same 8x8 pad. You want these to be 8 inches long and I varied the width on mine. The width is up to you but you'll need to add 3/4 inches to the width. Then on one of the long sides, score 1/4 inches in and on the opposite long side, score 1/8 inches in. I needed 2 strips for each ornament.

Fold along these score lines then use a pair of scissors to cut some tabs. Add glue to the 1/4 inch tabs and glue it to the backside of the large patterned circle. Once you have one strip glued in place, trim your second strip down to the length needed plus a little overlap and glue it in place as well.

On the back of the ornament, cover the tabs with your solid color circle. Then add the smaller patterned paper circle on top of that.

Next, create the hanging mechanism with some coordinating embroidery floss. I used an awl to punch a hole in the top of the ornament and then strung the embroidery floss through with some Memory Hardware Pearls for added decoration.

Add a Tarnished Starburst to the top with some of Finnabiar's Heavy Body Gel. The hole is wide enough for you to be able to fit it over the pearls. Then add some of the Christmas Sparkle charms to your floss using some jump rings and needle nosed pliers.

Punch another hole in the bottom of the ornament and add one of the larger Vintage Bell Charms using the white twisty tie that holds them in the packaging. I pushed the tie through the hole on the ornament, twisted it a couple times, then spread the ends apart to hold it in place.

Next, add some flowers, a chipboard sticker and a piece of ephemera to the inside of your ornament. I used several layers of foam adhesive to pop both the chipboard stickers and ephemera pieces up from the background to create more dimension.

Add the circle frame to the front of your ornament. To add the Tinsel Trim, use hot glue, gluing a small section at the time. Go all the way around your ornament and then trim the excess Tinsel Trim off. Add a sentiment puffy sticker to the bottom front of each ornament.

To finish it off, add a little bit of the Christmas Sparkle Glitter to one or more of your flowers with a bit of Finn's Soft Matte Gel, then add some of the Christmas Market Say It In Crystals.

And that's it! Now you have a sweet set of sparkly tinsel holiday ornaments for gifting or hanging on your tree. Don't forget that the Christmas Cheer Box is limited, so once it's gone, it's gone! Until next time, happy crafting!
Adrienne
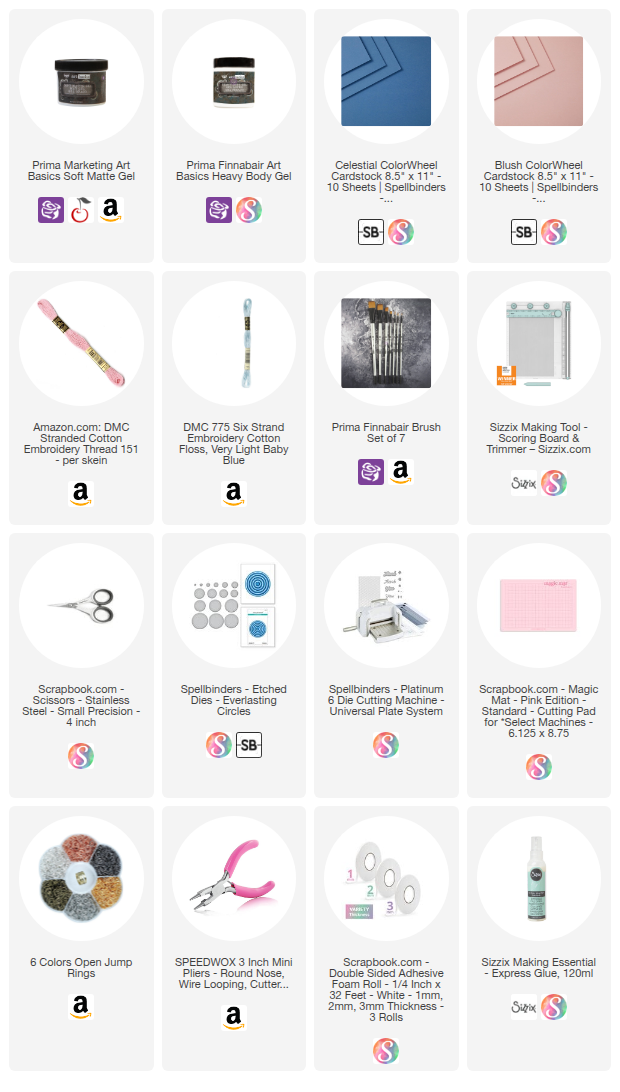
Shop the Supplies:
Scrapbook.com, A Cherry On Top, Sizzix, Prima Marketing, Spellbinders, Etsy & Amazon
I am an affiliate with multiple companies. When you shop the links below, I receive a small commission from the affiliate, at no additional cost to you. This helps me balance the costs of the time and love I put into my projects and blog so I can continue to share my ideas with you for FREE. If you shop the links, thank you! I greatly appreciate it.
Below are products that I used for this project.


0 comments
I'd love to hear your thoughts!