
Floral Themed Layout Using the Breakfast in Bed Collection!
The new Breakfast in Bed collection from Spellbinders offers more than just food and breakfast themed craft project opportunities. Here's how you can create a gorgeous floral themed scrapbook layout using papers and ephemera from this collection, combined with Spellbinders floral die cuts.

Hi, crafty friend! I'm always up for a great floral themed project and there are some gorgeous floral papers in the new Breakfast in Bed collection from Spellbinders and Rosie's Studio. And that is why I love this collection--because it offers variety! From thank you cards, to Father's Day cards, to floral themed paper crafts and scrapbook layouts, you can do a lot with this collection.

So let's get into how to create this pretty little floral themed layout. I printed out a 3x4 photo of one of my niece's more recent school photos for this project. And this is the perfect size photo to be framed by the Stitched Scallop Card Front & Tag die set. (As always, I've got all of the supplies used for this project listed below for you!)

- Start by taking one of the floral prints from the Breakfast in Bed 12x12 paper pad and tearing it about 3 inches from the edge. Tear off a second strip of this so you have one for the top and bottom of your 12x12 white cardstock base.
- Do the same tearing technique with one of the monochromatic patterns in the paper pad set.
- Glue your torn paper pieces with the monochromatic piece layered under the floral piece, lining them up so they are flush with the top and bottom edges of your base cardstock.
- Use your sewing machine to add some straight and wavy lines of stitching to both sets of layered patterned cardstock.

- Use your die cut machine to cut the Stitched Scallop Card Front & Tag--cut both the largest scallop frame and the next embossed die layer in the nested set from a cardstock color that coordinates with the color of your monochromatic patterned paper. I used Dahlia for this.
- Glue your photo to the embossed die cut then add some coordinating photo corners from the Breakfast in Bed Chipboard Frames and Corners over the top of your photo.
- Use a coordinating color of DMC Color Variations embroidery floss to fill in the stitching holes on the scalloped frame. I used #4170.
- Add 2mm thick foam adhesive to the back of the die cut with the photo and pop it onto the scalloped frame layer.
- Add more 2mm thick foam to the back of this layered photo element--just to the center of the piece, and add it to your layout. I like to place mine a little off center.

- Die cut the Sunflower Serenade, cutting the petal piece 3 times, plus the two flower centers from 3 coordinating colors of cardstock. I used Bellini, Sicily and Chiffon.
- Glue the layers of the sunflower together and fluff the petals.
- Cut out several of the flowers from the Club Blooms die set in various coordinating colors of cardstock (see all of the colors I used listed below). Then glue the flower layers together. Add more dimension to these by pushing up on the backside of the petals to cup them up slightly.

- Choose some ephemera pieces from the Embellishment Sack that aren't breakfast themed, like tags, tickets, the camera, the rainbow, the alarm clock, etc.
- Also choose a few sentiments from the Sentiment Ephemera pack in the Embellishment Set.
- Create a couple of embellishment clusters on either side of your photo. I focused on adding some tags and torn paper ephemera pieces on the left, with the camera placed below, and some tickets and the alarm clock on the right. The rainbow was tucked slightly under the bottom torn paper layers.

- Add die cut flowers and sentiments around your ephemera embellishment clusters. Add some flowers over the patterned paper as well.
- Pop on some of the sentiment ephemera and add a sentiment sticker or two from the Sticker Book.
Pro Tip: Use various thickness foam adhesive to create dimension in your embellishment clusters of ephemera and die cut flowers.

- Add some tiny clear backed stickers from the Sticker Book if you like--I added the little apple since this is a school photo layout!
- Add on gems and/or pearls to finish off your layout with a sparkly touch!

I hope that you enjoyed this floral inspiration using the Breakfast in Bed collection. I can't wait to see what you create with this collection, and until next time, happy crafting!
Adrienne
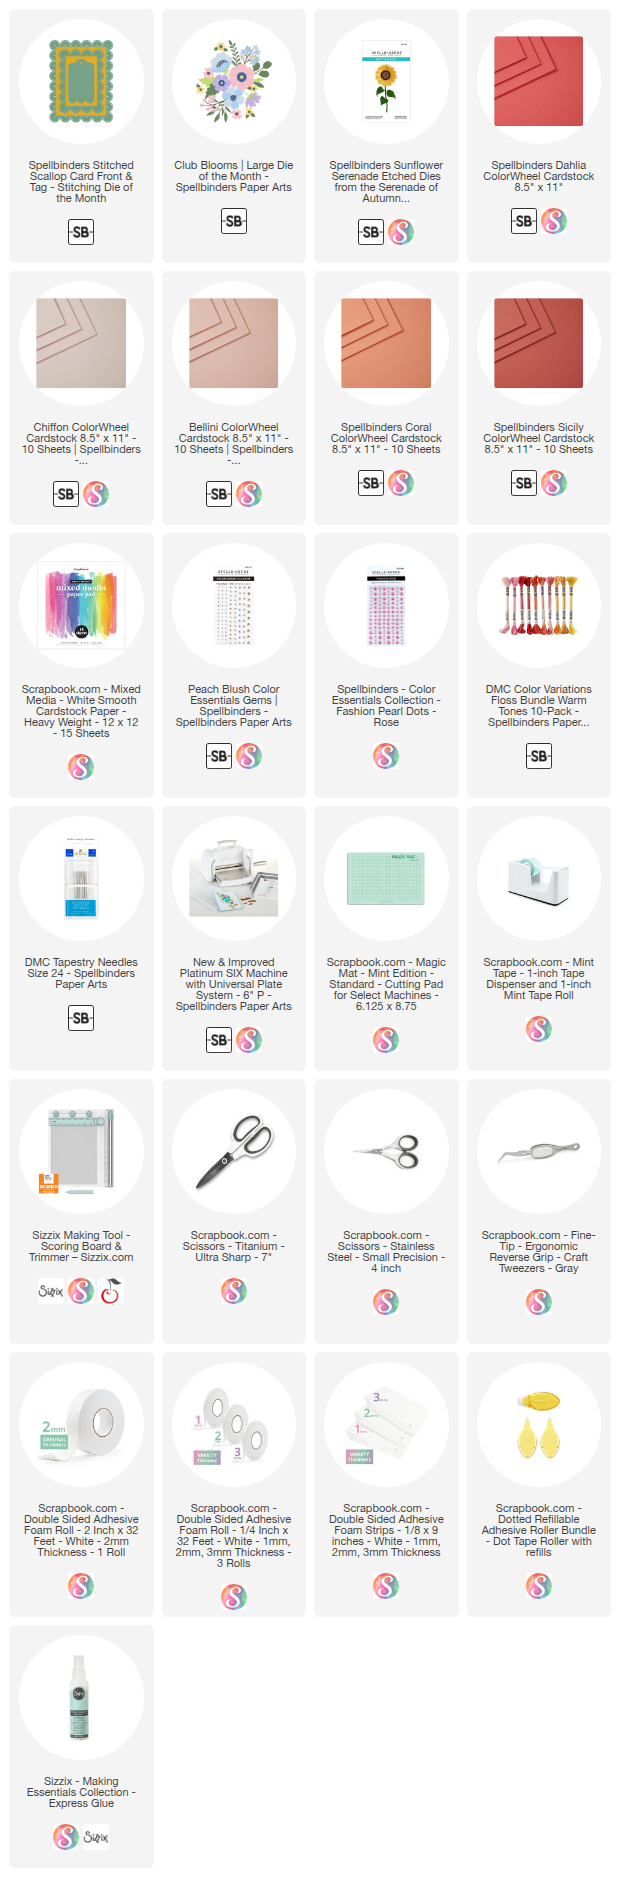
Shop the Supplies:
Scrapbook.com, A Cherry On Top, Sizzix, Prima Marketing, Spellbinders, Etsy & Amazon
I am an affiliate with multiple companies. When you shop the links below, I receive a small commission from the affiliate, at no additional cost to you. This helps me balance the costs of the time and love I put into my projects and blog so I can continue to share my ideas with you for FREE. If you shop the links, thank you! I greatly appreciate it.
Below are products that I used for this project.


0 comments
I'd love to hear your thoughts!